
$ 22.00 
MyRCCar Mustang GT500 1967 1/10 On-Road RC Car Body
Creality Cloud
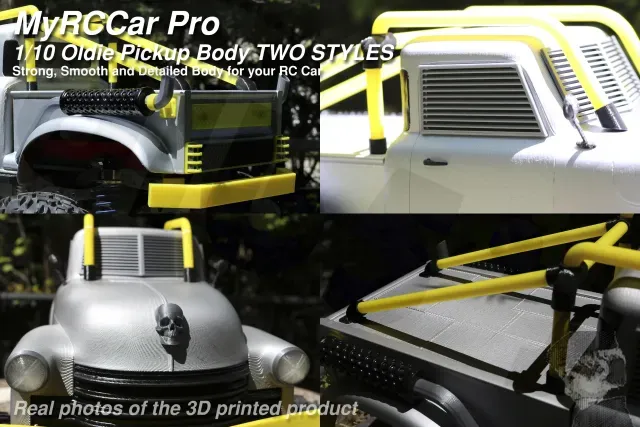
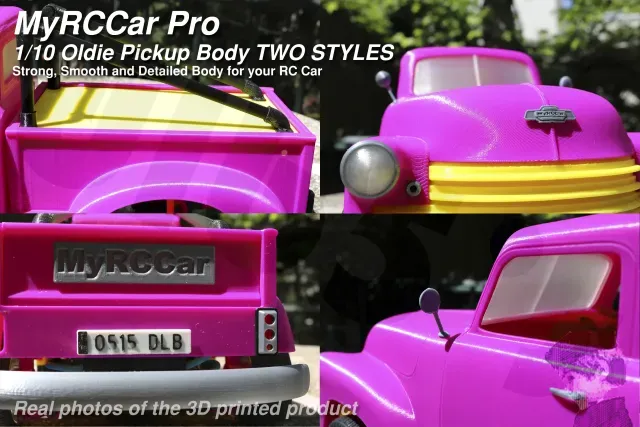
Hi everyone!
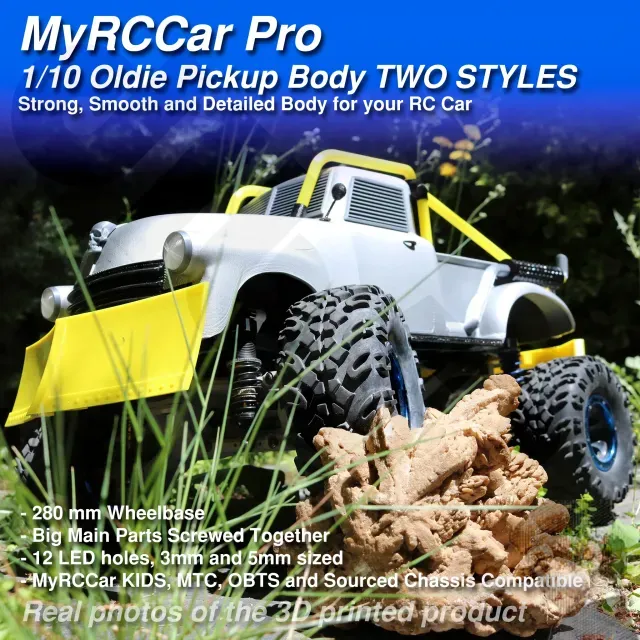
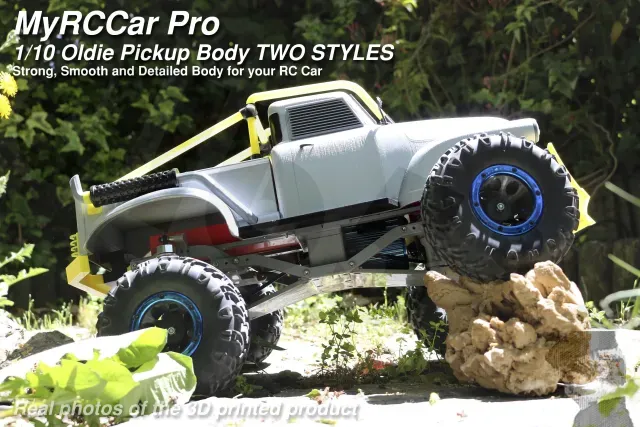
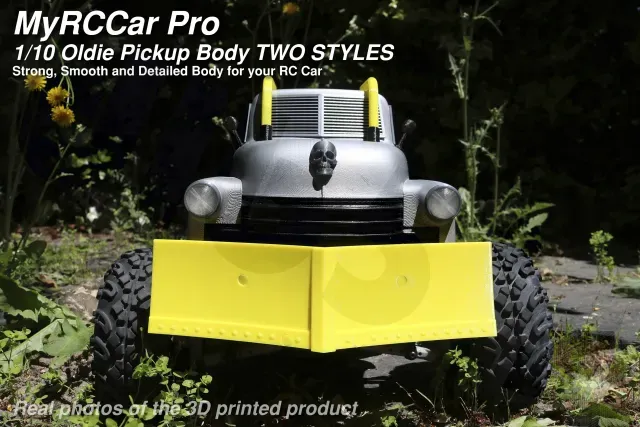
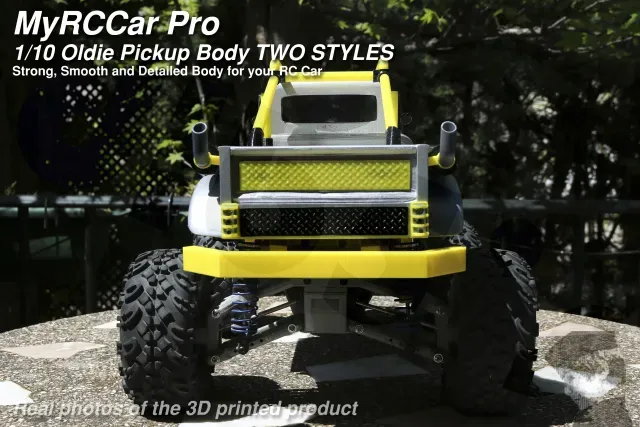
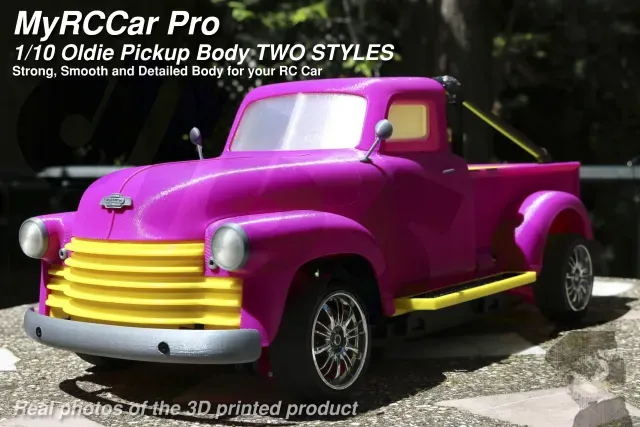
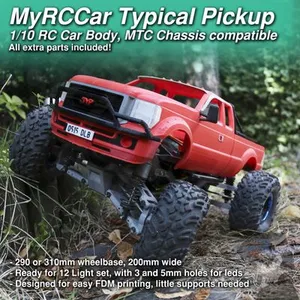
This is a complete fully 3d printable 1/10 Old Pickup Body (OPB) for your RC Car, specially designed for 3d printing. As you can see in the photos, we have "finished" it in two styles. We call them the Mad Max Version (MMV) and the Gas Monkey Version (GMV).
You can mount this body over MyRCCar MTC chassis to build a Monster / Crawler or over a MyRCCar OBTS On-road chassis to build your drifting or "racing" RC car. Now you can also mount it over a MyRCCar Kids Chassis On-Road using its universal body holding system or over Mr. Crawley chassis.
You probably will be able to mount it in your sourced RC car of an approx. 290mm wheelbase if you can design your own supports/holders.
The main body is formed of 3 parts, as in my previous Tesla and Typical Pickup bodies. This time these 3 parts are the front, the cab and the bed. We have made a big effort in terms of design to avoid as much as possible the use of supports but same time hiding the junction of parts and make it as solid but lightweight as possible. If you plan to build the MMV you can choose the right bed and front parts with the extra holes for the MMV details.
At last! Co-working :)
If you notice I'm talking in plural and an improvement in the quality of this model it is because for this new publication and the ones coming I have teamed up with my cousin, Rockser3D, an experienced 3D modeler with quite more artistic taste than me but a very bad person :P We want to give it a try to sell high quality 3d printable models so this publication is our way to show you the new quality level.
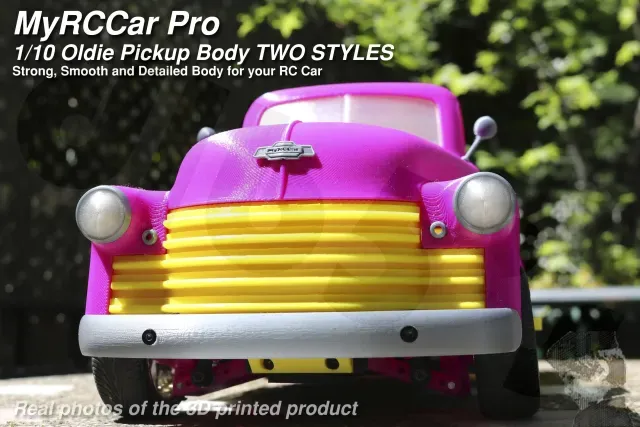
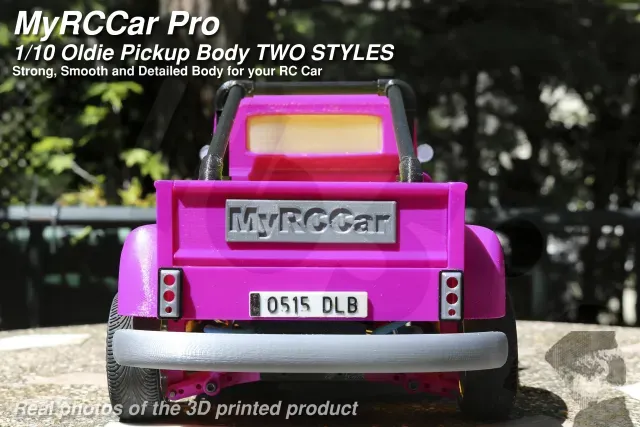
We have taken some extra time to separate the design into more parts so you can print them in different colors and materials. That can allow you to avoid painting your car. To accomplish correctly this design you should use at least one main PLA color, maybe a second PLA color and/or some metal finish PLA color for "chromed" parts, but also TPU for rearviews, protections and holders and Transparent color for the front light lens and windows.
BUILDING INSTRUCTIONS
You will need just a bunch of M3 screws, maybe M3x12mm and some M3x8mm or M3x16mm countersunk and socket head. Pick up some longer ones like M3x30 countersunk if you plan to do the MMV in the monster or big crawler config.
The idea is connecting the three main parts first with screws, then screw the side platforms. The radiator must be glued. The top of the bed can be inserted better before screwing the bed with the cab. You will probably want to glue it very good to the bed and the trunk to have a more stable body build.
Things like lights, rearviews, handles, windows, window covers, emblems or textures must be glued too. The Protections holders can be screwed from the inside of the body with some extra M3 countersunk screws. I printed them in TPU and the bars in PLA, but I think you could also do reverse. These Protections bars and holders must be glued to form the structure, and this structure screwed in the proper body holes.
If you plan to use the exhausts, you should also combine TPU and PLA. Think the best way for you to do it, maybe just the holder in TPU?¿?
Take your time to build it up. Use the best glue you can find for printed parts, but more important than all... have a lot of fun doing it :)
PRINTING TIPS
First of all, you don't need to print all parts published, I mean you have to choose for some parts if you want the Mad Max Version, the Gas Monkey Version or maybe if you want to mount the body in a MTC chassis or in an OBTS chassis
As you can see I have printed 2 versions but the grey one is not exactly the version published, but a previous step of design. The separation of parts helps using different colours and materials, but it also helps when painting the different parts of different colours. Part of the grey body has been smoothed with epoxy and painted with cheap car paint. while the purple one use all unpainted 3d printed parts.
No one likes very long prints because the chances of fail are bigger. But for some parts I think is convenient to have enough strength in the main body. I would like to print the big parts in 0.1mm or maybe 0.08mm layer height but that more than doubles the times I get with 0.2mm layer height for the big parts.
The same happens with speed... I would like to print them slower to reduce ghosting and make them more accurate, but I print the big parts at 70/35/55 mm/s (main speed/outer perimeters/solid infill)
So if you want similar results to mine you should print big parts in 0.2mm layer height and generally 2 outer perimeters with 0.48mm thickness, about 15% infill, 70mm/s main speed, 35mm/s (50% main speed) for outer perimeters and about 80% main speed for solid infills. I printed them with 800-1200 accel for X Y and 180-240mm/s travel moves.
Each of the big three parts needs some little supports. The bed needs them in the sides of the wheel covers. The cab needs them around the rear window. Finally the front part needs them along the bottom limit of the front window. But THAT SHOULD BE ALL. The overhangs of the parts are calculated to be done by a cheap and stock Anet A8 so if you have a better machine you could expect better results without the need of more supports.
You will need at least a 200x200x200 printing volume specially for the bed part.
Just a reminder about inter-layer adhesion and first layer adhesion. Try to print some smaller/quicker parts first to calibrate really well your printer bed and temps before attempting the big ones. Use this same parts to check if you are having a good interlayer adhesion, which will be very important for the big parts. I increased my extruder temp about 5-10ºC respect my normal printing temps looking for this better inter-layer adhesion.
The rest of the parts, smaller ones, can be printed with smaller perimeter thickness, maybe 0.4mm or even the 0.25mm I used for the front emblem. They are a lot of prints, but if you have the time, maybe you can dedicate more time to this little ones with smaller layer heights, thinner perimeters, slower speeds and smaller accels.
If I can help you with any other printing tips please ask in the comments :)




Names are used only to indicate the source of a result. Polyzon is not affiliated with the listed sites.