
Free %2Fhttps%3A%2F%2Ffbi.cults3d.com%2Fuploaders%2F13474583%2Fillustration-file%2F76daa769-f967-43e5-be1f-0c200d871af4%2FCapture%2520d%25E2%2580%2599e%25CC%2581cran%25202018-03-02%2520a%25CC%2580%252012.07.23.png&w=300)
H125 Micro Quad V1 -7mm/8.5mm Micro SciSky Based (under $50)
Cults3D
Summary
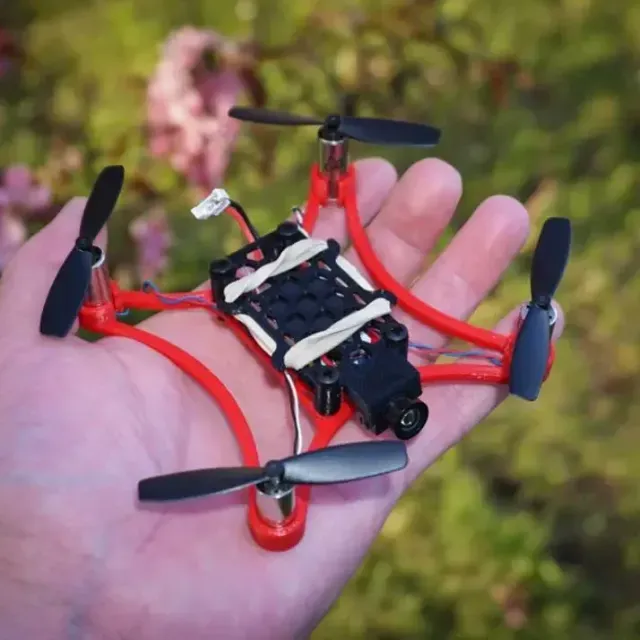
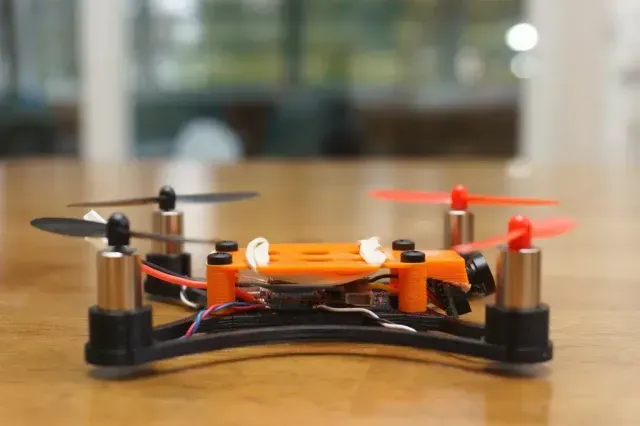
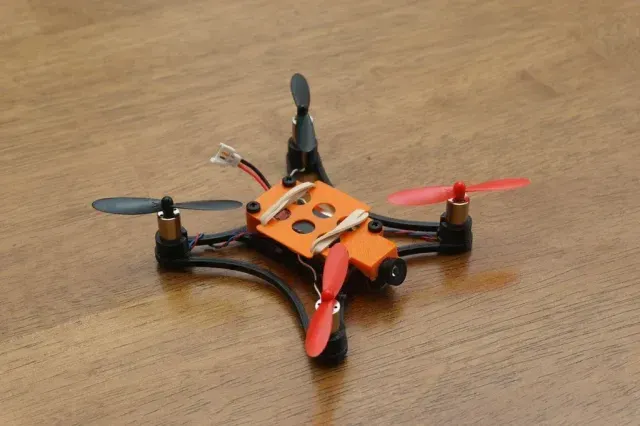
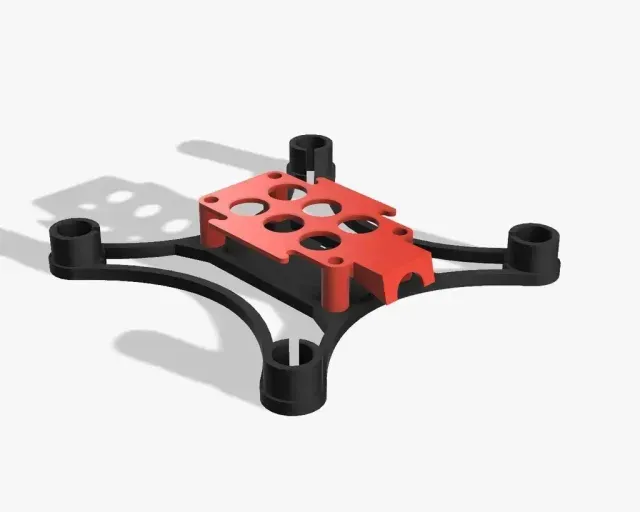
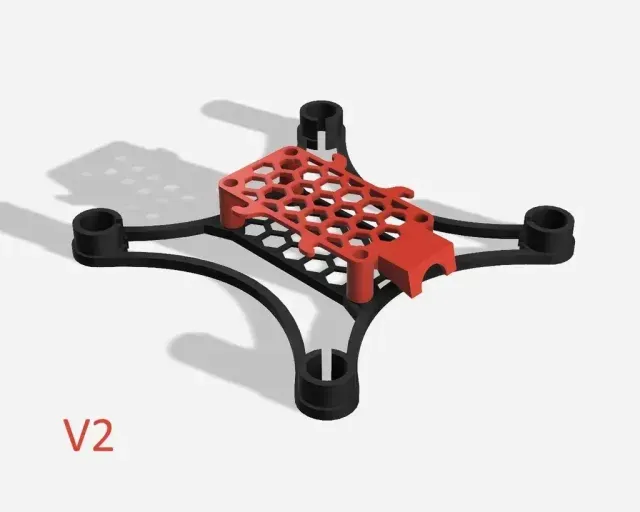
This frame was inspired by the FireFlo V2 and the Alpine Drones Micro H. My goals were to keep it crash resistant, light weight and offer good protection for onboard gear.
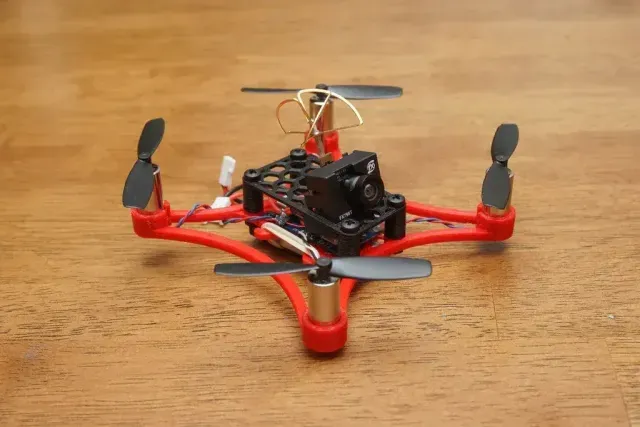
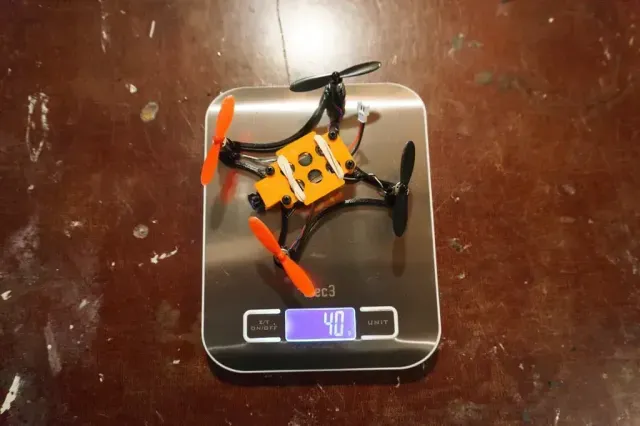
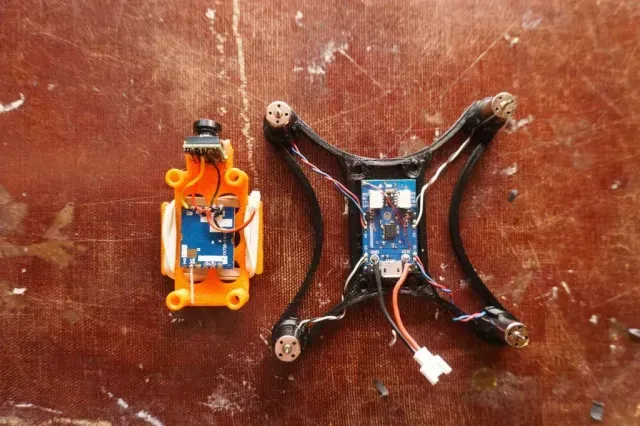
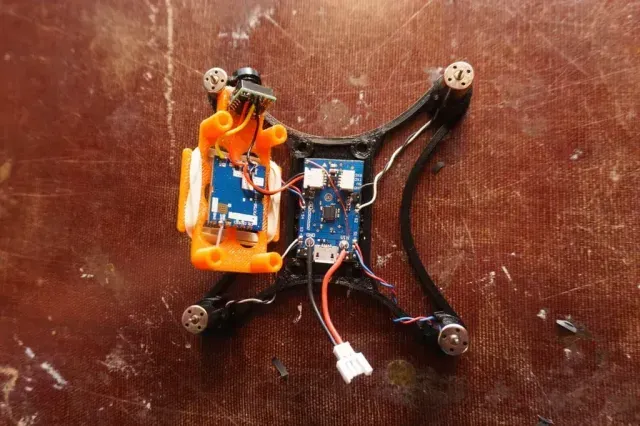
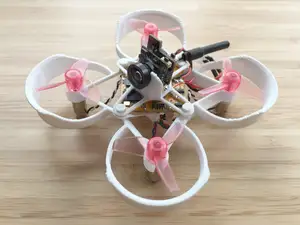
It measures ~105mm. The V1 frame weighs ~10g and the V2 frame weighs ~8g when printed in PLA. My full build (currently V2 base and V1 top) weighs ~38g without the battery. It is designed around 8.5mm motors and the Micro Scisky flight controller. The camera mount is angled up 13 degrees to accommodate fast forward flight.
Build Instructions
See the full build instructions on instructables.
Base Setup
Flight Controller: You need a Flight Controller with a receiver that matches your radio. I list radio options for the different protocols below.
Eachine F3 FrSky
Eachine F3 FlySky
Eachine F3 DSM2
FlySky Micro Scisky
FrSky Micro Scisky
DSMX/DSM2 Micro Scisky. You might need to remove the motor plugs from this one in order to fit inside the frame.
Motors: Hubsan X4 H107c 8.5mm Motors
Battery: I use a mix of a few batteries. 380mAh Hubsan, 500mAh Hubsan and 300mAh Nano-Techs CAUTION: When using the Nano-Techs, make sure the battery polarity is correct. I have had to switch the connector position on these.
Props: I am currently using Ladybird props. They hold up a lot better than the Hubsan props.
Battery Pigtail: I cut one of the leads off of a charging adapter.
Nylon Hardware: M3 nylon nuts and machine screws. I used the 20mm machine screws and cut them to size after attaching to the frame.
Printable Standoff And Clip: As an alternative to using nylon hardware, navyblueboss made a very nice pin and clip set. I have not yet printed a set of these but they look great.
JST SH Connector: A JST SH connector can be used to get get a 5v supply for fpv gear straight from the Scisky. CAUTION: I managed to fry the power supply on one of my Scisky boards. Other users have reported the same when using the FC to power FPV gear. Another option is to use straight battery power or a voltage regulator from battery for VTX and camera.
All in One FPV Gear
There are a few new options for an all in one FPV setup. You can connect these straight to battery power and don't need a voltage regulator. These camera and video transmitter modules can be used with the v4 frame. Here are a few options that I have tested with.
FX798T
FX797T
DIY FPV Gear
These components will allow you to build the FPV setup yourself. These components are for v1, v2, and v3 frames.
VTX: FX758-2 5.8G 200mW Video Transmitter
Antenna: I used the inner wire from the coaxial cable of a broken clover leaf antenna. I used the default frequency on the FX758-2 which is 5865. After soldering the wire on, I cut the antenna to 12.8mm which is the quarter wavelength of that frequency
Camera: 170 Degree Wide Angle Camera
5v Step-Up Voltage Regulator: Use a pololu 5v step-up instead of the JST SH connector to avoid burning up the voltage regulator on the Scisky.
Radio Options
You need a radio that matches the protocol of your FC. Here are some options for a few protocols.
FlySky
FlySky FS-i6
FlySky FS-i6X
FrSky
Taranis Plus
Taranis QX7
DSM2/DSMX
Spektrum DX6i
%2Fhttps%3A%2F%2Ffbi.cults3d.com%2Fuploaders%2F13058158%2Fillustration-file%2Fbdbd4dd3-7311-4424-981d-1f87c6e1151e%2FCapture%2520d%25E2%2580%2599e%25CC%2581cran%25202017-02-20%2520a%25CC%2580%252011.52.54.png&w=300)


%2Fhttps%3A%2F%2Ffbi.cults3d.com%2Fuploaders%2F13058158%2Fillustration-file%2Feb25ce55-db37-4ca2-a354-0126ee6c26d5%2FCapture%2520d%25E2%2580%2599e%25CC%2581cran%25202017-02-20%2520a%25CC%2580%252011.51.10.png&w=300)

%2Fhttps%3A%2F%2Ffbi.cults3d.com%2Fuploaders%2F13968150%2Fillustration-file%2F683d74ce-ff0c-48f2-ab0d-4b5e7b676d57%2F2a2e01817aa80956beeeee598c946147_display_large.JPG&w=300)

%2Fhttps%3A%2F%2Ffbi.cults3d.com%2Fuploaders%2F13968150%2Fillustration-file%2F7e6f2ea6-48c4-4b8f-ad77-ea79419e9c64%2F4f2e2c3bbc87537ecbcf34dd446b50df_display_large.jpg&w=300)
%2Fhttps%3A%2F%2Ffbi.cults3d.com%2Fuploaders%2F13058158%2Fillustration-file%2F677df949-e4ac-4163-a299-ca168f019053%2F5299625663089110091-account_id%253D1%2520(2).jpg&w=300)
%2Fhttps%3A%2F%2Ffbi.cults3d.com%2Fuploaders%2F13058158%2Fillustration-file%2Fd447f424-ed13-4d20-bf78-07c3e91b37dc%2FCapture%2520d%25E2%2580%2599e%25CC%2581cran%25202017-02-20%2520a%25CC%2580%252011.23.30.png&w=300)
Names are used only to indicate the source of a result. Polyzon is not affiliated with the listed sites.
Comments