
Free 
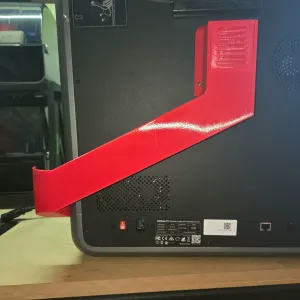
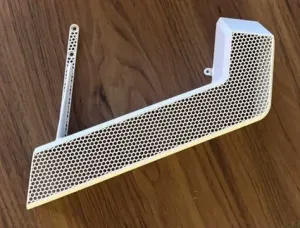
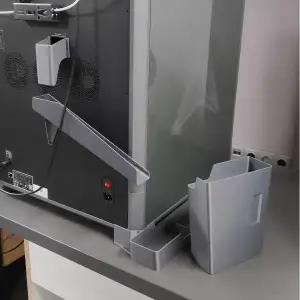
Poop / Waste Chute – K2 PRO (CFS front-redirect), symmetric
Printables
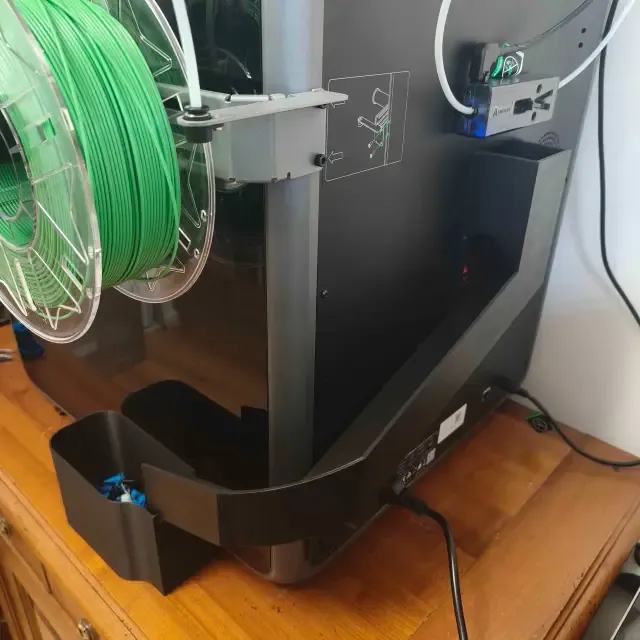
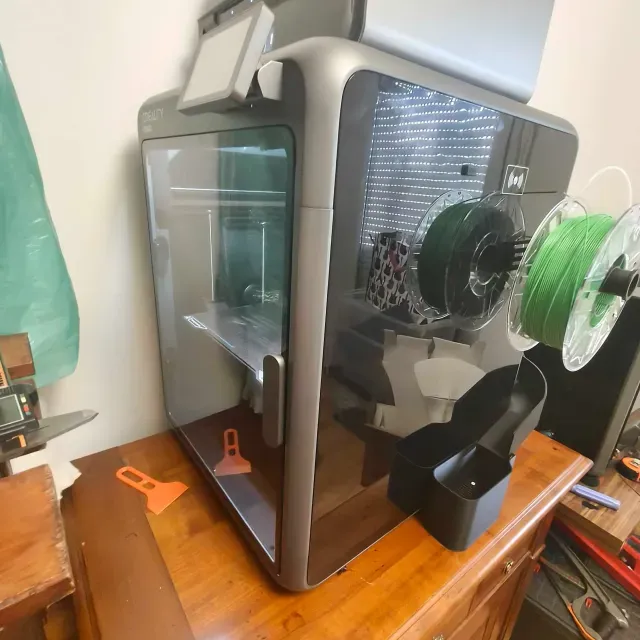
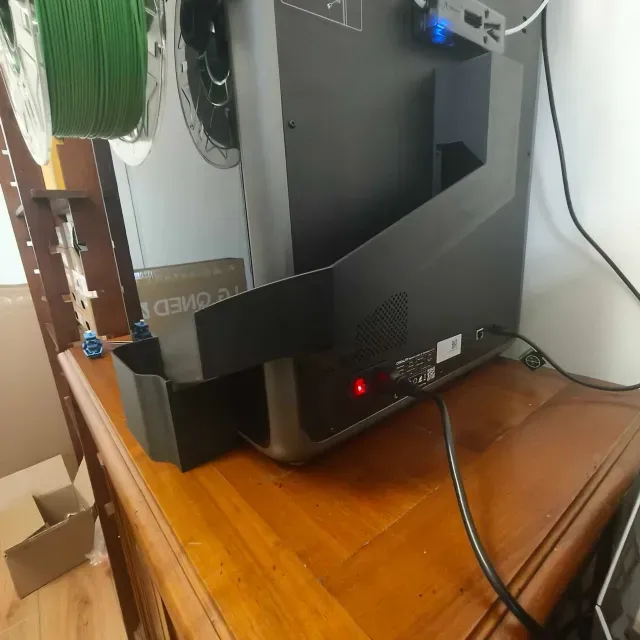
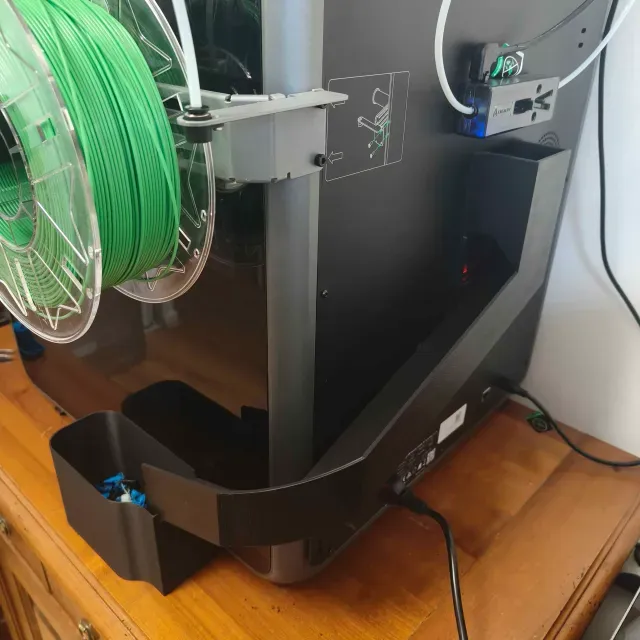
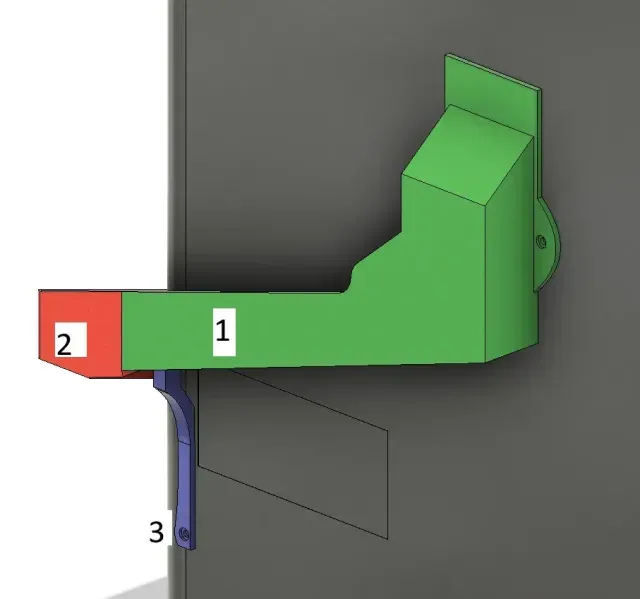
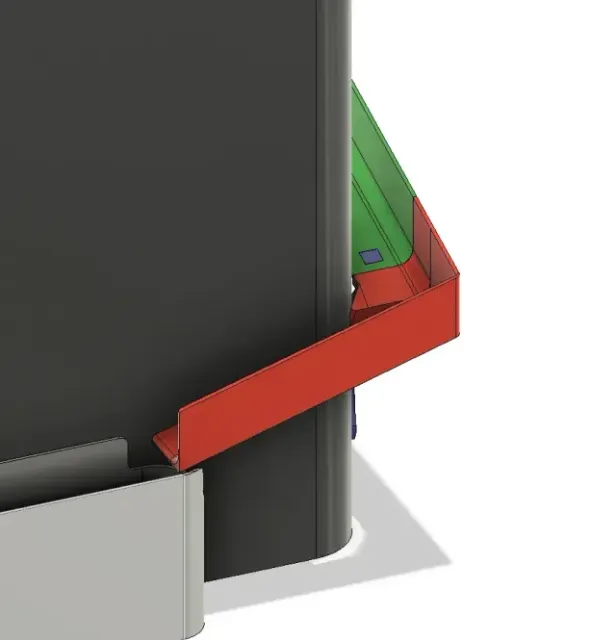

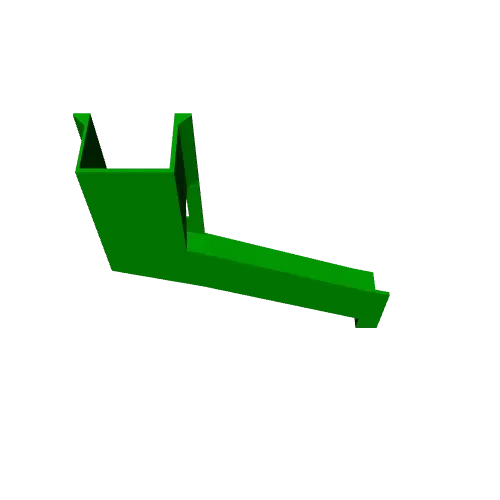
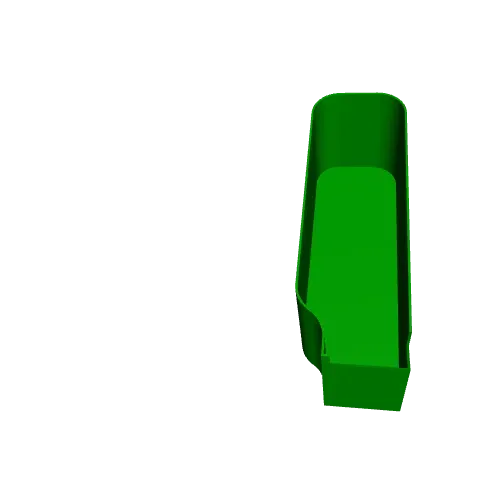
Two versions :
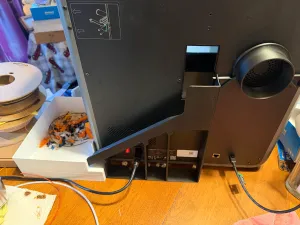
RIGHT (default), the poop chute is longer and designed not to bother the heater fan)
LEFT : Shorter version
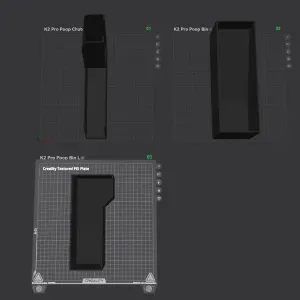
3 Parts models => Two versions (left and right) for the Part1
Part2 and 3 are generic. Just mirror them in the slicer
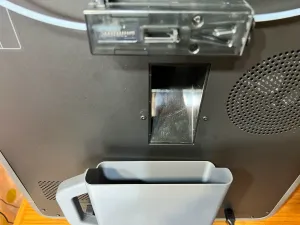
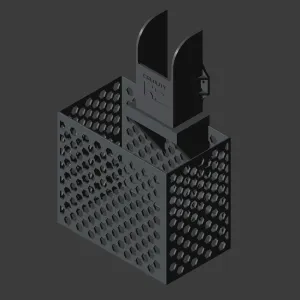
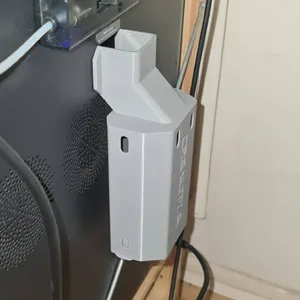
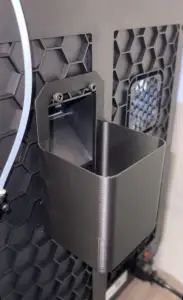
Redirects CFS purge (“poop”) to the front of the K2 PRO for easy clean-up. Tight mechanical slack by design; a light sandpaper pass may be needed. Default right-side install; for left, part 1 has another version. Parts 2 and 3 can get mirrored. Includes two optional mini bins (small/big) to catch waste, pick the size that fits your setup.
Thermal & airflow note
The chute angle was computed to be as steep as possible without obstructing the PSU ventilation. Blocking that vent can raise local temps and soften PLA over time.
Flow behavior note
Because the chute prioritizes steep angle without covering the PSU vent, a few small purges may occasionally pause partway down instead of falling straight into the bin. They typically drop within a few minutes due to printer vibrations or when the next purge nudges them (inertia restart).
Print recommendations
Chute parts: PLA; 0.2mm layer height ; minimal support
Bins: PLA or PETG work fine; 0.28 mm layers; 2–3 walls; 15–20% infill. (Bins are not near the PSU vent; choose PETG if your enclosure runs warm.)
Assembly (see Tutorial photos)
1. Mount Part 1 in place (both screws).
2. Seat Part 1 onto Part 2 with a slight angle (intentional assembly tilt), then level and slide fully home.
3. Insert Part 3 and reuse the existing screw to lock Part 3 (do not over-torque).
4. Place one of the bins beneath the chute outlet. Fit note
Interfaces are intentionally tight. You may need a quick sandpaper pass on the mating tabs/slots, only on the contact areas .
Left-side install
Right side is default. For left: Right-click → Mirror in your slicer; screw locations are symmetric. Part1 can't be mirrored, use Part1Left_170mm version.
Need an update/fix ? Feel free to ask ! :)

Names are used only to indicate the source of a result. Polyzon is not affiliated with the listed sites.