
Free 
Filament Drybox (perfect fit for 3 stripe boxes)
Thingiverse
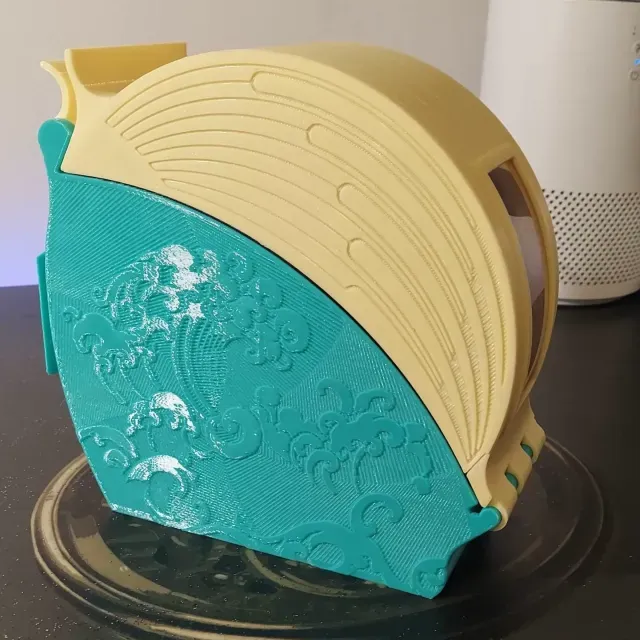
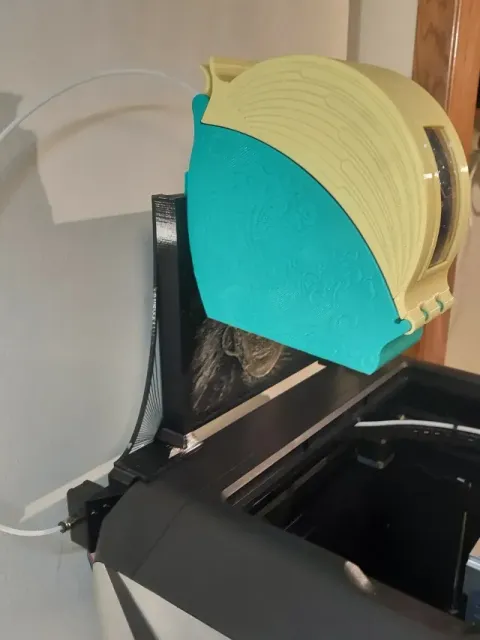
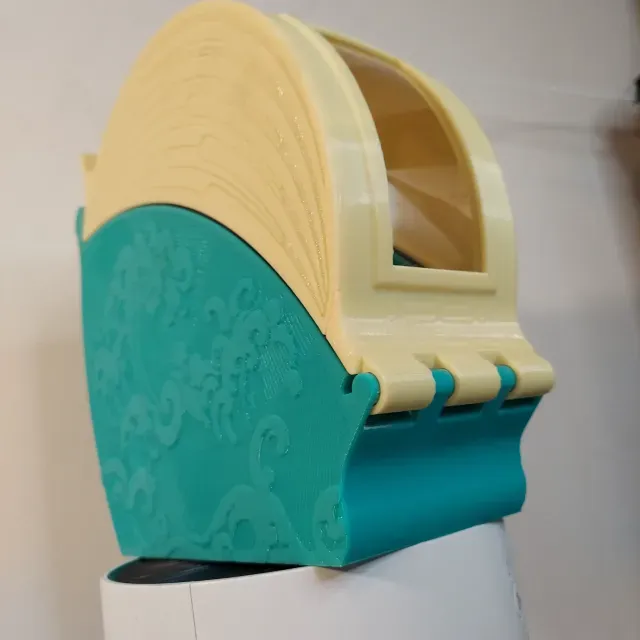
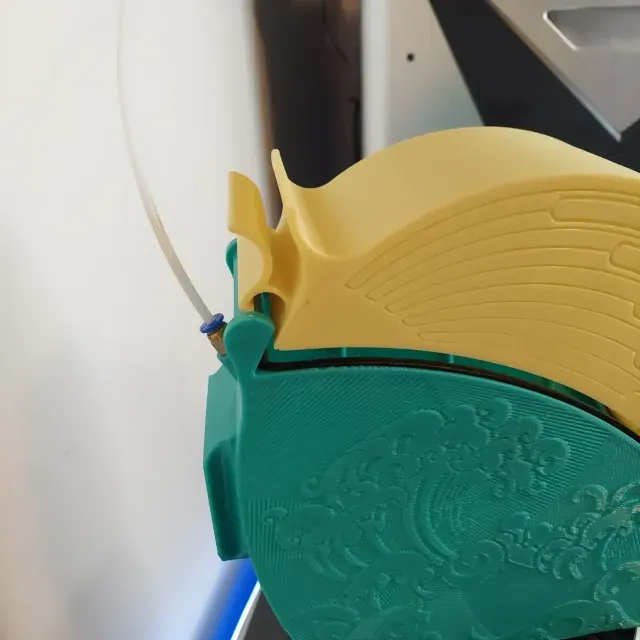
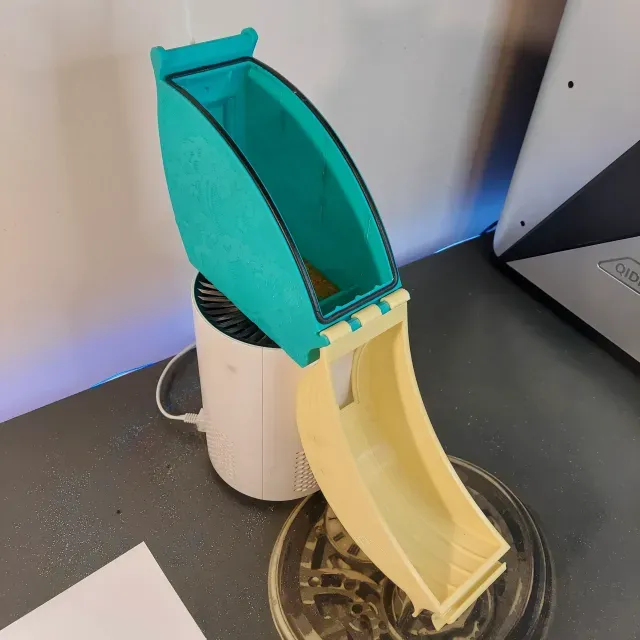
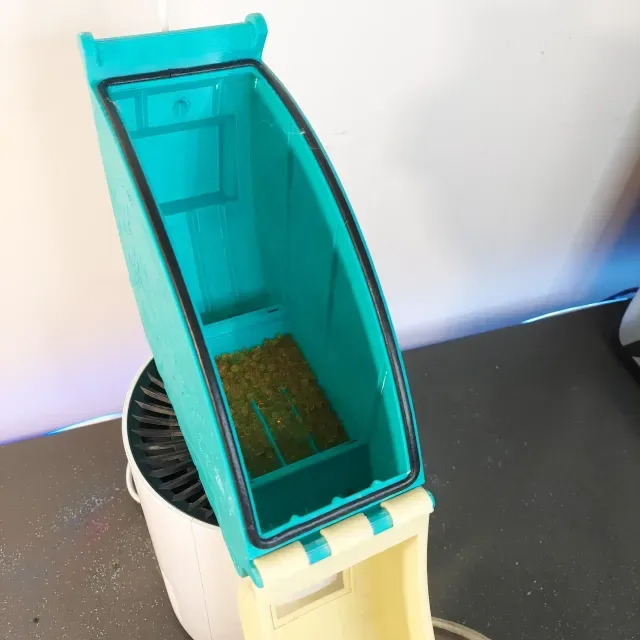
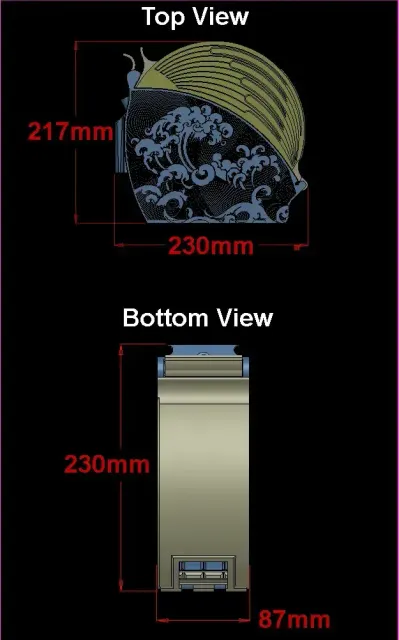
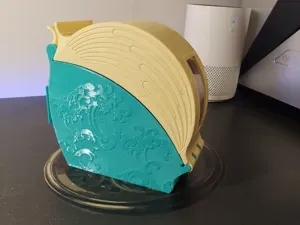
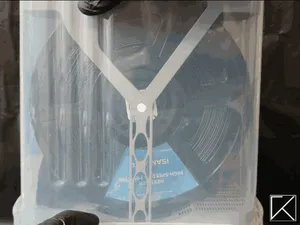
A 3D printable drybox for your filament spools. Print right from the drybox. (All STEP files included)
Print with PETG only!
Assembly Instruction Video:
Designed to be a simple, cheap, ergonomic, and aesthetic filament storage solution:
Print in 3 pcs, parts fully snap/glue together–no screw-type hardware required. (500g PETG filament for 1 Lid/Base Combo including supports + 40g for hanger bracket)
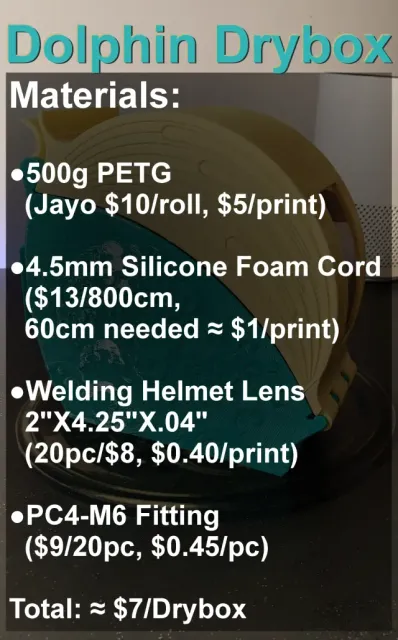
Costs about $7/box including purchased parts (sealant strip, polycarbonate lens, M10 PTFE tube fitting)
Hinges open from the front for easy access. Don’t need to keep sides clear, allowing for less footprint.
Made to hang above the printer. (Though it can also rest on a shelf)
It’s prettier than a tupperware cereal box!
How it works:
These dryboxes are designed to hang from a separately printed dovetail-style bracket using the connector on their backside:
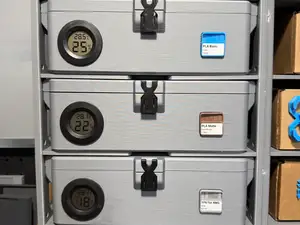
I have a row of these hanger brackets underneath my printing table for out of the way drybox storage and another row above my printer itself for the dryboxes that I’m actively using:
The current hanger brackets have a couple countersunk (FHCS) 1/4" or 6mm holes through them for mounting with equally sized “flat head cap screws.” But the STEP file for those brackets is also attached so you can edit how they mount or integrate them into whatever. As a side note, even if you don’t know CAD, you can create primitive solids and do simple boolean (solid part addition/subtraction) operations right from a normal slicer to create and merge parts if you want to attach the bracket to a model that way.
Tolerance between the male and female dovetail ends is 0.65 mm—no reason not to have the fit a bit loose.
Assembly:
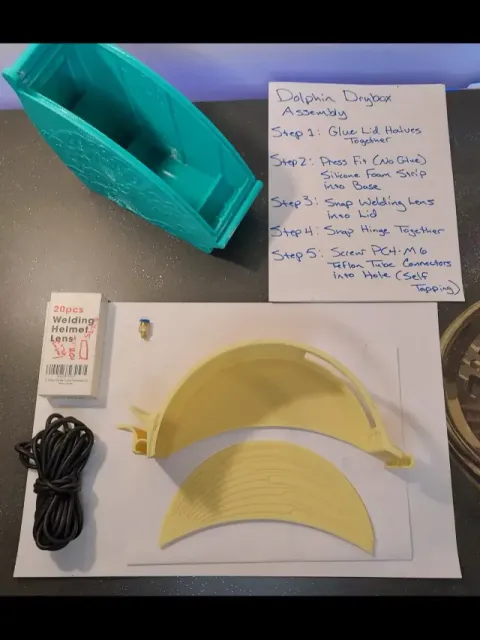
1) The lid prints in 2 pieces. Superglue them together, making sure the alignment slots are seated. I put a heavy book on it to hold it tight while the glue’s drying.
2) Press fit a 4.5mm diameter round silicone-rubber foam strip into the groove around the rim of the base. Those strips come in many sizes and materials. It’s very important to use exactly 4.5mm silicone rubber or it will not seal properly. (Amazon link in Bill of Materials)
3) The lid has a hole cutout to fit a 2” X 4.25” X 0.04” welding helmet lens. It snaps into place. You can glue it to fully seal it, but if you do, glue it after it’s snapped into place so the glue doesn't splash. A water-like viscosity superglue works really well for this.
4) Snap the hinge together to attach the lid and base. Use firm steady pressure. It’s a tight fit. May need to trim the edges with flush cutters a little to fit between the hinge slots.
5) Screw a PC4-M10 PTFE tube fitting into the hole at the top. It’s self tapping. You will also need to ream out the through hole with a 2mm (or thereabouts) drill bit since small holes rarely print well. (Update: M10 is correct. I tweaked the model a bit from when the video and pics were made. M6 works, but the filament does start to wear a groove after a while, so it's better to have the PTFE tube insert into the drybox rather than a printer funnel into an M6 fitting)
Slicer Settings Key Points (Mostly stock generic PETG settings):
Uses about 500g of PETG filament to print 1 Lid/Base combo + 40g of filament for hanger (any rigid filament would work)
Use arachne wall settings at 60% minimum wall width (there are some small but critical features)
Scarf those seams. Doesn’t hurt.
15% infill and 5 wall loops and 5 top/bottom shell layers. Though for the most part, this model is thin enough where most of it will be 100% infill anyway save for a few spots on the base.
This will require supports. I recommend Organic Tree supports due to how cleanly they snap—which is especially important in the window area due to tight tolerance.
I used Jayo, Kingroon, and Sunlu PETG filaments. They all worked very well and were right at $10/roll from AliExpress. Please use PETG. I do not know how the thin walls or compliant latch will work if you use a different plastic.
Other Parts Required:
4.5mm Diameter Silicone Rubber Foam Strip . 60cm required, approx. $1/Drybox. USE EXACTLY THIS MATERIAL AND SIZE OR BOX WILL NOT CLOSE PROPERLY. uxcell Silicone Foam Seal Strip, 4.5mm(0.18") Dia 8 Meters(26.25 Ft) Long Sponge Rubber Weather Seal Strip Round Rubber Cord Solid for Machinery and Industries, Black - Amazon.com https://www.amazon.com/dp/B0CW9RMD86?ref=ppx_yo2ov_dt_b_fed_asin_title&th=1
Welding Helmet Lens. 108mm X 51mm X 1mm. Low tolerance tight fit, needs to be this size exactly. $0.40/Drybox JHTii 20pcs Welding Helmet Lens, 2"X4.25" Welding Helmet Replacement Lens - Amazon.com https://www.amazon.com/dp/B0C9HQ4SY7?ref=ppx_yo2ov_dt_b_fed_asin_title&th=1
M10 PTFE tube fitting. $0.45/Drybox. Amazon.com: 3Dman PC4-M6 Straight Fitting 4mm Thread M6 Connector for 3D Printers -20 pcs : Industrial & Scientific (Be sure to use 2.5mm ID PTFE tubing with it if you have a high speed printer like a P1S. The 2mm ID tubing is a lower tolerance, higher resistance tubing for Bowden style extruders such as an Ender 3.)



![[FIXED] Silica Gel Container - Inside Spool](https://cache.polyzon.org/api/img?url=https%3A%2F%2Fresize.thingiverse.com%2F%3Furl%3Dhttps%3A%2F%2Fcdn.thingiverse.com%2Fassets%2F83%2F99%2F9d%2Ff5%2F7b%2FIMG20260104112007_a.jpg%26w%3D1024%26h%3D1024%26fit%3Dcontain%26cbg%3Dwhite%26n%3D-1&w=300)


Names are used only to indicate the source of a result. Polyzon is not affiliated with the listed sites.