
Free 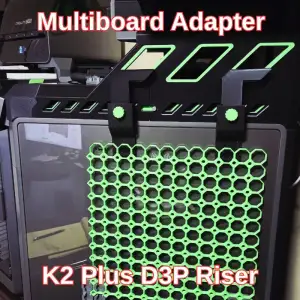
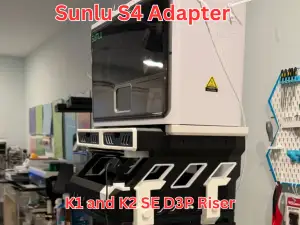
D3P MULTIBOARD ADAPTER FOR K2 PLUS
Creality Cloud
MODEL
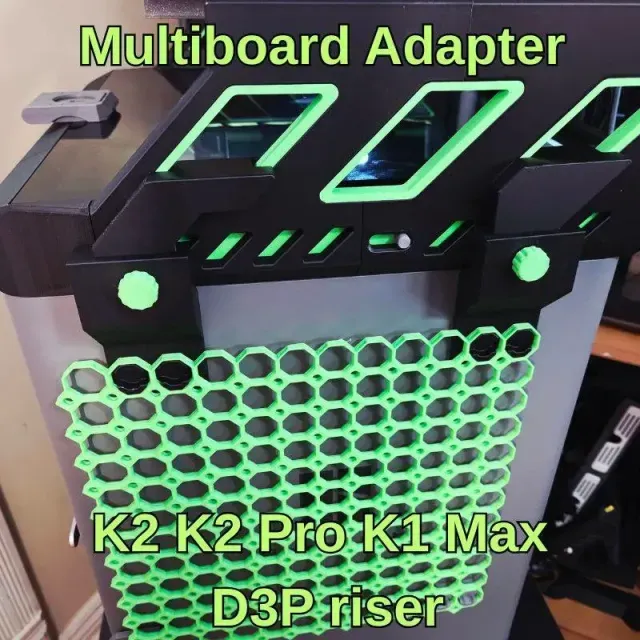
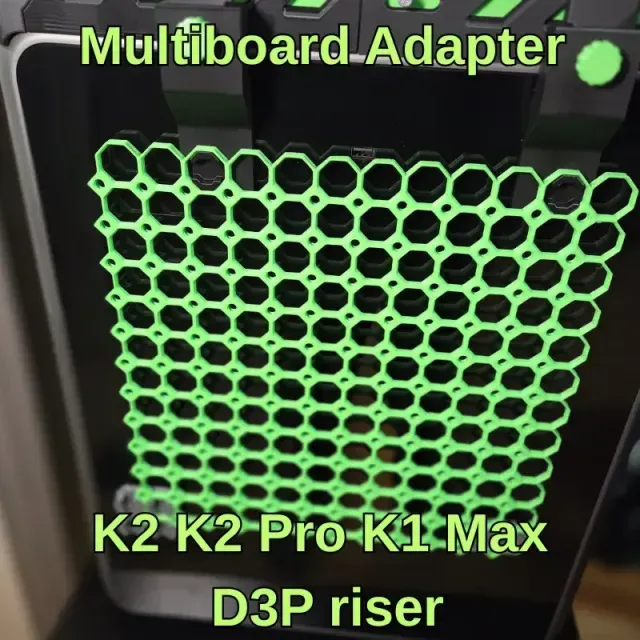
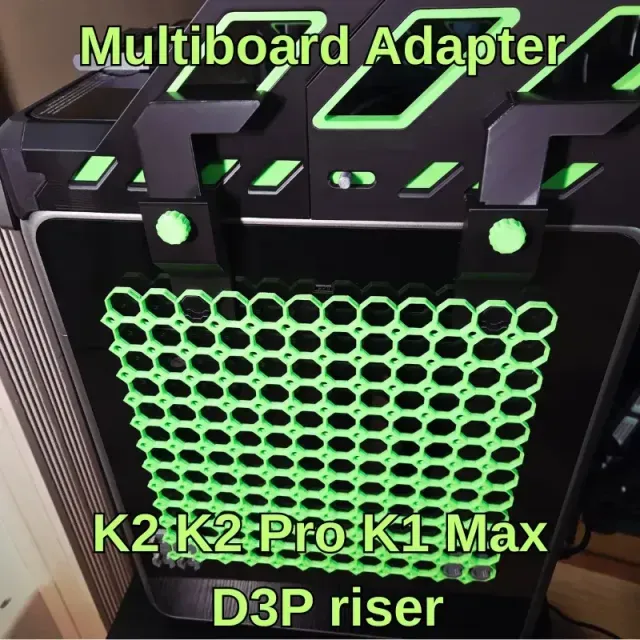
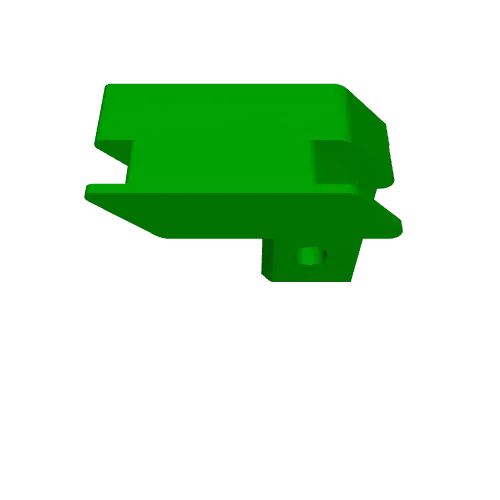
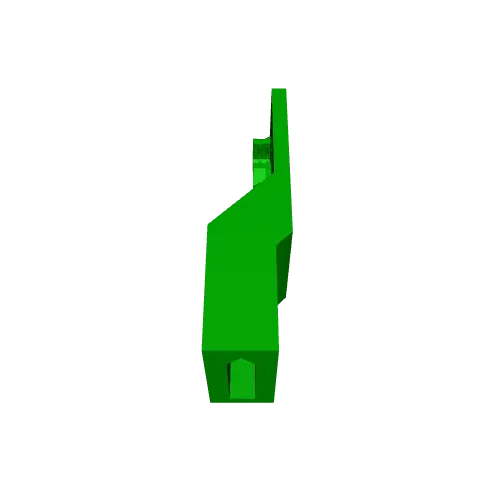
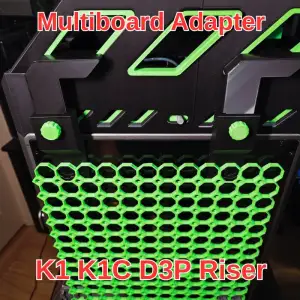
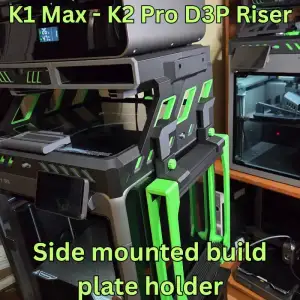
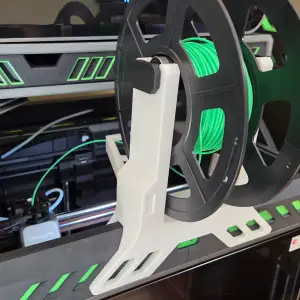
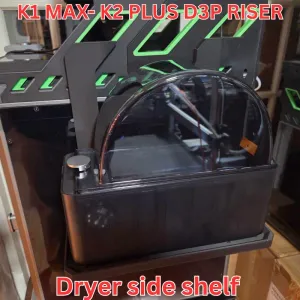
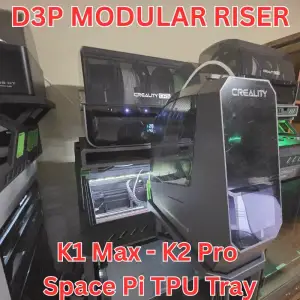
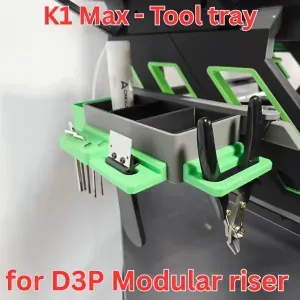
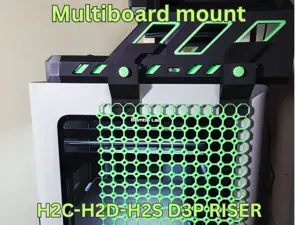
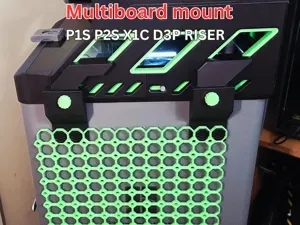
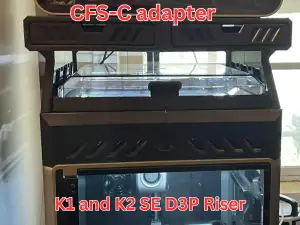
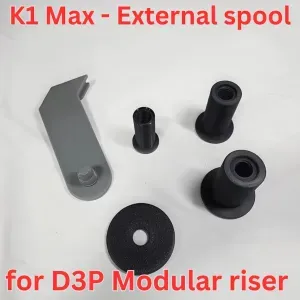
The model is for a side mounted attachment for a Multiboard panel. The system works with the K2, K2 PRO and K1 MAX D3P Riser.
Click on link to find out more about the D3P risers
K2 D3P RISER
K2 PRO D3P RISER
K1 MAX D3P RISER
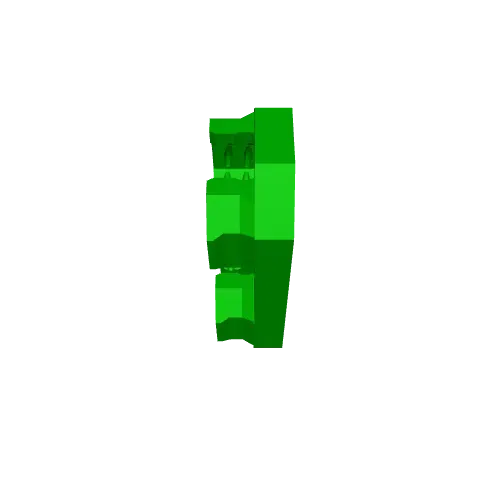
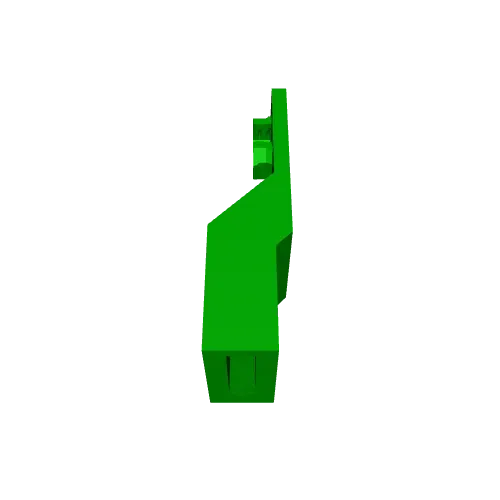
The model consists of hooks to attach to the riser and adapter to snap on the Multiboard. You will need to look on the Mutiboard site for the Part B snap connectors: https://www.multiboard.io/ .
The adapter can be mounted on the right or left side of the riser and a print profile is provided for each side.
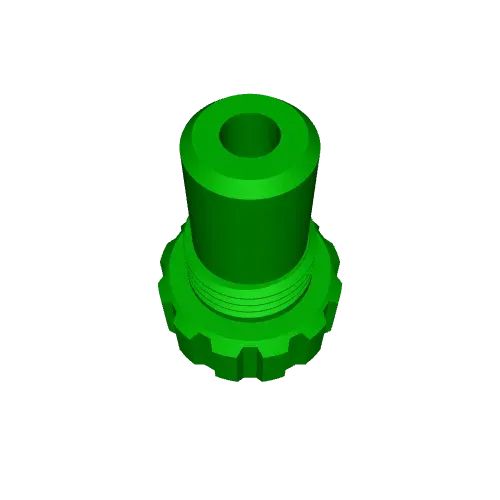
IMPORTANT: If you mount the Multiboard on the left of the printer (as referenced when standing in front of the printer and looking at it) the bolt will be a LEFT HAND THREAD which means you will need to turn COUNTER-CLOCKWISE TO SCREW IT IN AND CLOCKWISE TO UNSCREW IT!
A pdf instruction guide is also provided.
Unfortunately I am not all that familiar with the Multiboard system so I suggest you look at their website https://www.multiboard.io/ if you have any questions about generating your Multiboard or obtaining components for it. Thank you
If you are looking for Multiboard models I suggest you have a look at Stoofies00711 collection:
Stoffies07711 Multiboard models
3D PRINTING PRINT SETTINGS
IMPORTANT I upload a print setting files for all my models. The print settings has the parts positioned for correct printing.
I strongly recommended you use my print setting file. If not, I will not be able to assist you if there is an issue when printing. From experience, many of the issues with printing my models are on account of users not using my print settings.
A left and a right side print setting is provided. IMPORTANT: If you mount the Multiboard on the left of the printer (as referenced when standing in front of the printer and looking at it) the bolt will be a LEFT HAND THREAD which means you will need to turn COUNTER-CLOCKWISE TO SCREW IT IN AND CLOCKWISE TO UNSCREW IT!
3D PRINT SETTINGS
I use the following settings and materials to print this model:
Infill % : 15% (no need for more)
Nozzle diameter: 0.4 mm
Layer height: 0.2 mm standard
Names are used only to indicate the source of a result. Polyzon is not affiliated with the listed sites.