
$ 5.00 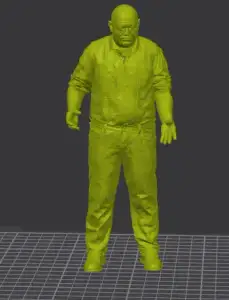
STALKER 2 Sidorovich
Creality Cloud
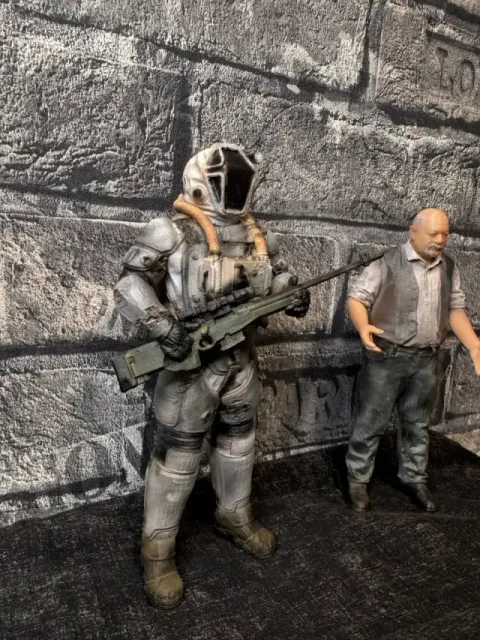
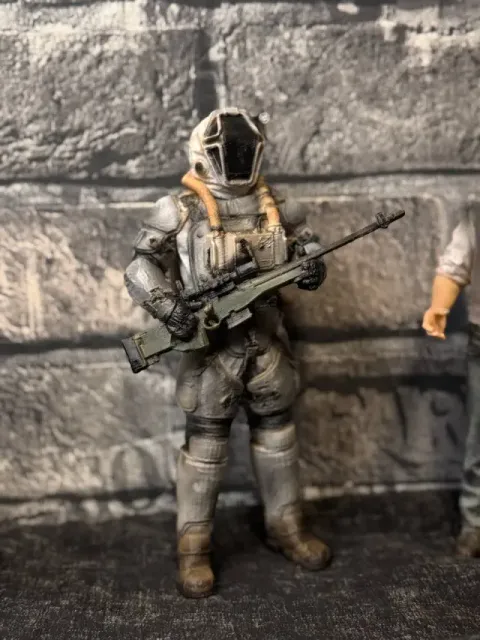
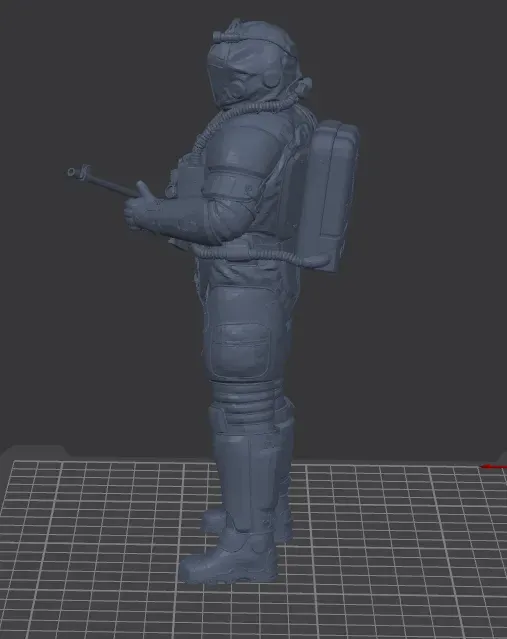
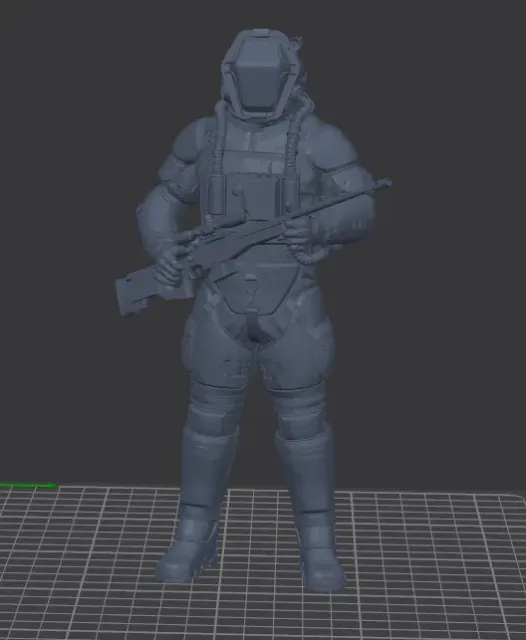
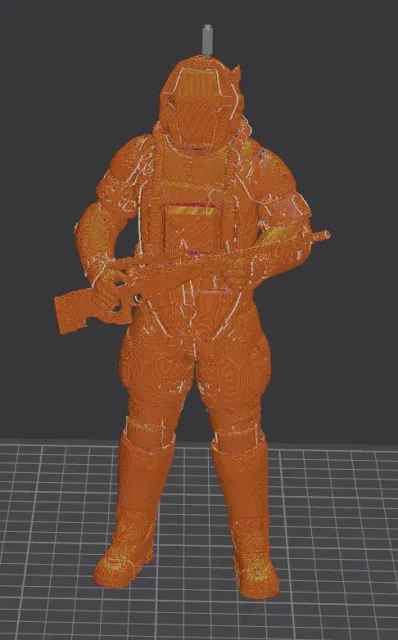
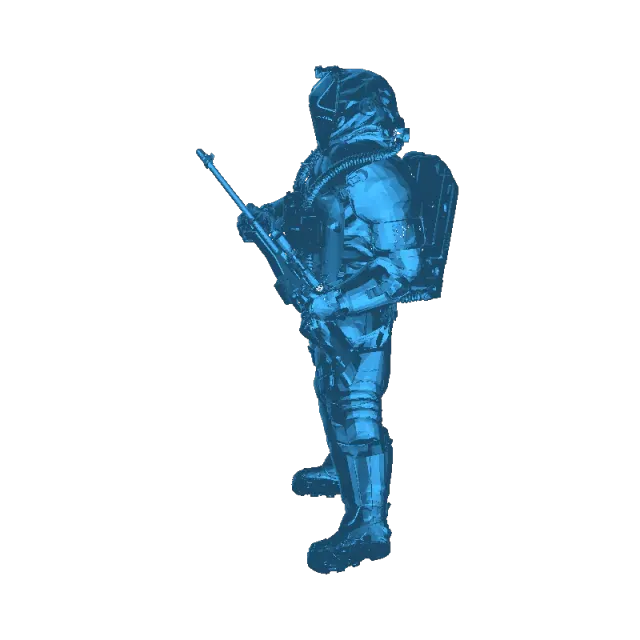
Here is the English translation of this guide, specifically adapted for modelers and miniature painters (using proper hobby terminology):
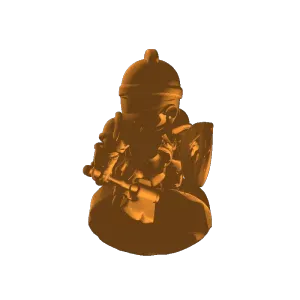
🎨 Miniature Painting & Detailing Guide 1. Main Suit and Armor Plates (Large Volumes) Fabric Base: Matte light gray (almost off-white) color. The fabric should look dense and rubberized. Apply a deep dark gray or earthy wash into the folds and crevices to simulate the ingrained dust and grime of the Zone. Protective Plates (Thighs, shins, shoulders): Rich medium gray color with a matte finish. Tactical Stripes: Carefully paint double horizontal white stripes on the shin guards and shoulder plates. Joint Corrugation: Paint the textured ribbed inserts behind the knees and inside the elbows in a deep matte black (to mimic thick rubber). 2. Helmet and Visor (Main Focal Point) Helmet Shell: Matches the light gray fabric of the suit. The small round flashlight on the top right of the helmet should have a metallic housing with a bright white or lemon-yellow dot for the lens. Visor (Glass): * Option 1 (For solid/opaque prints): Paint the visor glass with a deep gloss black, or create a smooth gradient from dark blue to black with a sharp white dot reflection to simulate glass.
Option 2 (For clear resin/separate plastic parts): Paint the face inside using natural skin tones, and lightly coat the inside of the clear visor with a gloss varnish. 3. Chest-Mounted Life Support Unit (Fine Details) Main Unit Box: Dark gray or gunmetal/graphite color. Lightly drybrush the edges with a metallic silver paint to show chipped paint and wear. Switches and Indicators: * The large circular selector dial in the center is solid black.
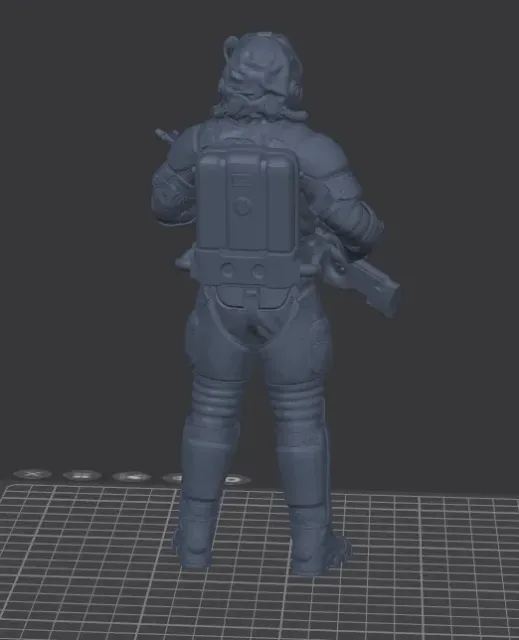
The three upper buttons: Red, Yellow, and Green. The three lower rectangular screens: Bright lime green or light green (to create an illuminated LED look). Marking: Use a fine detail brush or a micro-liner pen to neatly paint the white designation "ССП-100" (or "SSP-100") on the flat panel just above the green indicators. 4. Hoses and Harness Air Corrugations: Paint the massive ribbed hoses running from the helmet to the chest in a mustard-orange or muddy tan color. A brown wash will work perfectly here to define every single rib. Hose Connectors: The metallic sleeves at the base of the hoses on the chest should be painted in a steel/silver color, finished with a thin red O-ring seal right at the joint. Harness Straps: Matte dark brown leather. Paint all buckles, carabiners, and D-rings in a clean steel/silver color. 5. Boots, Gloves, and Weapon Gloves and Soles: Textured black rubber. Apply some mud pigments or drybrush an earthy tone onto the soles and toe caps of the boots. Rifle: Paint the stock and chassis in an army olive drab/khaki green. The barrel, scope, magazine, and bolt action mechanism should be painted in gunmetal (or matte black with edge highlighting using a silver steel color). 💡 3D Printing Post-Processing Tip: Since this model has many flat, smooth surfaces (armor plates, chest unit, helmet), pay extra attention to sanding down the layer lines in these areas before priming. For the small details like the hose ribs and toggle switches, use thin washes to shade them, which will instantly pop the details and give the miniature great depth even at a small scale.



Names are used only to indicate the source of a result. Polyzon is not affiliated with the listed sites.