
Free 
Metric Bolt Gauge
MakerWorld
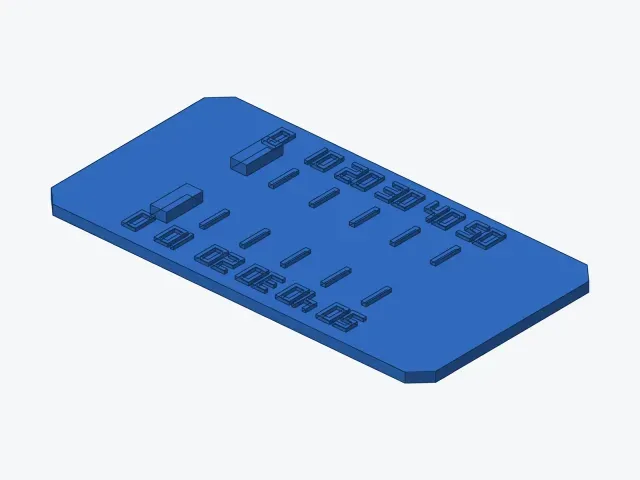
BoltStep: 10/20/30/40/50 mm Fastener Length Gauge
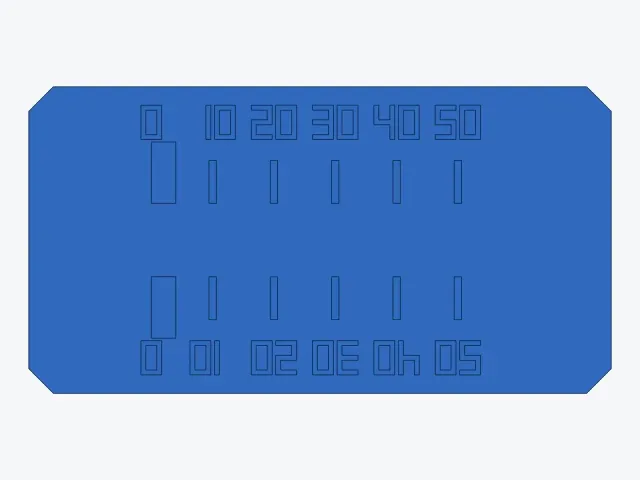
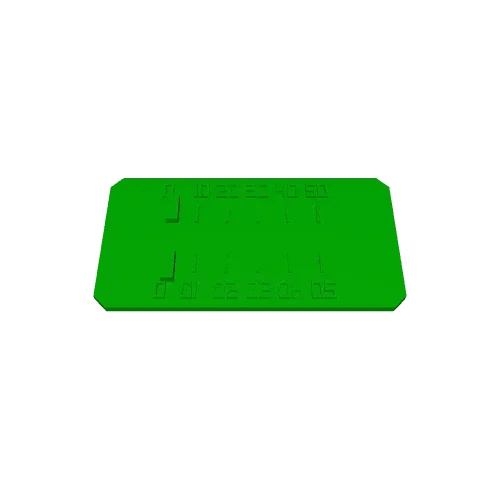
BoltStep is a compact one-piece bench gauge for comparing the under-head length of ordinary bolts and machine screws. Put the underside of the fastener head against the two raised datum ears, keep the shank in the clear center lane, and compare the tip with the paired 10, 20, 30, 40, or 50 mm marks. It is meant for quick workshop sorting and identification when a ruler is inconvenient.
How the datum works
The functional datum is the left face of both raised ears at X=20 mm. The ears sit on opposite sides of a 12 mm wide center lane, so a fastener shank can pass between them without meeting a raised scale mark. The paired tick centers are placed exactly 10, 20, 30, 40, and 50 mm from that datum plane. Rest the underside of the head against both ears rather than placing the outer top of the head at zero.
Two viewing directions
The numeric scale is duplicated along both long edges. One row reads from the first side and the other is rotated 180 degrees for reading from the opposite side. This is intentional. Turn the gauge or approach it from either edge and the nearest 0, 10, 20, 30, 40, 50 sequence is upright. The opposing row can look reversed when viewed from the other direction.
Dimensions and geometry
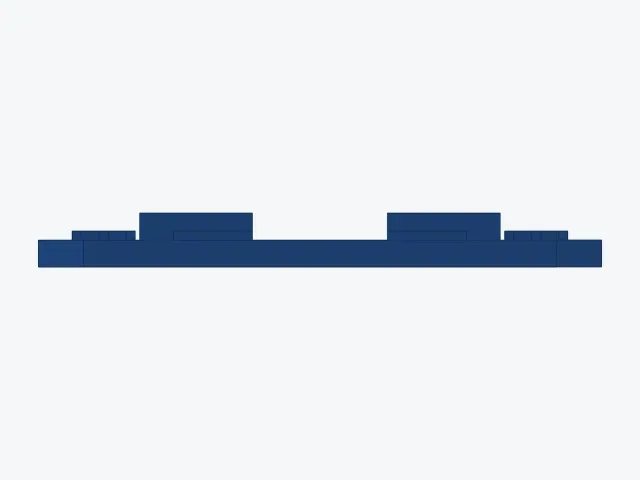
- Overall size: 95 x 50 x 4.8 mm
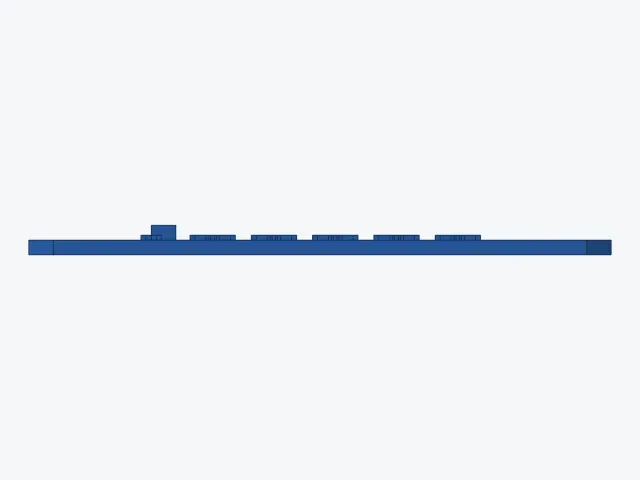
- Base thickness: 2.4 mm
- Raised scale height: 3.2 mm overall
- Datum ear height: 4.8 mm overall
- Clear center lane: 12 mm wide from X=20 to X=75 mm
- Datum plane: X=20 mm
- Tick centers: 30, 40, 50, 60, and 70 mm in model coordinates
- Measured lengths from datum: 10, 20, 30, 40, and 50 mm
- One connected closed solid with a full planar underside
Use
- Lay the gauge flat on a stable surface.
- Place the bolt or screw shank in the center lane.
- Slide the underside of the head against both datum ears.
- Read the nearest paired mark at the fastener tip.
- Use calipers or a ruler when the exact length falls between the five nominal marks.
BoltStep is a comparison aid, not a calibrated metrology instrument. Printer scale, first-layer expansion, extrusion width, material shrinkage, and worn fastener ends can affect the practical reading. Check printer dimensional accuracy before relying on the marks for a tight mechanical specification.
Printing
- Place the complete flat underside on the build plate.
- No supports are required in the intended orientation.
- A 0.20 mm layer height is a practical starting point.
- Use three or more walls if the gauge will be handled frequently.
- PLA or PETG are suitable starting materials for ordinary workshop use.
- For a two-color scale, an optional filament change at Z=2.4 mm colors the raised marks and datum ears together.
Digital verification
The STL is generated deterministically from an editable pure-Python planar-cell model. Two independent builds are required to produce byte-identical files. The mesh audit checks one connected closed consistently oriented two-manifold, exact 95 x 50 x 4.8 mm bounds, full planar bed contact, positive volume, and zero boundary edges, nonmanifold edges, degenerate triangles, duplicate faces, orientation conflicts, stored-normal mismatches, or downward non-bed faces. Separate functional checks verify the X=20 mm datum faces, the unobstructed 12 mm center lane, both members of every paired tick, and exact 10, 20, 30, 40, and 50 mm offsets. These checks describe the digital geometry and do not replace printer-specific dimensional calibration.
Names are used only to indicate the source of a result. Polyzon is not affiliated with the listed sites.