
Free 
Spengler Neutrona wand Frutto bargraph frame v2
MakerWorld
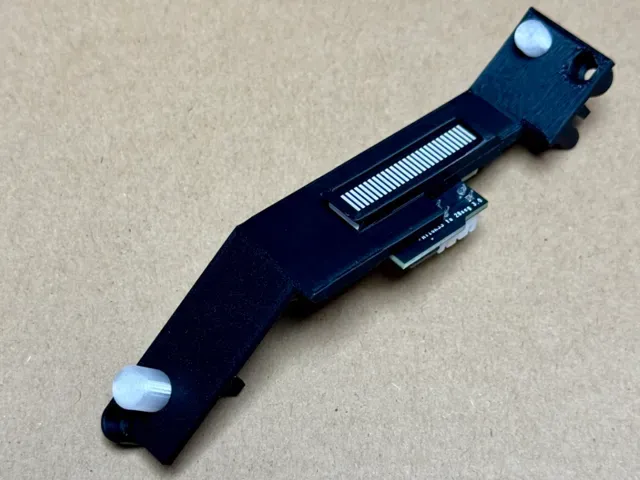
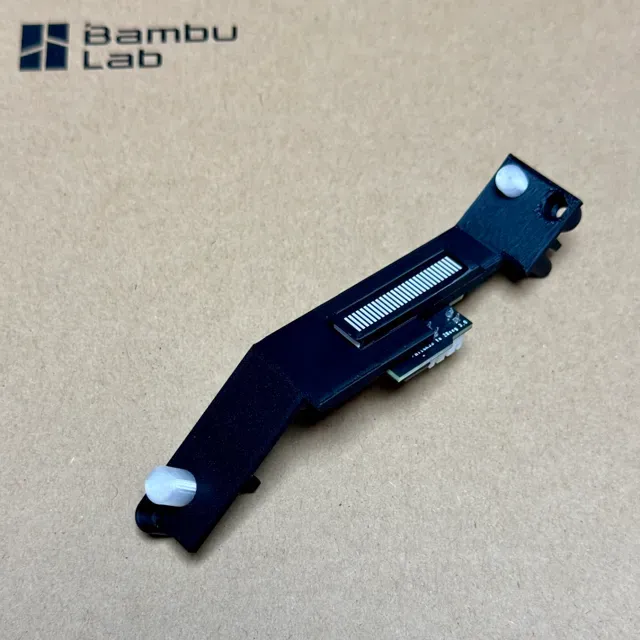
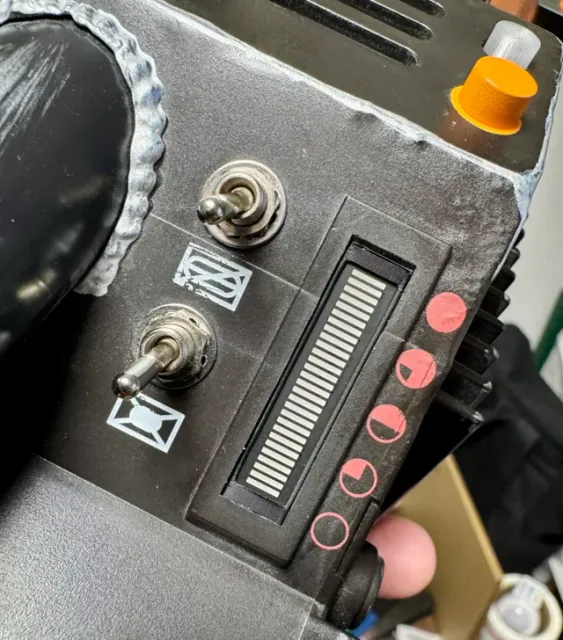
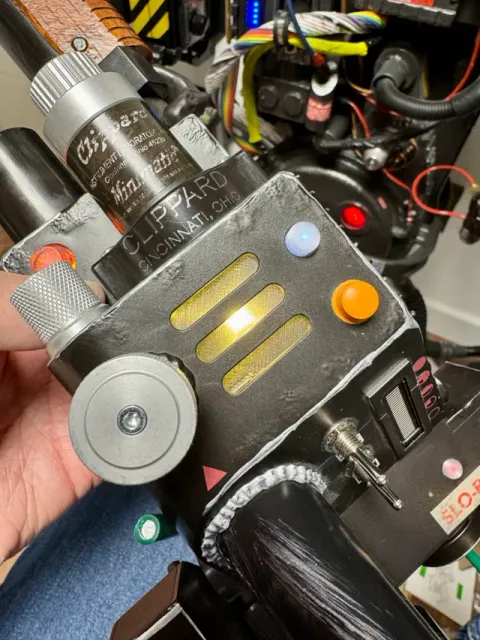
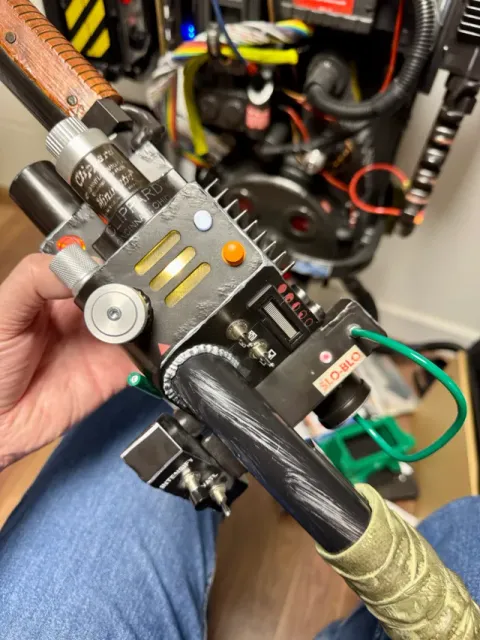
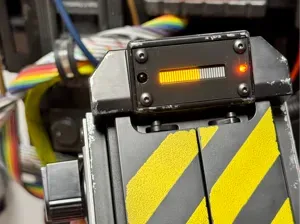
For those of us that wanted to upgrade our wand, with the brilliant Frutto 28 segment bargraph upgrade, the install can be a little daunting, as you need to modify the existing clear plastic frame within the wand, there's no official instructions on that, so sadly it involves some guesswork and it's irreversible too.
So I've re-made the wand internals, but designed to fit the Frutto bargraph in.
This design has everything you need to replace the current plastic internals, the clear vent cover is a separate part, so can be optional, as some people prefer the look without (more film accurate), I've made it just to diffuse the light, rather than the existing plastic shapes to fill the vents.
I've also included some optional spacers / adaptors so you can use either afterlife 5mm cliplite covers or a more accurate 84/89 slow-blow lens cap. I've not tested these (other than printing them), as don't have those lens covers / diffusers / hats to hand.
Further instructions below.
Dave.
Boost Me If you like my work, please consider giving it a boost, it's a great way to support creators on this platform. Printing instructions:
This set of files has 3 plates all labelled within the 3MF file (at least in the Bambu slicer):
Main body (print in black) - Prints with either a 0.4 or 0.2, recommendation is 0.4 , the 0.2 can end up leaving too much in the threaded screw in parts - You can use any bed plate type here.
Clear parts (print in transparent) - Needs a 0.2 nozzle, otherwise the inserts won't print - you could however just glue them in place if you don't have, or don't want a 0.2 nozzle - Recommend a smooth / supertack plate
Optional parts (print in black) - Needs a 0.2 nozzle, otherwise the inserts won't print - you could however just glue them in place if you don't have, or don't want a 0.2 nozzle. - Recommend a smooth / supertack plate
Consider if you need to print in something a little more heat resistant than PLA, depending on how likely this will be exposed to very warm temperatures. I'm in the UK, so no real worries for me.
Assembly instructions:
These instructions assume you are making this as a drop in part, not buying additional lenses, please use the spacers as appropriate in place of the clear lenses.
First print both the Main Body and Clear parts plates, using black for the main body and transparent for the clear parts.
Remove all the supports for the parts, being careful not to damage them, some of the parts are very thin on the main body. Also ensure that the threaded screw holes are clear.
The next step is to insert the lens covers, you have the big light hat (near the vent) and the slo-blo light, this is where they go:
They are simply push fit, you can use some glue if you like, but they are purposely snug.
Line them up
Then push them all the way in
Once you have got them in, you can now insert the Frutto bargraph, this is again a very snug fit on purpose, so please take care to insert it straight and push in with even force across the length of it.
This is how the assembled piece should look like
It's now time to fit into the wand. When doing so, please take care to not put force on this support piece, as it's fairly easy to break. It's only use is to hold a circuit board / switch in place within the wand
Fit the clear large piece into the wand first and screw down using the existing mount points and screws, then move onto the main body.
Get it roughly in position, so that the lens cover near the vent is through the hole and the screw hold is lined up, you'll then need to get the bargraph section lined up, it has a lip that you hook over the wand shell, as per the original clear plastic piece, this may need some small adjustments to push it into place.
The lip:
This is how it looks when fitted correctly
Now screw the main body into place at both ends.
That's it! - you are now good to reassemble the wand, re-using the existing holes.
Please take care when screwing into the threaded parts, I've tried to keep everything the same size, which does make this a touch delicate, but as long as the holes are cleaned out and you take your time, this should all fit together nicely.
Now the fun part of wiring it in!
Some links:
Frutto bar-graph https://fruttotechnology.com/ols/products/28-segment-bargraph-pcb-for-spengler-neutrona-wand (Option 2)
Afterlife lens covers
https://gbfans.com/shop/pack-parts/led-cliplites?fbclid=IwY2xjawIAPAZleHRuA2FlbQIxMAABHZ50E3-W4mWU4N5dFQSN6eesgIOTp8Twkgg7axvNoMWKk-lOjJqdFqciBA_aem_KM_16jaP5IwE7j1SliXRTQ
0.2mm nozzle, 0.12mm layer, 4 walls, 100% infill Recommend using the 0.4 for the main body and the 0.2 for the clear and optional parts
0.4 Nozzle, 0.12mm layer, 2 walls, 100% infill Recommend using the 0.4 for the main body and the 0.2 for the clear and optional parts

Names are used only to indicate the source of a result. Polyzon is not affiliated with the listed sites.
Comments