
Free 
Mini Radius Gauge – Credit Card Size
MakerWorld
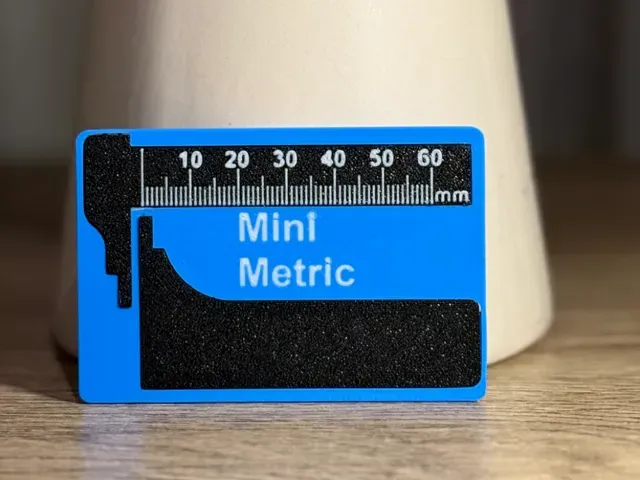
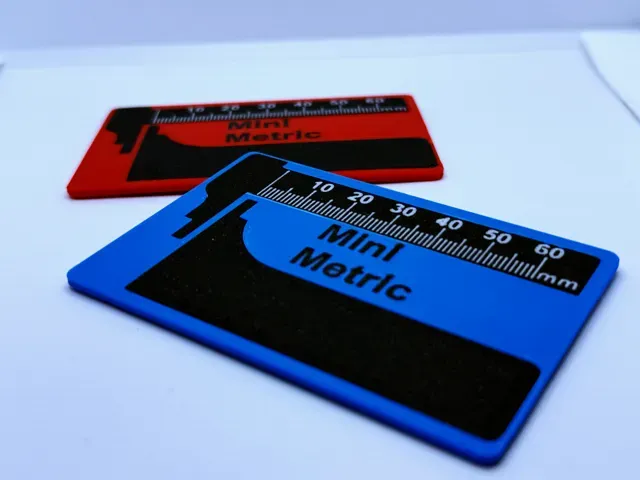
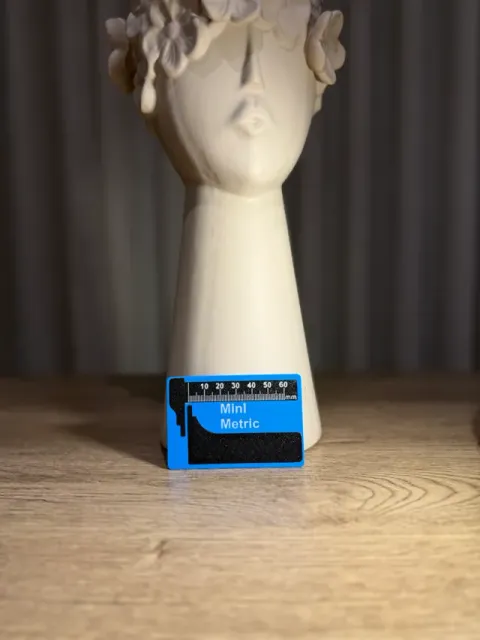
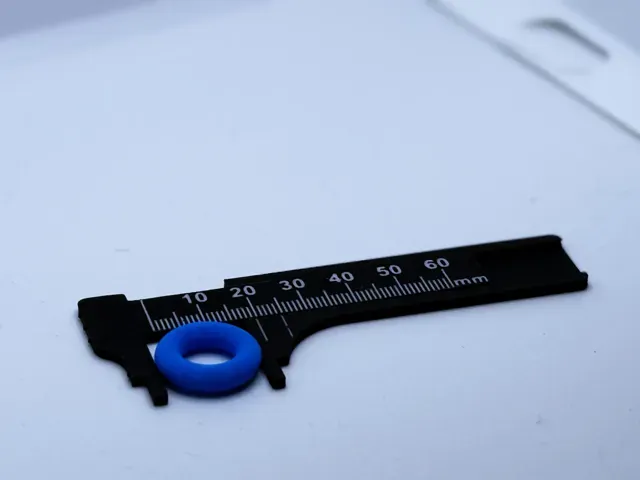
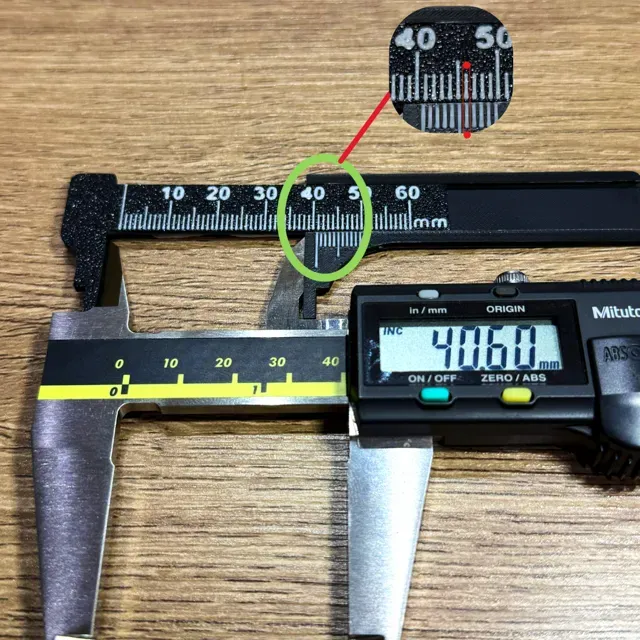
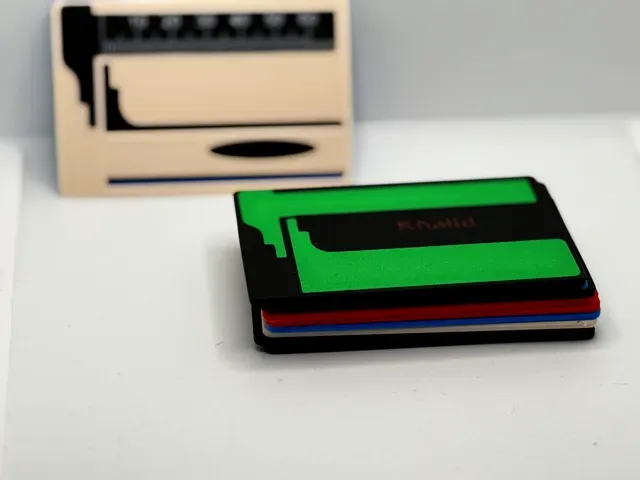
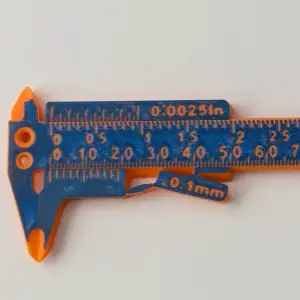
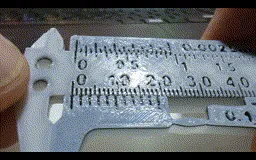
Mini Metric: Credit Card-Sized Vernier Caliper
Precision Measurements, Anywhere, Anytime
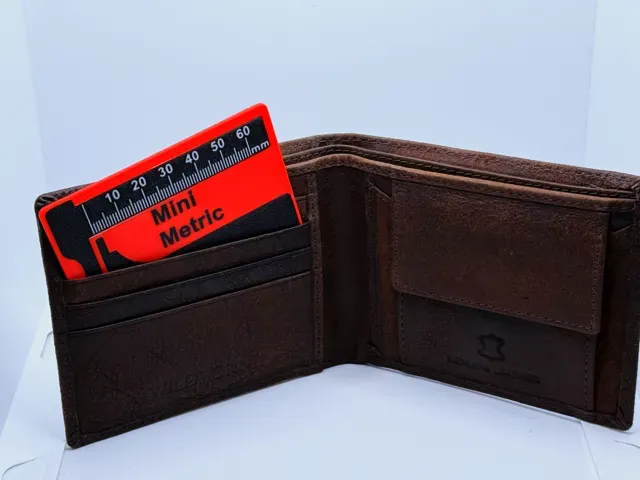
Meet the Mini Metric caliper—a portable, lightweight tool designed to slip into your wallet while delivering precise measurements for both internal and external diameters. Whether you're a student, a professional, or a hobbyist, this is a handy solution for quick and reliable measuring on the go.
Key Features
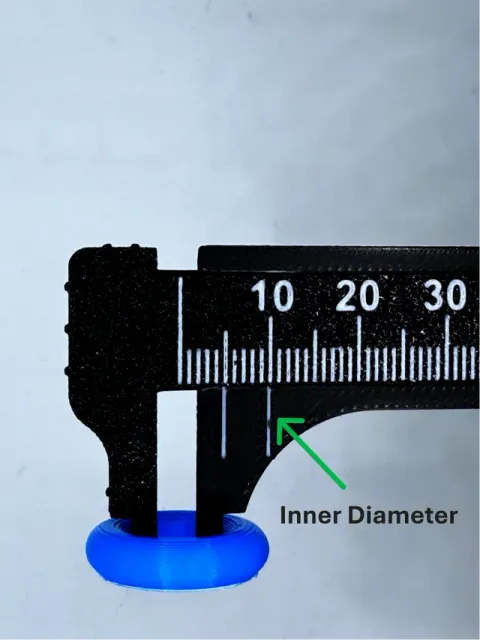
- Compact & Lightweight: Weighs around 15g and fits easily in your wallet or pocket. - Fast Print Time: Takes just about 1 hour to print all parts. - Educational & Practical: Perfect for students learning about precision and calibration techniques. - Tool-Free Assembly: Slides together without the need for screws or glue. - Dual-Purpose Design: Measure both internal and external diameters with the clearly marked " in " indicator for inner measurements. - Beginner-Friendly: No supports are required, making it an easy print for those new to 3D printing. - Customizable: Print it in your favorite colors for a personalized or educational touch. Getting Ready to Print
1. Clean Your Bed
Give your print bed a good wash with dish soap and warm water to remove any oils or particles. This step is crucial for small details like the text to come out clearly.
Avoid relying solely on isopropyl alcohol—it may not get rid of all the residue.
2. Check Your Nozzle
Make sure the nozzle is clean and free of clogs or partial blockages.
Printing & Post-Processing Tips
1. Let It Cool First
Don’t rush to remove the parts from the bed. Let everything cool completely to avoid bending or damaging the print.
2. Clean Up
After printing, carefully remove any brim ears from the card piece.
3. First Use
The first few times you slide the caliper's parts together, they may feel a bit tight. That’s normal and will ease with use.
How to Use the Caliper
- For internal measurements: Use the jaws marked with " in " - For external measurements: Use the outer jaws. - Slide the components into place and start measuring .
Boost Me ✨ Love the Mini Metric Caliper? ❤️ Share your prints 📸 and ideas 💡! Your feedback keeps me creating! 🚀 Boost Me ✨ Love the Mini Metric Caliper? ❤️ Share your prints 📸 and ideas 💡! Your feedback keeps me creating! 🚀
Printing Tips for Success
- A clean bed makes all the difference for precise, readable details. - While the design is fully compatible with a 0.4mm nozzle , you can opt for a 0.2mm nozzle for even sharper text details.
--------------------------------------------------------------------------------------------------------------
Update 1 : 13/2/2025 ( No AMS version added )
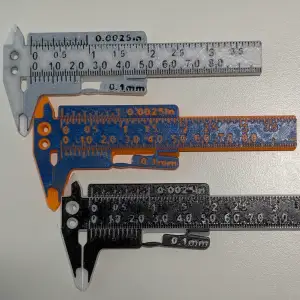
Update 2 : 22/2/2025 ( Vernier Scale version added )
Vernier scale Version
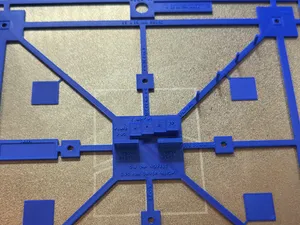
COLOR - 0.08mm layer, 6 walls, 40% infill - Layer height: 0.08 mm - Print without support - Colorized per part - 6 walls and 40% infill density - Sequential printing enabled to reduce printing time and improve quality
COLOR - 0.08mm layer, 6 walls, 40% infill ( A1 Series ) - Layer height: 0.08 mm - Print without support - Colorized per part - 6 walls and 40% infill density - Sequential printing enabled to reduce printing time and improve quality
COLOR - 0.08mm layer, 6 walls, 40% infill (Vernier Scale) - Layer height: 0.08 mm - Print without support - Colorized per part - 6 walls and 40% infill density - Sequential printing enabled to reduce printing time and improve quality
COLOR - 0.08mm layer, 6 walls, 40% infill (Vernier Scale) A1 - Layer height: 0.08 mm - Print without support - Colorized per part - 6 walls and 40% infill density - Sequential printing enabled to reduce printing time and improve quality
NO COLOR - 0.08mm layer, 6 walls, 40% infill (A1 Series ) - Layer height: 0.08 mm - Support on one part - Colorized per part ( even without AMS ) - 6 walls and 40% infill density - Sequential printing enabled to reduce printing time and improve quality
NO COLOR - 0.08mm layer, 6 walls, 40% infill - Layer height: 0.08 mm - Support on one part - Colorized per part ( even without AMS ) - 6 walls and 40% infill density - Sequential printing enabled to reduce printing time and improve quality
Mini Schieblehre - 0.2mm nozzle, 0.08mm layer, Original gedruckt auf meinem A1 mini mit einer 0,2 mm Düse. Habe es mehrmals mit einer 0,4 mm Düse probiert, aber hatte immer Probleme die Einzelteile der Schieblehre in die Karte einzuklemmen. Habe deswegen es mit der 0,2 mm Düse versucht und siehe da, es gab keine Probleme. Braucht zwar länger, aber der Druck sieht meiner Meinung nach auch qualitativ besser aus. Auch den text habe ich angepasst. Beim A1 mini verteile ich die einzelnen Objekte auch gerne auf mehrere Druckplatten, weil so der Druck meiner Meinung nach qualitativ besser ausfällt. Sind mehrere Objekte auf einer Druckplatte, so besteht immer die Gefahr dass durch den ständigen Wechsel die Qualität leidet. Dies gilt insbesondere für den kleinenA1 mini. Die Druckzeiten verlängern sich dadurch auch nur unwesentlich. Wem das Druckprofil gefallen hat, den bitte ich um eine positive Bewertung

Names are used only to indicate the source of a result. Polyzon is not affiliated with the listed sites.