
Free 
V-Spooler X
MakerWorld
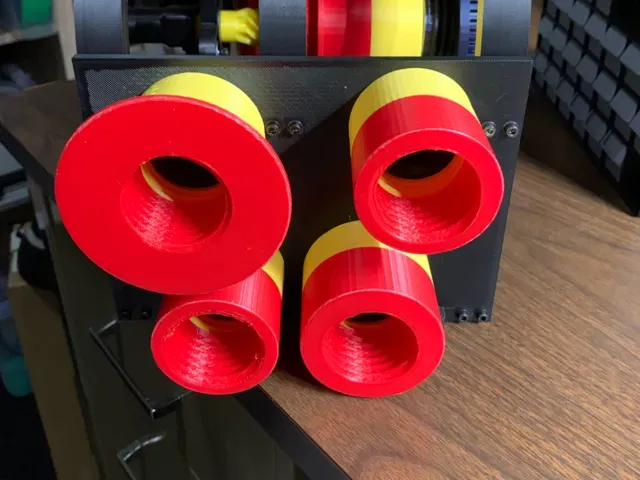
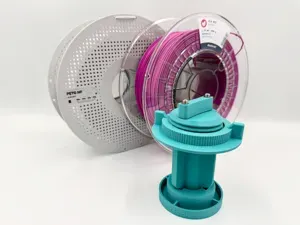
This is a plate upgrade to hold the spool adapters created by Degosnell for the V-Spooler x created by FyrbyAdditive .
( This will also work with the regular V-Spooler but may not be as pretty )
Spool adapters- https://makerworld.com/en/models/580250?from=search#profileId-501094
V-Spooler X- https://makerworld.com/en/models/474049?from=search#profileId-384277
Parts List
- 8 - M3 x 5.7 ( the same inserts used when building the V-Spooler ) - 2 - M3 x 18 Cap Screws - 4 - M3 x 8 Cap screws
Step 1
Put inserts in the top two holes in both arms.
Step 2
Put inserts in the middle two holes on each arm.
Step 3
Remove all six screws holding in the bottom cross memeber.
- ( These six screws will go back in when the new plate gets put on )
Step 4
Remove the two screws in the middle support .
- ( These will not be used again )
Step 5
Remove the two top screws on both outer supports.
- ( These same screws will go back for the new supoorts ) - ( Leave the two screws in the center support )
IT SHOULD LOOK LIKE THIS AT THIS POINT
Step 6
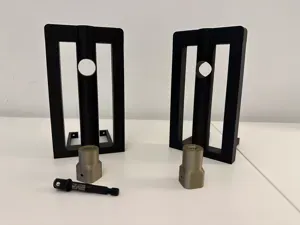
Put in the new supports on both sides.
Step 7
Put the plate up againts the V-Spooler
Step 8
Take the 6 screws from the bottom support and put them in the bottom 6 holes in the new plate.
( Do not screw them in all the way Just get them started )
( The bottom support will not be used again )
Step 9
Put two M3 x 8 screws with washers in the most left two holes of the plate
( Do not screw them in all the way Just get them started )
Step 9
Do the same to the right side. Put two M3 x 8 screws with washers in the most right two holes of the plate.
( Do not screw them in all the way Just get them started )
Step 10
Put two M3 x 18 screws with washers in the center two holes.
( Once those two are in tighten up all the screws in the plate )
Step 11

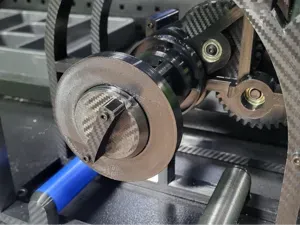
Screw all your adapters onto the plate for storage. There will be one adapter that will stay on the spindle as shown in second picture.
Congradulations if you have made it this far you are done!!!
0.16mm layer, 3 walls, 15% infill PETG
16mm hight ( Makes the threads a little cleaner )


Names are used only to indicate the source of a result. Polyzon is not affiliated with the listed sites.