
Free 
Bambu Spool Adapter/Spacer for Polymaker/Overture
Printables
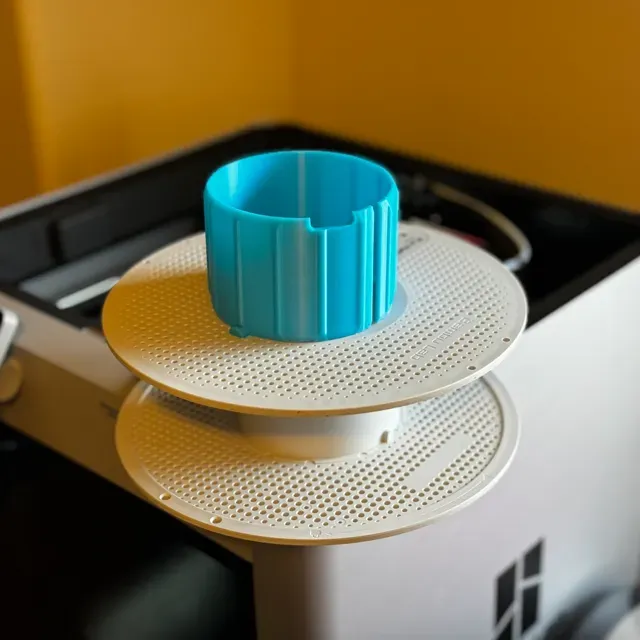

[Update] I updated the model to add a notch to accomdate the tail end of the filament, on the inside of the spool. It should be wide enough to accommodate both Polymaker and Overture cardboard spools. I can't garuntee that'll fit fine on every roll, but of the ones I have on hand it lines up fine.
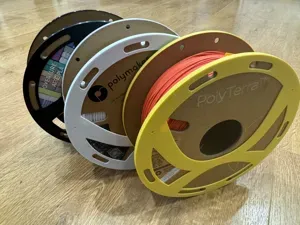
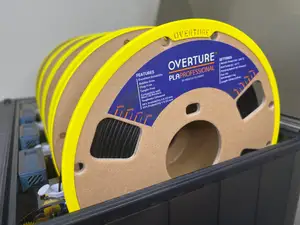
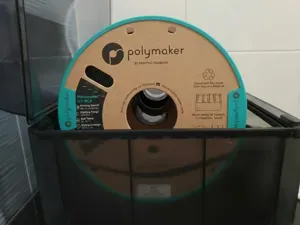
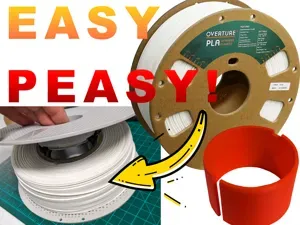
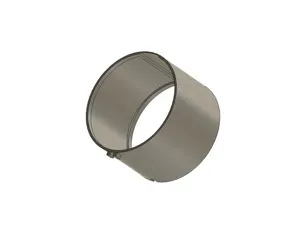
This is an adapter to help fit cardboard spools on the Bambu plastic spool holders, for use with the AMS. It has a few key differences over other spool spacer/adapters I've seen. It's not as tight fitting, but is also keyed for the Bambu spool holder, and the cardboard spool holders, for a more universal fit and to help prevent slipping of the spool. So far I've been using it on Overture PLA+ and Polyterra spools. Your milage may very. There is a slight difference in size to those spools though and it is working for both, for me.
You may have seen the technique of ripping the sides off of the cardboard spools and sticking it on the plastic Bambu spool holder. It works! And can work well. However, it is a little loose, and to get a good fit and motion, you need a spacer in there to help snug things up. That's where this item comes into place!
I designed this after trying a few other similar designs. The ones I tried were all based on a very snug fit. It was too snug, and it was then that I realized not all these cardboard spools are the same. I got one stuck mid way and had to respool a spool of filament. A very tedious adventure when your spool is all messed up. I noted a few things as I did this. I thinned the model out a bit so it'd fit better between different sizes. I also added a nub so it'd key into the slot on the cardboard spools, negating the need to have it overly snug of a fit.
Instructions: (If this is your first time doing this, I recommend practicing on a used cardboard spool first, or a half used roll you're not too worried about!)
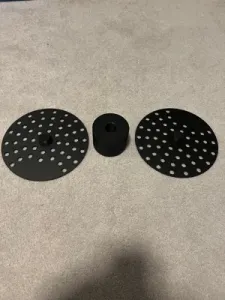
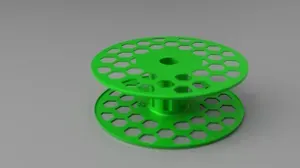
You'll find a little cutout and a nub on the adapter. The cutout will fit with the Bambu spool holder. The nub will fit into the cutout you'll find on the cardboard spool holder.
Look on the inside of the cardboard spool. You want the side that doesn't have the filament poking through. We're going to very carefully pull that side off, careful not to disturb the filament!
We're going to place the adapter into the middle of the cardboard spool holder after we've pulled the side off. We'll find the notch on the cardboard spool holder and align the key on the adapter with it.
We'll then locate the notch for the Bambu spool holder on the adapter, and the key on the Bambu spool holder. We want to align these as we press the Bambu spool holder half onto our fresh spool of filament. Be careful not to disturb the filament as you press the pieces into place!
Turn the spool over, pull the other side, and put the other half of the Bambu spool holder in place!
0.2mm layer, 3 walls, 15% infill, Brim Setup to use a brim! Considering the thin edge on this, that brim should help make sure there's no popping up from the bed.
0.2mm layer, 2 walls, 15% infill I've added a subtraction modifier to the one side that faces the end of filament tail that sticks into the cardboard spool. I've found that this end of filament tail can be in various spots of the carboard spool, so this modifier hopefully makes an opening near that tail so that it can keep from getting pinched between the adapter and the carboard spool part.
PETG, 0.2mm layer, 3 walls, 15% infill Remix of OldSalty3D's Remix
Changes:
- Subtraction modifier enlarged for a better chance of the inner loose end of filament to have a place to go - Made the cutout that meshes with the nub on the spool smaller so the printed part doesn't wiggle as much - Profile tuned for PETG - Brim Recommended
PLA-CF, 0.2mm layer, 3 walls, 100% infill, Qty 2 Elephant Foot compensation set to 0. Brim does not do much when it's not attached.
0.6mm nozzle, 0.3mm layer, 1 walls, 15% infill Abs with 0.6 nozzle


Names are used only to indicate the source of a result. Polyzon is not affiliated with the listed sites.