
Free 
Radxa Penta SATA HAT NAS Case
GrabCAD
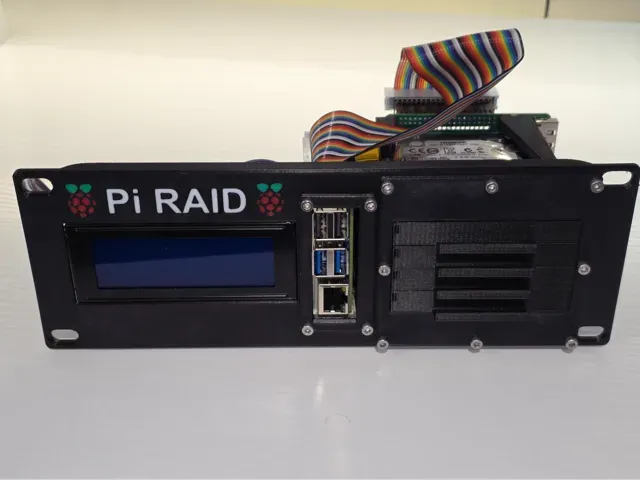
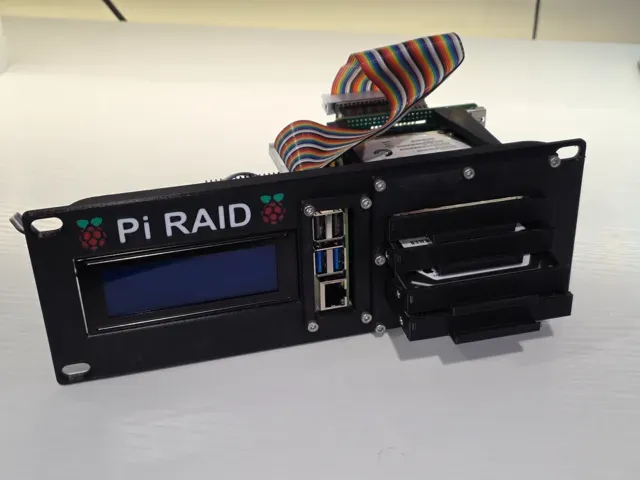
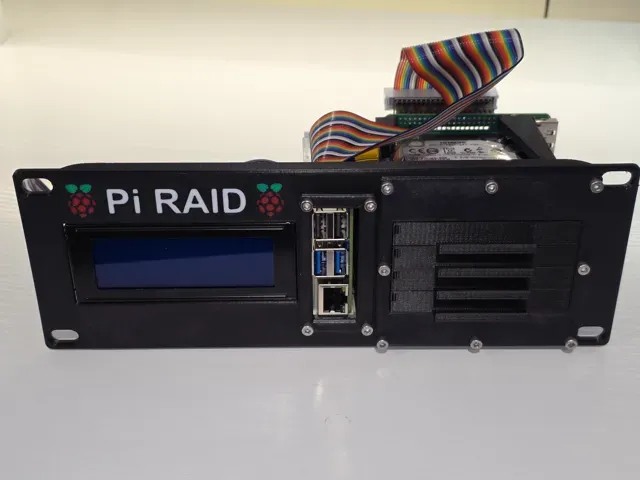
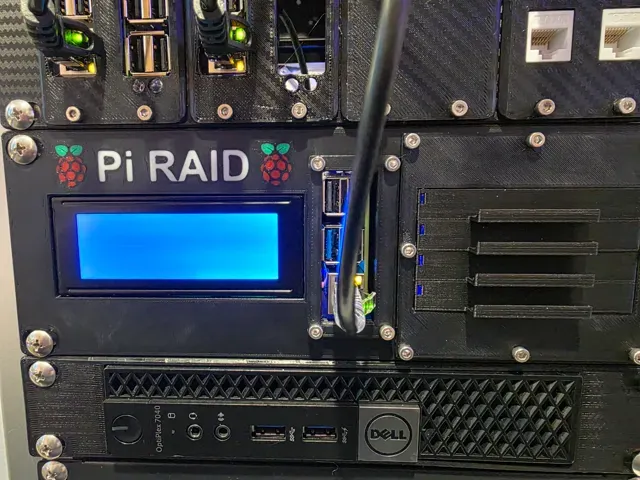
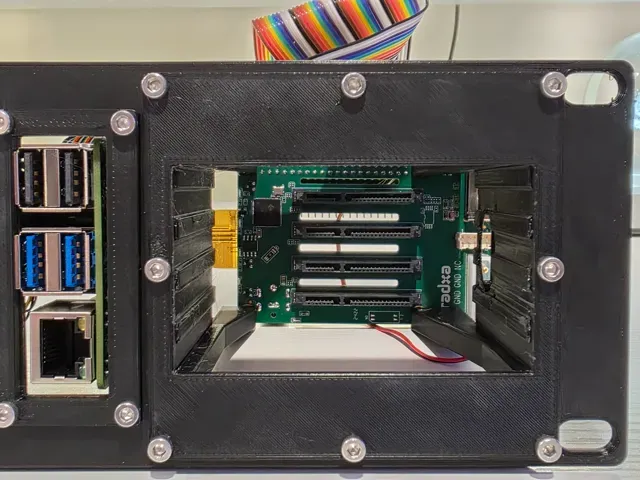
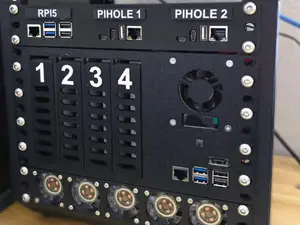
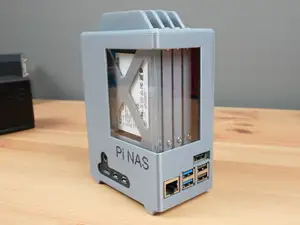
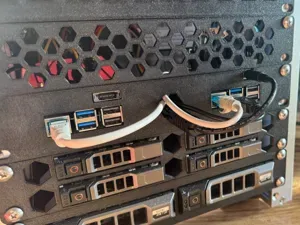
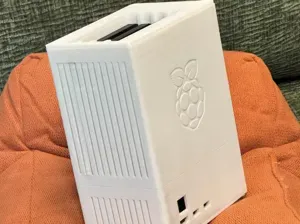
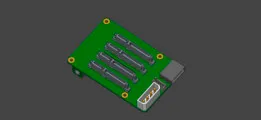
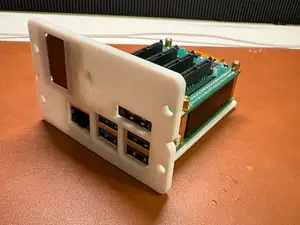
Boost Me Please boost this design if you like it! A DIY rack mount for a 10” mini server rack or half width server rack for a Raspberry Pi 5 with a PCIe Radxa Penta SATA Hat and 20x4 LCD Display. It supports four (4) 2.5” Hard Drives or SSD’s so you can run OMV or similar network attached storage server software on your Pi 5 and have a mini RAID storage system in your mini rack!
Parts consist of the main front plate (which can be printed with or without Logos/Text), an insert for the Raspberry Pi 5 SBC, and an insert for the Penta SATA hat board for the Raspberry Pi 5.
You’ll need the following components to successfully assemble this:
- Raspberry Pi 5 and a cooling fan for the Pi that is compatible with the mount (like this one or similar) - Radxa Penta SATA Hat - 20x04 IIC LCD - 40 Pin GPIO Ribbon Cable - 40 Pin GPIO Splitter - 5v 30mm x 30mm x 7mm Cooling Fan (for Drives) - M3 Screws Assortment (You’ll need an assortment, but you’ll want to use 16 M3x6 for front plates assembly and to attach the LCD, 8 M3x4 to attach the SATA hat, the Raspberry Pi, and M3x10 for the fan if you mount one) Feedback is welcomed! Let me know if you want to see any modifications and when I have time I'll look at making other versions.
I have created a GitHub page for the LCD to display the system stats as well. If you appreciate my designs and the work put into the code for the display, please consider buying me a coffee !
!!WARNING!! READ THE ALL INSTRUCTIONS BELOW PRIOR TO ASSEMBLY!
PRINT AND ASSEMBLY INSTRUCTIONS (SEE WARNING ON ELECTRONICS ASSEMBLY BELOW):
Print using recommended profiles for PETG on the Bambu Lab P1S or X1C. Make sure your filament is dry, or you may experience print quality problems. PETG can be more difficult to print with but is recommended as the Raspberry Pi and Penta SATA hat get warm and will very likely cause PLA to warp and deform over time.
- 1 Plate has the Inserts and the four Drive Trays - 1 Plate has the Front Plate (one with the Pi RAID text and Logo) and the other with no logo or text. You CAN customize this in Bambu Studio! - 1 Plate has the light guides with special print settings (experimental for the clear PETG filament). NOTE: I tried printing them using a modified profile with clear PETG but did not get the best results , they work but the lights are dim. I ended up cutting strips of CLEAR plastic from a sheet of crystal-clear plastic I had from another project approximately 1/32” to 1/16” thick – if you choose to do this, you need to cut them to strips 3mm x 108mm and they should fit and stay in with a drop of super glue along the rail (allow it to completely dry before inserting the tray!!). Assembly is straightforward, note that the fit is intended to be tight, but it should go together. You can attach the Pi to the insert before you insert it to the main rack plate, but you need to angle it as you insert it. The Radxa Penta SATA hat needs to be attached AFTER you attach that insert to the front plate. Once you have inserted them you can screw everything together and attach the cables.
!!WARNING!! READ THE BELOW PRIOR TO ASSEMBLY!
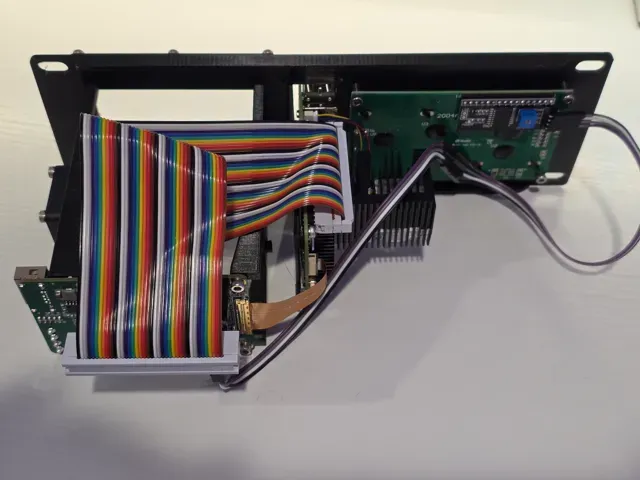
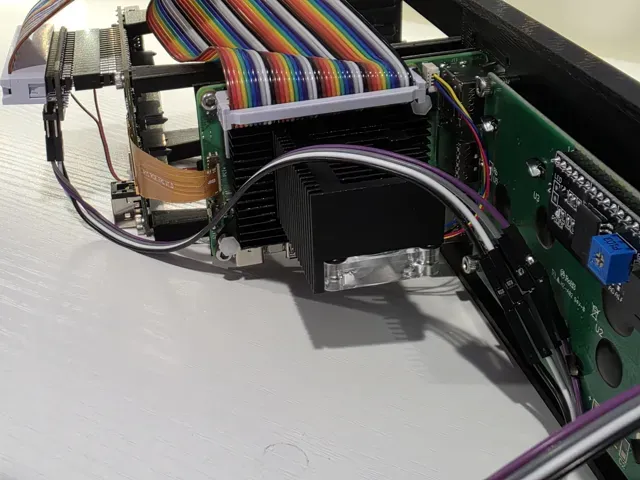
Pay special attention to the ribbon cables so as not to connect the GPIO ribbon or PCI-e Ribbons backwards! Doing so WILL permanently damage either (or both) the Raspberry Pi or the SATA Hat! ---You have been warned!--- I am not responsible for any damage caused during assembly! I have done my best to describe how to assemble these components, but it is entirely up to you to read the technical documentation from both boards to connect the correct pinouts from each board using the ribbon cables! At some point in the near future I may post a YouTube video to show the assembly process.
Look closely at the pinouts diagram and orientation on the Raspberry Pi to find Pin 1 and mark it on the Pi and then mark Pin 1 on the Radxa using the documentation from Radxa or by looking at it you can attach the cable in the correct orientation by lining up the PIN 1 on the cable to the correct pinouts on each board. Note that the Radxa powers the Pi from it, and you need to find a suitable 12v 5 or 8amp power supply for the Radxa as described in the Radxa SATA HAT instructions – I RECOMMEND YOU READ the instructions for the Radxa SATA Hat entirely PRIOR TO ASSEMBLY!
DO NOT OVERTIGHTEN the M3 screws or you may strip them out.
Once assembled, you can insert it into the rack and setup/install your favorite Pi OS to run your new Pi RAID!
0.28mm layer, 2 walls, 15% infill .28mm Layer Height - You can lower this to improve quality but it prints decent enough at this layer height as most of what you see is on the front plate once mounted. Note you will want to use a smooth or textured PEI plate depending upon preference of final look.
Painted Brim
Supports on plate only (You can print without supports.)
Multi-color - PETG Black, Red, Green, White for logo plate.
Transparent PETG for light guide plate.
-PLATE 3 Prints at a different speed and with different layer/wall settings to optimize clear printing!




Names are used only to indicate the source of a result. Polyzon is not affiliated with the listed sites.
Comments 0
Loading comments…