
Free 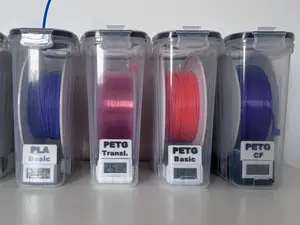
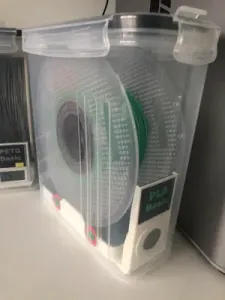
Cereal Box Dry box hygrometer desiccant
MakerWorld
✨ News :
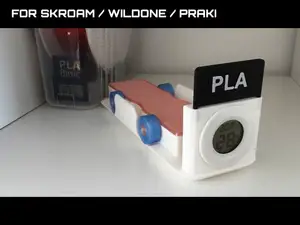
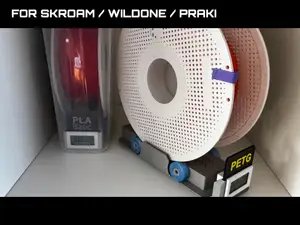
- A new removable silica beads container is now available, compatible with all Manu Ziloop rolling dry box models. It lets you refill or replace the desiccant by simply lifting the container out—no need to remove the entire base. https://makerworld.com/en/models/2333245-removable-desiccant-container-rolling-dry-boxes#profileId-2549417 - For users with SKROAM-style boxes (WILDONE, PRAKI), a separate “perfect fit” model is now available: https://makerworld.com/en/models/2217613-skroam-wildone-praki-cereal-dry-box-hygrometer#profileId-2411343
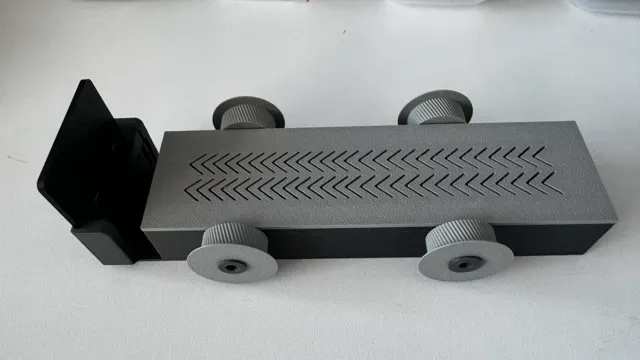
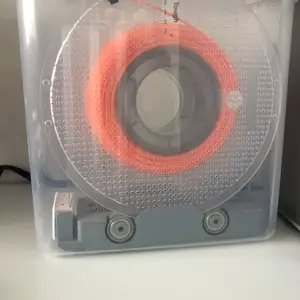
This universal model works with most cereal box containers sold on Amazon. It has been thoroughly tested and performs reliably across a wide range of boxes, though some minor variations in fit may occur depending on the brand.
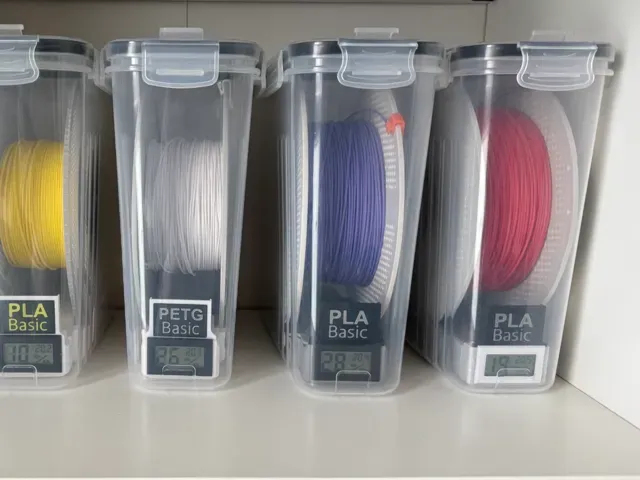
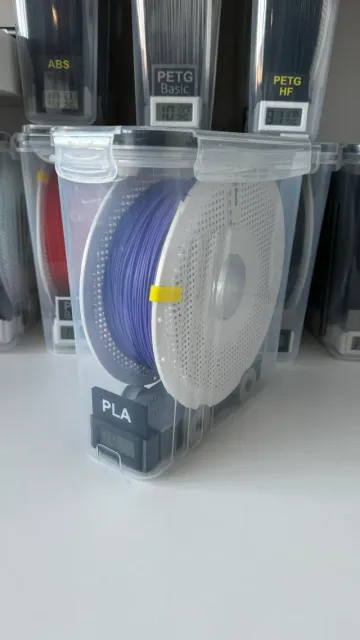
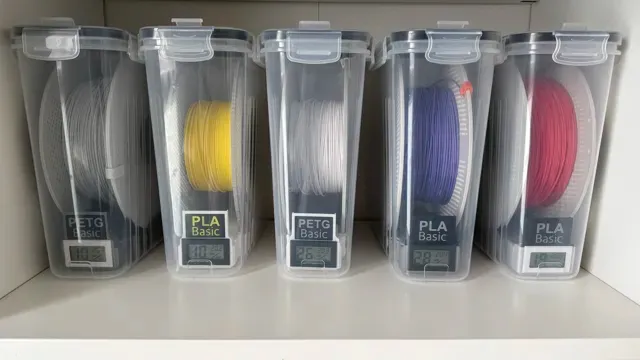
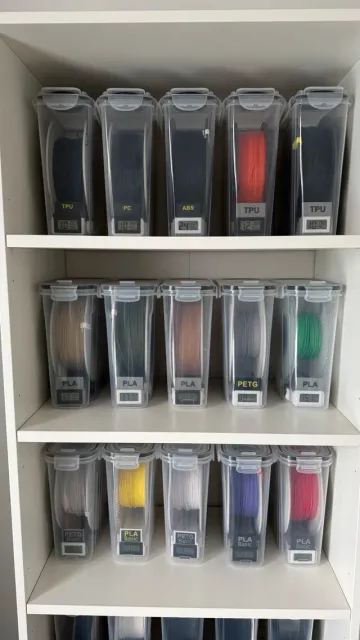
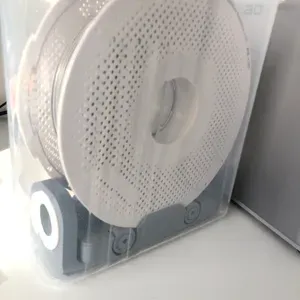
Using this model alongside “cereal boxes” allows you to keep filament spools in a sealed environment, protecting them from moisture.
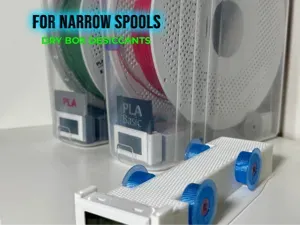
In case you need a model for narrow spools (for example, 500 g spools), take a look at the following link: https://makerworld.com/en/models/2203421-cereal-box-dry-box-desiccants-for-narrow-spools#profileId-2394245
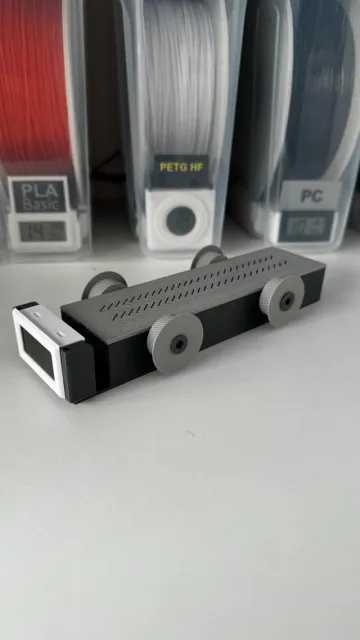
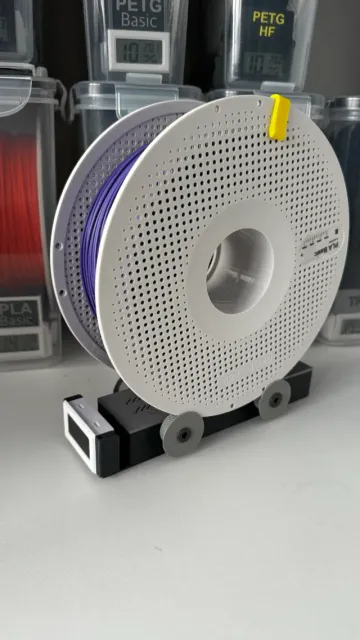
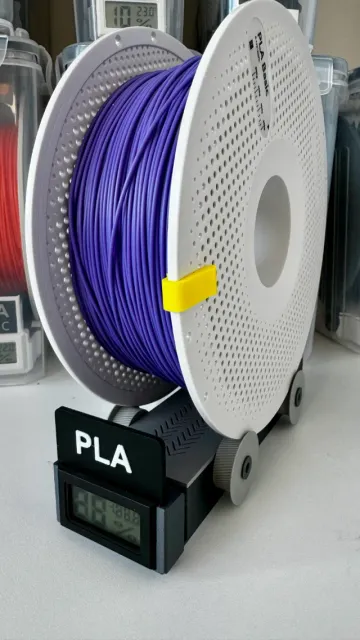
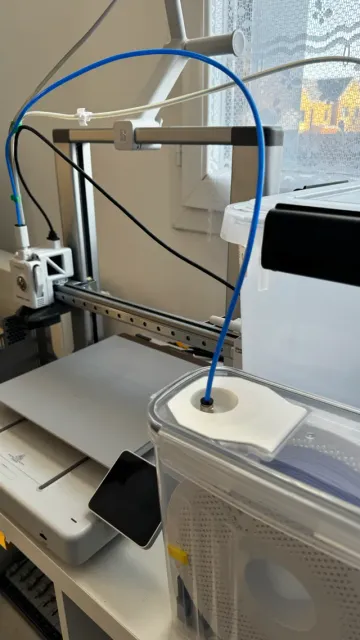
The rollers are especially helpful if you plan on printing directly from the spool while it remains inside the airtight container.
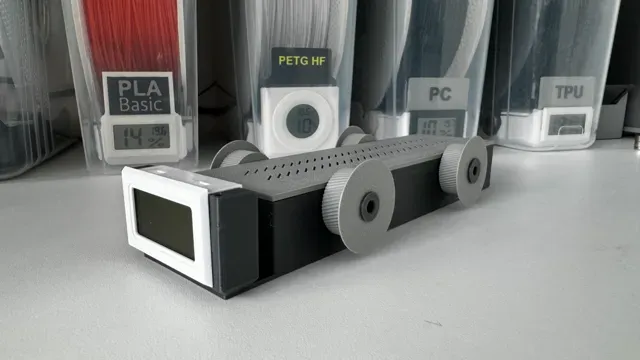
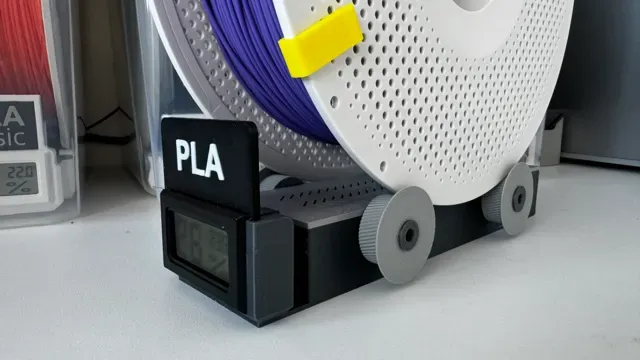
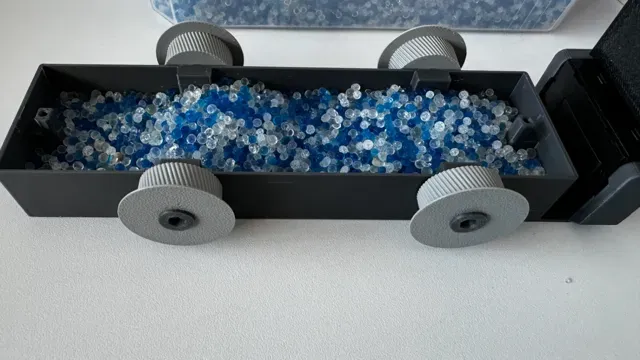
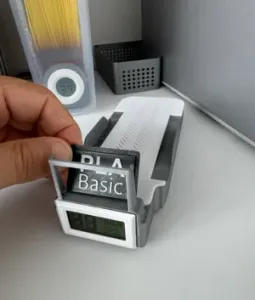
- It accommodates silica gel beads to keep the filament dry. - It includes a mount for a hygrometer, so you can track humidity and know when it’s time to replace the silica gel. - It also allows for adding labels to identify different filament types, which is particularly handy if you have multiple spools. - This design works with the majority of spools, from 50 mm (inner width) up to 69.9 mm (outer width). - As for the amount of silica gel, you can fill around 170 cm³. Personally, I use less than that, and it generally lasts about a month before I need to swap it out (I regenerate it by heating it in the oven). Use a 4mm hexagonal , allen wrench to screw the rollers. Tip: To allow the rollers to spin freely, tighten the screw all the way in (but not too tight, as it’s plastic, not metal), then slightly loosen it (about a quarter turn) until the roller turns smoothly without resistance.
Print directly with the spool inside the 'dry box': in this case, you will need to use a suitable lid with a hole for the passage of the PTFE tube, you can use this one, it's what I use:
https://makerworld.com/en/models/1085540-ptfe-lid-pc4-m6-dry-box-zilo1#profileId-1078259
If you need the labels : Labels Here !
Printing Recommendations: There aren’t any special requirements aside from the screws, where I opted for 3 walls. I printed everything in PLA, and the screws fit snugly into their threads with no need for additional cleanup. I hope your print job goes just as smoothly.
If you want to use the screw-on lid: I use countersunk wood screws, 3mm in diameter and 12mm long (slight variations in length are fine).
My Sources for Purchases :
• rectangular hygrometer, you can find it in Bambu Lab Maker’s Supply, Amazon or AliExpress.
• Cereal boxes. Brands like Skroam, Wildone…):
https://www.amazon.fr/Wildone-conservation-hermétiques-céréales-aliments/dp/B07L2QJ5LB/ref=sr_1_4?keywords=Wildone%2B–%2BEnsemble%2Bde%2B6%2Brécipients%2Bhermétiques&qid=1708091397&sr=8-4&th=1
• silica gel. I bought a 2kg pot of silica gel on Amazon:
https://www.amazon.fr/Trustleaf-Pot-déshydratant-silice-blanc/dp/B08X16GCVV/ref=sr_1_1?keywords=trustleaf%2Bpot%2Bde%2B2kg%2Bde%2Bdéshydratant%2Ben%2Bgel&qid=1708091636&sr=8-1&th=1
Boost Me Hit the Boost button 🚀 it's free and helps me keep designing stuff for the Bambu community. A note on print quality: I test all my models before uploading. If your print doesn't turn out well, check your filament (old? wet?) and printer calibration first. Most issues come from these, not the model.
DRBX_ALL DRBX_ALL:
0.2mm layer,
3 walls for screws,
15% infill
LabelSamples: 0.2mm layer, 2 walls, 15% infill LabelSamples:
0.2mm layer, 2 walls, 15% infill
Use 2 Colors.
1_LabelSamples17102024: 0.2mm layer, 2 walls, 15% infill 1_LabelSamples17102024:
0.2mm layer,
2 walls,
15% infill
All in one print: with PTFE lid and cap All in one print:
- PTFE Lid from model designer - PTFE cap from model designer - Main Drybox 0.2mm layer, 2 walls, 15% infill, tree support for lid, brim for cap
Crosshatched desiccant lid with ribs and custom profile Updates: - Added ribs to the top lid for the stability of the mesh. - Removed top and bottom layers and utilized cross-hatch infill. - Sized for the A1 mini build plate.
Reasoning: I wanted to be able to see if the desiccant needs to be recharged. Inspired by the method used by AeonJoey and the AMS 2 Desiccant Boxes to create very fine meshes with little filament.
Question: How can I force the ribs to go through the infill instead of lying on top in Bambu Studio (I'm allergic to actual modeling software)?
A1Mini wie Original 0.2mm layer, 2 walls, 15% infill
AMS Mount for Dry Box Labels - Accessory Designed this accessory to ID AMS filaments using ManuZiloop's dry box labels.
This is PROFILE B for V3 and V4 labels, please see full model page here to choose the right profile for your labels .
- Quick fitment test on plate 2 - Recommend using the manually-placed, small supports - Use Support for PLA/PETG for cleanest result - Heavily tested with PLA I hope this proves useful :)



Names are used only to indicate the source of a result. Polyzon is not affiliated with the listed sites.
Comments