
Free 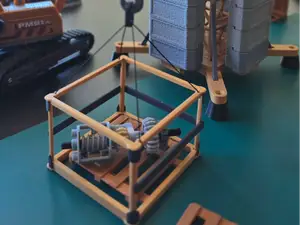
Basket - Cyberbrick Tower Crane
MakerWorld
Introduction
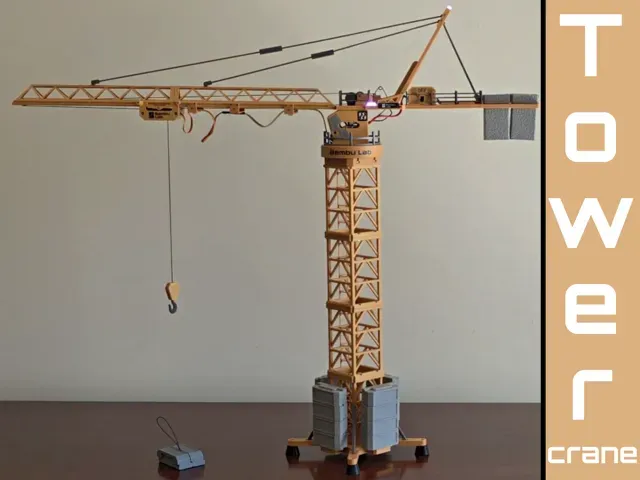
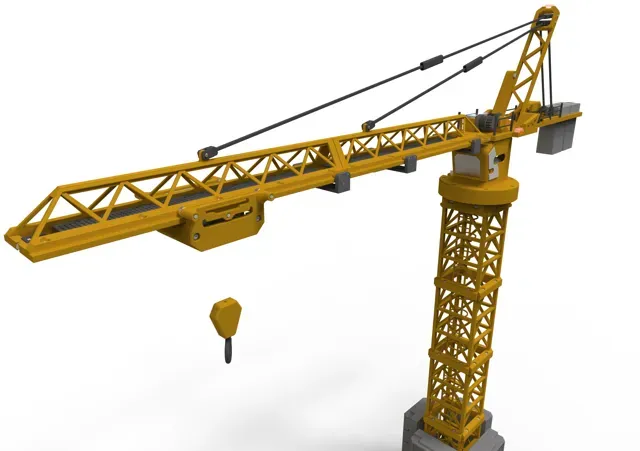
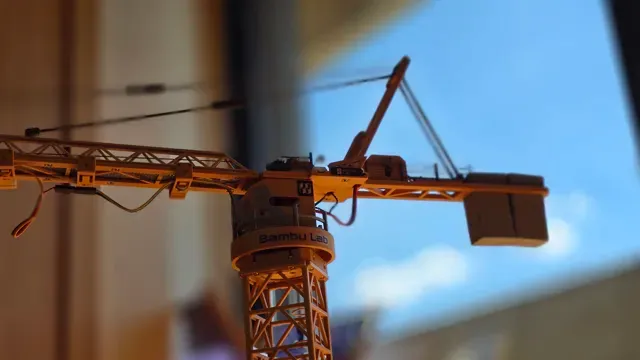
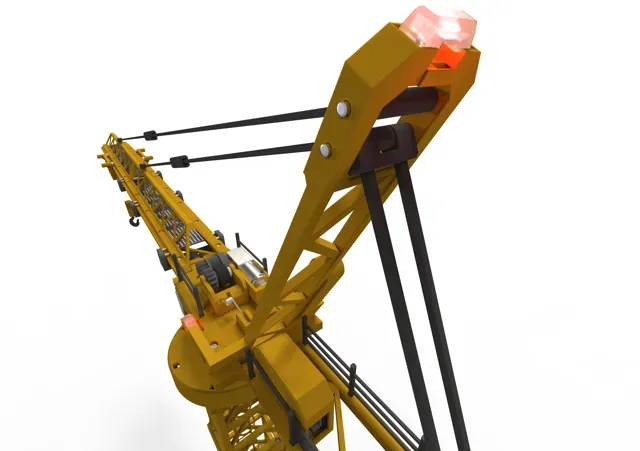
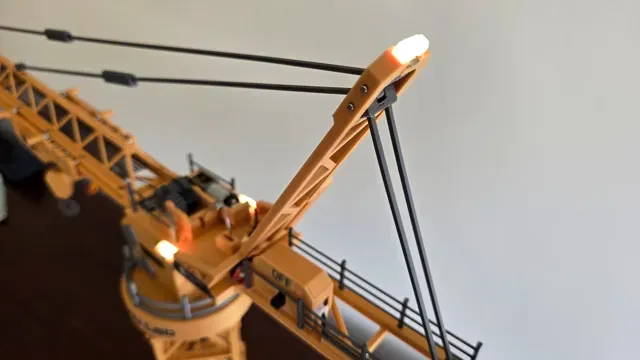
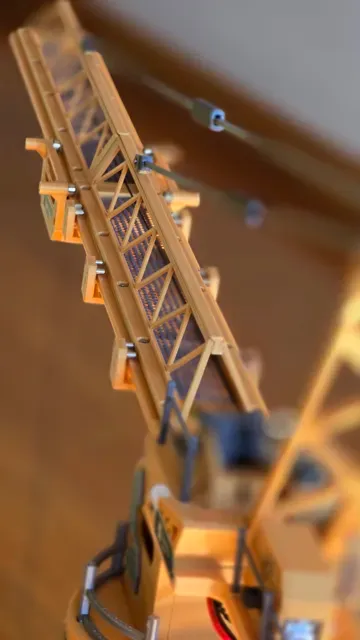
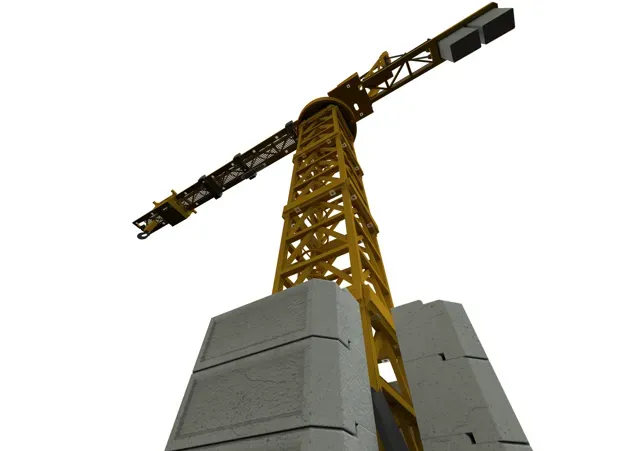
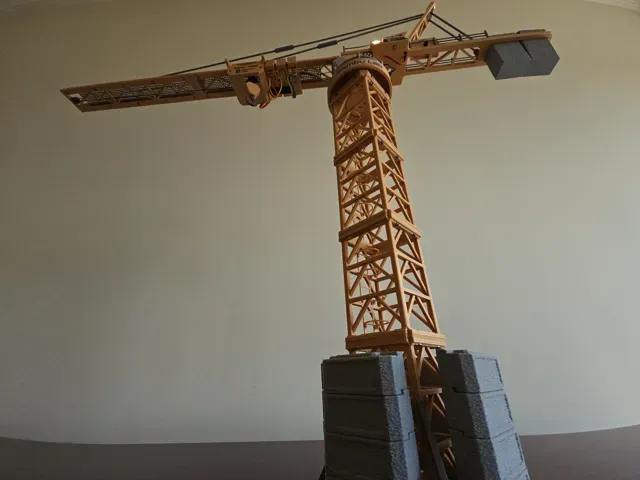
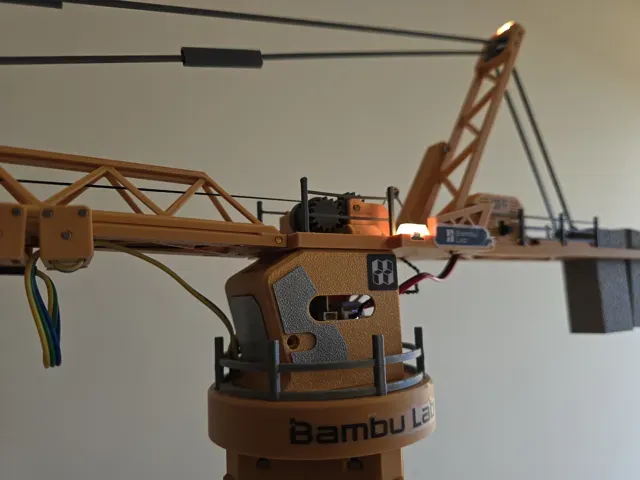
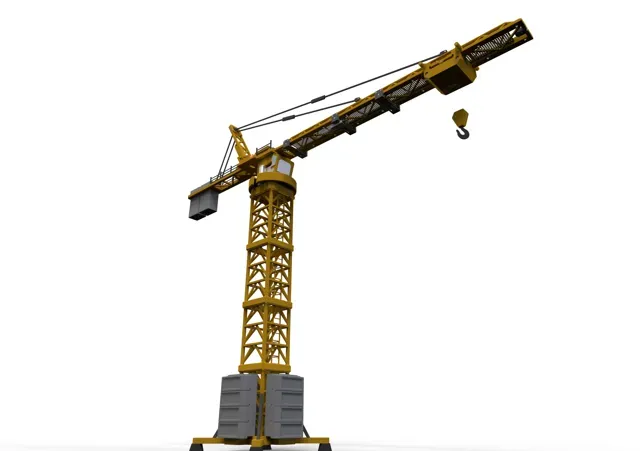
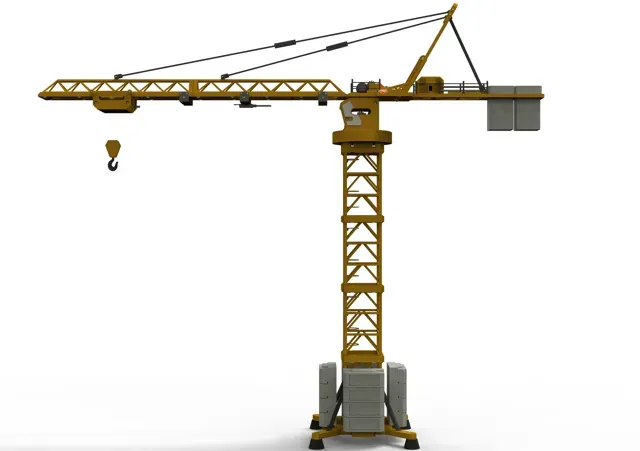
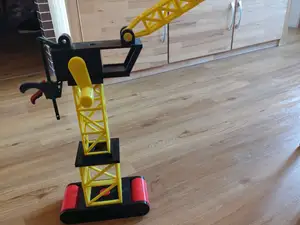
A crane is a type of construction equipment designed to lift and move heavy loads, materials, or objects. In real-world construction, cranes are essential for building tall structures, moving materials across sites, and handling tasks that require both strength and precision. The model you are about to assemble is inspired by these real machines, offering a similar operating principle, but in a playful, educational format. While not a scale model, this 3D-printed crane is designed as a toy, it should provide hours of fun both during assembly and in use—especially when built together as a family.
Although the project isn’t particularly complex, especially now that it’s complete, the whole documentation side took a long time and had to be done gradually. Looking back, I realize that much of that time should have been spent with my family, especially with my son, who’s still a child, needs a lot of attention, and whom I love playing with. So, I want to take this opportunity to publicly thank them for their support — not just for this project, but for many others as well. It’s thanks to them that you’re now able to enjoy this work.
As it is, it measures approximately 670 mm in length (about 26.4 inches) and 580 mm in height (about 22.8 inches).
Before Begin
Before you begin, it’s helpful to have a few tools at hand . You will need:
- Hexagonal Key, H1.3 and H1.5; an electric version can be a real time-saver, as there are many screws involved. - A pair of tweezers will also be useful in several assembly steps, helping you handle small parts with greater precision.
All the materials required are listed in the Bill of Materials (BOM). Most components are available from Makerworld, but you are free to purchase them wherever you prefer. With the exception of the control modules, all parts are standard.
And if you have the Beginner or Ultimate kit…
I've added a "Price Comparison" document that shows the difference between buying the components individually or as part of a kit. Here, I compare the two kits.
You can find out which additional components you should buy if you choose either of the kits. I can tell you now that the most economical option is the beginner kit plus some parts that are missing from it. For more information, please consult the document.
This is why both kits are listed in the Bill of Materials (BOM). In this way, and under the current conditions offered by Makerworld, I can provide three possibilities:
- Individual Components - If you prefer this, deselect both kits from the list; - Beginner Kit + missing components - Here, you should add the components mentioned in the PDF document; - Ultimate Kit + missing components - Here, you should add the components mentioned in the PDF document." In addition to the items listed in the BOM, you will need:
- Super glue (Cyanoacrylate). The glue I used is this one: super glue for plastic , which is both effective and economical. - If you can find glue applicators like these glue applicators , they will help you control the amount of glue applied and speed up drying. As for the printed parts and their materials
These are also specified in the BOM. The prints are almost entirely in PLA , with a small amount of TPU . The recommended material for each part is clearly indicated at the top of each Build Plate in the corresponding 3mf files for Bambu Studio.
The parts are divided into two groups, so there are two 3mf files:
- TowerCrane_JorgeRui.3mf - Profile 1 - RemoteController.3mf - Profile 2 Information about the materials used for each build plate
It doesn’t matter which section you choose to start. However, I recommend printing all the parts in advance, as the build plates are organized by color and printing strategy rather than by the crane modules. Of course, you are free to proceed as you prefer. All parts are clearly identified, so it won’t be difficult to print them as you go along with the assembly, in case you don’t wish to print everything at once.
Important notice
Occasionally, a screw or nut may have a manufacturing defect—this is rare, but it can happen. Signs of this include a screw that won’t tighten or a hex bit that feels too small or too large for the hex socket in the screw head. For this reason, it’s always a good idea to have a few extra screws and nuts on hand.
Assembly instruction
Cyberbrick part testing before assembly
Before you start assembling, it's always a good idea to verify that your modules are working correctly .
Therefore, it might make sense to skip ahead to points 22 and 23 of this tutorial to test them . This involves assembling all the electrical and electronic components on top of your desk. Often, simple issues like a broken cable, or a depleted battery, are the reason things don't work as they should. This process acts as an initial toubleshooter. Remember that it's also necessary to transfer the program to your cyberbrick via PC/Mac or mobile app ; without its logic, the components won't know what to do, and everything will remain in “dark”.
1. Foundation and Feet
In this first step, you will need the "Foundation" part and the "Feet" pieces, which should be printed in TPU. You may have noticed that the feet were printed one at a time—this is intentional, as it helps to prevent stringing during the printing process. If you still observe stringing or oozing, the most likely reason is that your TPU filament has absorbed too much moisture. To resolve this, follow the recommended procedures for drying your filament, which you can find here: How to Dry Filament – Bambu Lab Wiki .
What you will do in the video
This video will guide you through preparing the foundation and attaching the TPU feet, ensuring a stable base for your crane.
Special considerations
Pay close attention to the quality of your TPU prints. If you notice stringing or poor surface finish, drying your filament is essential for achieving the best results.
Materials needed
Printed parts:
- 1x Foundation (PLA) - 4x Feet (TPU) Hardware:
- 4x | AA044 | M2x8 BHCS Machine Screws - 4x | AB013 | M2 Carbon Steel Square Nuts Tools:
- Hex 1,3 bit Step-by-step video
2. Glueing Stairs
In this step, you will be assembling and gluing the stairs onto the crane section.
This is a situation where tweezers can be particularly helpful, as well as a capillary glue applicator for precise application. The video demonstrates the assembly for one section; each section of the crane has a single area with stairs, and each of these areas requires 4 "Tower Stairs Protection" pieces.
What you will do in the video
The video will guide you through the process of positioning and gluing the stairs and their protective elements onto the crane section, ensuring everything is aligned and securely fixed.
TowerCrane - 02/07/2026 - Safety update: the rope securing method at the pulley has been redesigned. The Chassis Trolley part now includes two arms, one on each end, each with a hole where the nylon cord is tied with a knot instead of being clamped by a screw. This removes any direct contact between the screw threads and the nylon cord, eliminating the risk of wear or breakage over time. The updated part is already included in the current 3MF file. - 02/07/2026 - The cabin window that serves as the exit point for the LED Hub cable has been raised slightly, giving the cable more clearance. - 08/07/2026 - Print configuration update: the ON_OFF Switch case housing depth has been increased by 2 mm. This fixes the previous fit issue where the switch board could not be fully inserted and the case lid did not close tightly, leaving a visible gap. The updated part is already included in the current 3MF file.
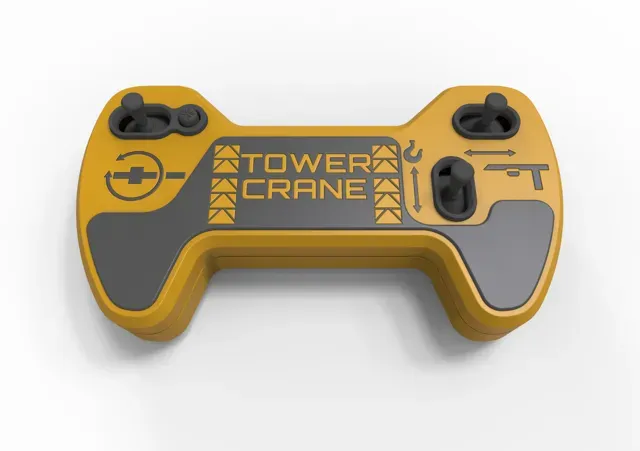
Tower Crane - Remote Control unit - 08/07/2026 Update notice: this remote controller version (AAA battery case) has been redesigned. The battery access cover is now held in place by two magnets instead of screws, allowing it to be opened for charging without disassembling any part of the controller. All screwed connections, including the single M2.5 location, now use the self-tapping screw BT2x5 (SKU AA191) or BT2x8 (SKU AA019) with an H1.5 screwdriver. If the video for this section still shows the old screwed cover or the previous screw types with some square nuts, please follow this written update instead. - The charging access door can now be accessed more simply. Instead of a screw, you can now open the door just by lifting it with your finger. This is secured by 2 round 5x3mm magnets. The new external self tapping bolts Apply a small drop of glue to the magnets before inserting them
Remote control for Li-Ion Battery This command differs from the initial model, which uses AAA batteries. In this case, there is no need to remove the lithium-ion battery to charge it. There is a port at the bottom that should be opened to access the charging cable.
Update notice: this remote controller version (lithium-ion battery) has been redesigned. The battery access cover is now held in place by two magnets instead of screws, allowing it to be opened for charging without disassembling any part of the controller. All screwed connections, including the single M2.5 location, now use the self-tapping screw BT2x5 (SKU AA191) or BT2x8 (SKU AA019) with an H1.5 screwdriver. If the video for this section still shows the old screwed cover or the previous screw types, please follow this written update instead.
- The charging access door can now be accessed more simply. Instead of a screw, you can now open the door just by lifting it with your finger. This is secured by 2 round 5x3mm magnets.
Tower Crane - A1 mini edition - 02/07/2026 - Safety update: the rope securing method at the pulley has been redesigned. The Chassis Trolley part now includes two arms, one on each end, each with a hole where the nylon cord is tied with a knot instead of being clamped by a screw. This removes any direct contact between the screw threads and the nylon cord, eliminating the risk of wear or breakage over time. The updated part is already included in the current 3MF file. - 02/07/2026 - The cabin window that serves as the exit point for the LED Hub cable has been raised slightly, giving the cable more clearance.~ - 08/07/2026 - Print configuration update: the ON_OFF Switch case housing depth has been increased by 2 mm. This fixes the previous fit issue where the switch board could not be fully inserted and the case lid did not close tightly, leaving a visible gap. The updated part is already included in the current 3MF file.
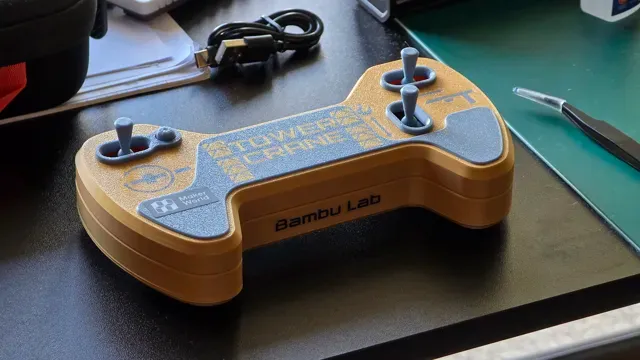
Remote Controller - A1 mini edition This one will go to the extreme limit of your printer's build plate area, so be sure that the build plate is well centered.
Pack of four hallow counterweights for the base Four counterweights for the base, all joined and with a hollow interior. This model was requested by a member, who intended to place weights inside the empty space to gain greater stability for the crane. In this case, the member wanted a crane with more than 4 sections in height.
Tower Crane - No A1 mini 0.2mm layer, 2 walls, 15% infill Tower Crane profile redone so that it can use the full line (minus A1 mini) of printers. Optimized some of the plates to remove 2 print plates. Also, if you want to add tower sections or counterweights it should be easier to print just what you need. The original profile won't let me print from Bambu Handy so this ones for people like me who like to print from their phones.
0.2mm layer, 2 walls, 15% infill Since the Data Port interface is frequently disassembled, it has been changed from screw fastening to magnetic fastening.
0.2mm layer, Parts Combined - Less Gluing I was having issues with the glue holding on these parts given they are under some stress in the assembly. These are assembled in bambu studio to allow them to be printed without glue.

%2Fhttps%3A%2F%2Ffbi.cults3d.com%2Fuploaders%2F28379286%2Fillustration-file%2F644de022-cd7d-4aed-a4d7-e62d20ae58b5%2F3d-printed-rc-tower-crane-lifting-demo-table-clamp.jpg&w=300)
![Robot Arm & Remote | CADclass x CyberBrick [V5]](https://cache.polyzon.org/api/img?url=https%3A%2F%2Fmakerworld.bblmw.com%2Fmakerworld%2Fmodel%2FUSa2aecf0afe63ff%2Fdesign%2Fef20e5dd1302b442.gif&w=300)

Names are used only to indicate the source of a result. Polyzon is not affiliated with the listed sites.