
Free 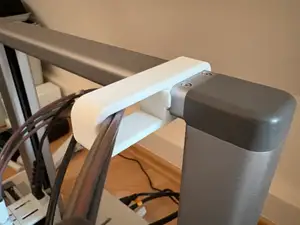
A1 – AMS Lite Filament-Schlauch-Management-Clip
MakerWorld
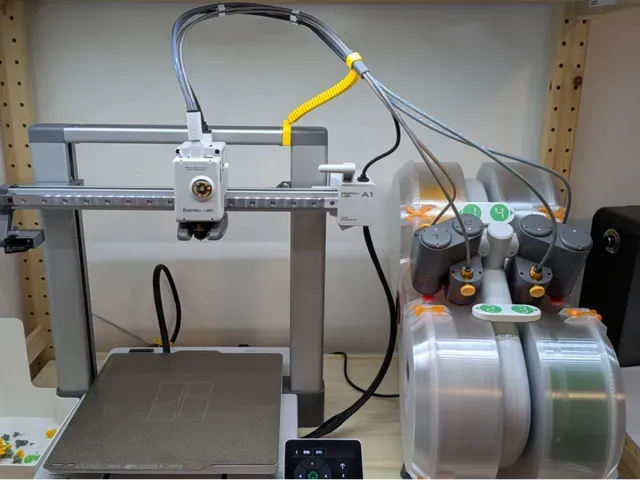
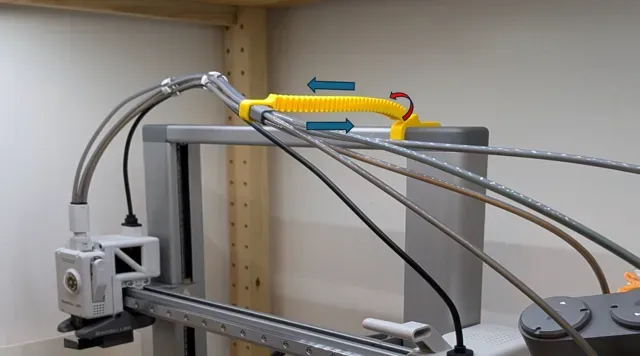
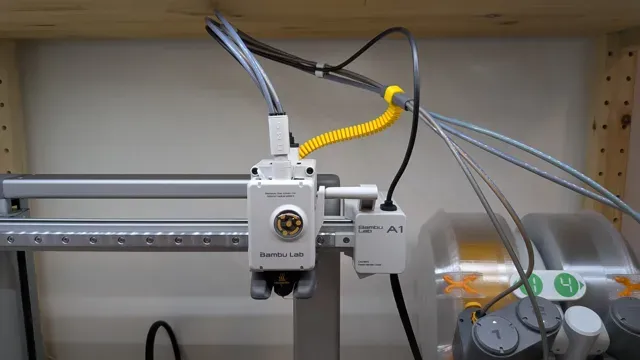
Boost Me Your generous boost will encourage me to contribute more and better models ===Update 2===
As suggested by some of the users, I added another print profile for a closed ring top with a clip.
Choose whichever design you like.
===Update===
I replaced the original design with a stronger and more flexible version, allowing it to be printed with PLA. (Although I would still suggest printing it with PETG if possible)
Some answers to the questions asked:
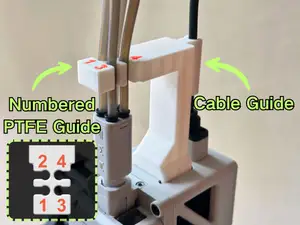
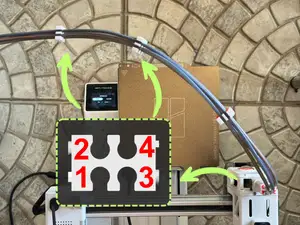
- During your print, if the neck part fails to print, you can print the model with support turned on. (However, if that happens, it could be that your filament is exposed to moisture, which will make the material more brittle and easier to fail for any overhang structure. So…consider drying your filament.) - I have used this on my printer for over a hundred hours now. It will never affect the print (by comparing the result with my Bambu X1C). If you still encounter any problems, please check the ring location. If you put the ring too close to the nozzle (red arrow area), it may limit the cable at the lower left position. Try to move the first ring to the area marked by the green arrow instead. Also, always perform a four-position check as shown in the last picture after installing this clip. ============
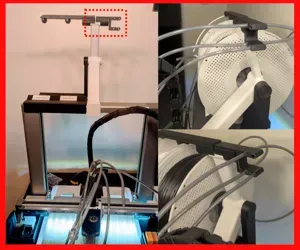
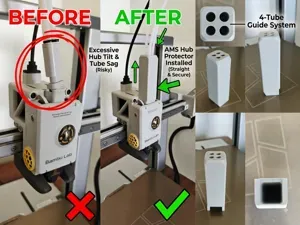
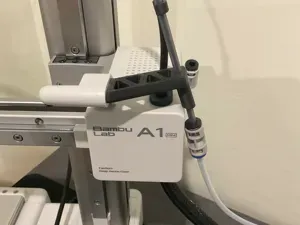
After getting the A1 combo, I noticed that my PTFE tube kept sagging, as shown in the image. It looks bad and has also caused me to receive the error message "unable to feed filament into the tool head" multiple times.
I then found that manually pushing the PTFE tube back while loading the filament will resolve the issue.
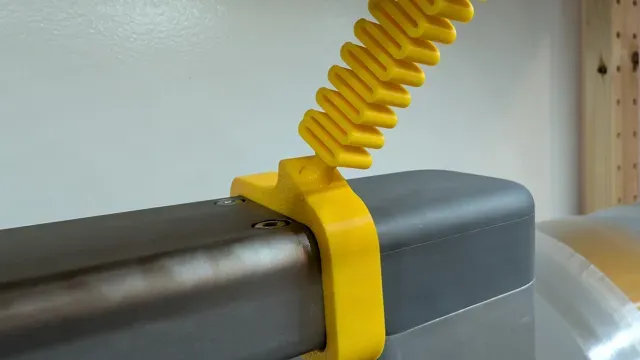
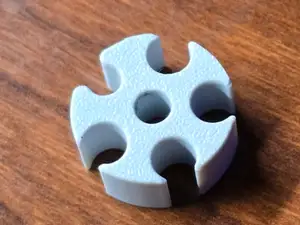
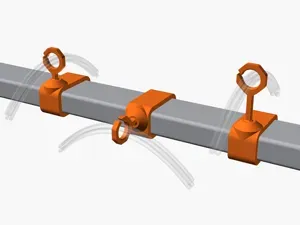
I tried looking for solutions on MakerWorld, but most brackets are designed for top-mounted AMS Lite setups. So, I designed this clip. If, like me, you’ve placed your AMS to the right of the A1, this small clip should be helpful. It can rotate 360 degrees and has flexible lengths.
After printing, hitch the back side to the printer frame and push down the front side to install.
As shown in the image below, please make sure to clip the other end onto the rubber part that comes with the AMS Lite tubes.
I recommend printing this with PETG. PLA will work, but may not last long. Make sure to dry the filament and calibrate your printer before printing. Gently push here after printing to make the upper structure rotatable.
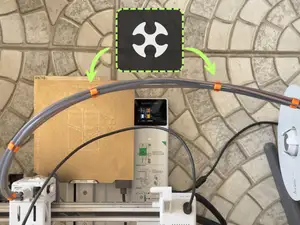
After installing the clip, on A1's monitor screen under “Control” → “XYZ”, try to move the printing head to the following position and align/arrange all four AMS Lite tubes as shown below.
Then, manually move the printer head to the following four positions to ensure everything is OK.
Happy Printing!
Open top (for attach to the rubber band)
Closed ring top with clip
Names are used only to indicate the source of a result. Polyzon is not affiliated with the listed sites.