
Free 
Ultimate Sheep Toilet Paper Holder
Creality Cloud
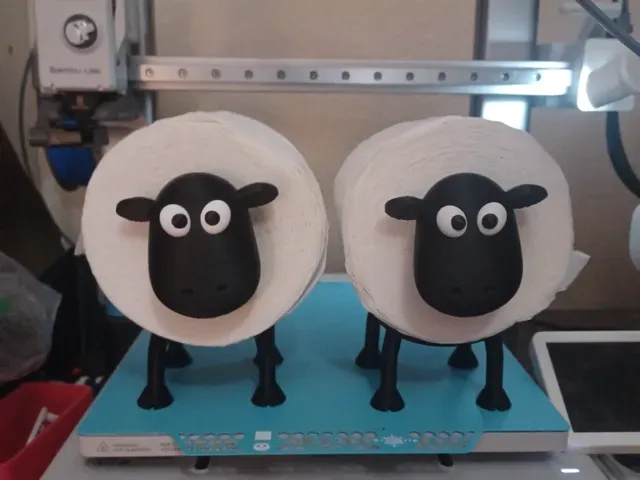
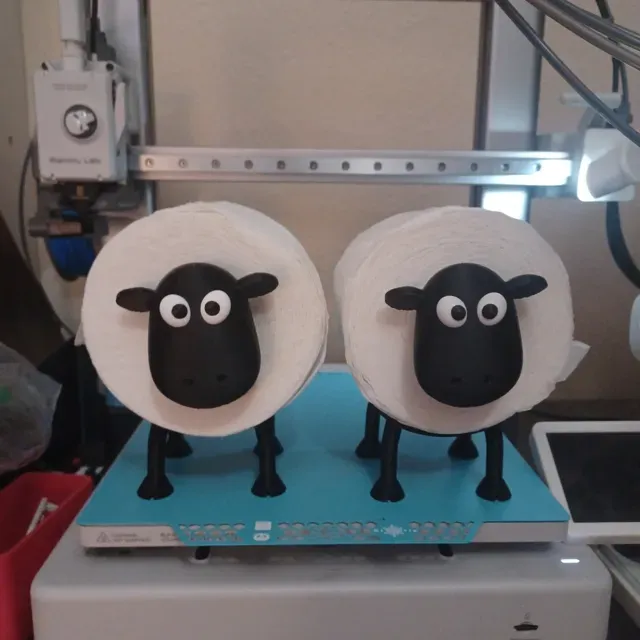
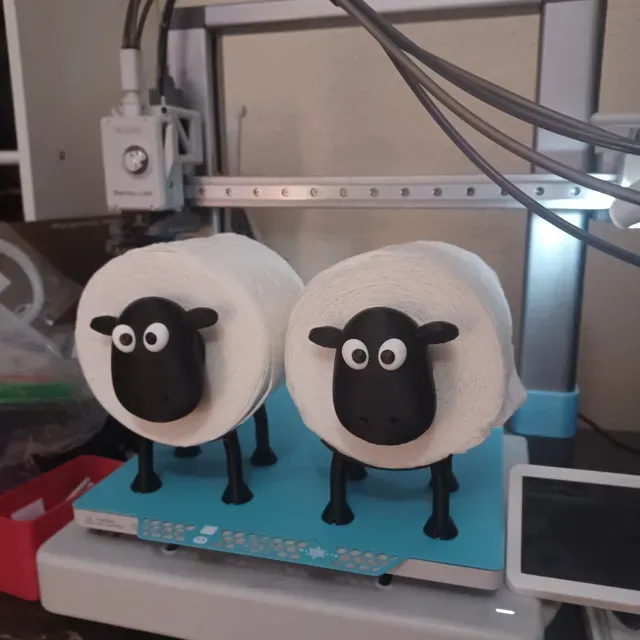
AMS NOT NEEDED FOR THIS VERSION
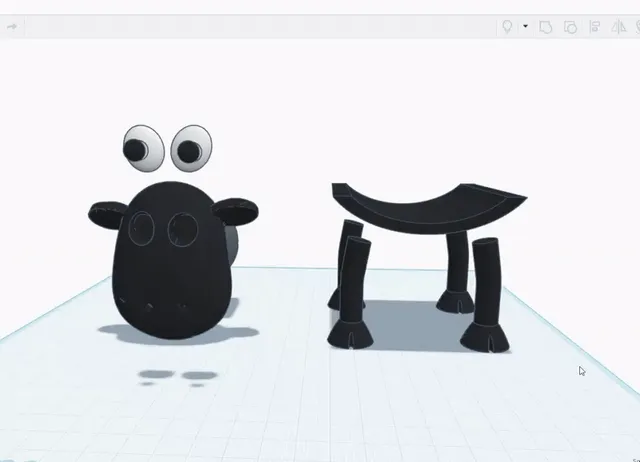
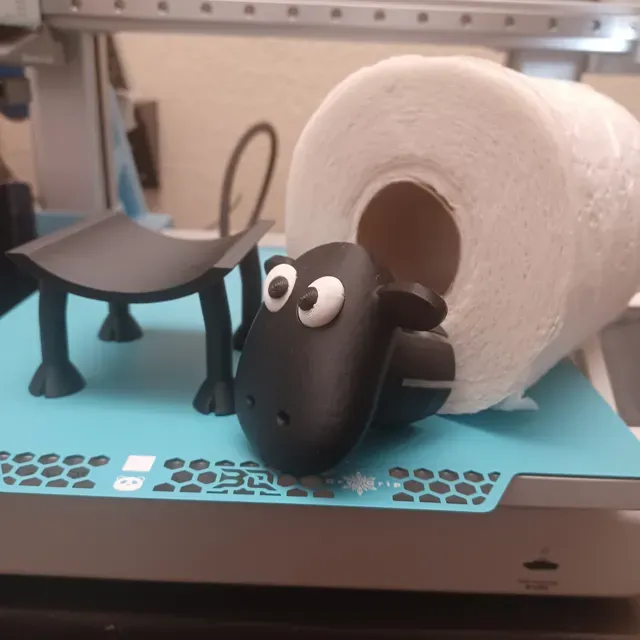
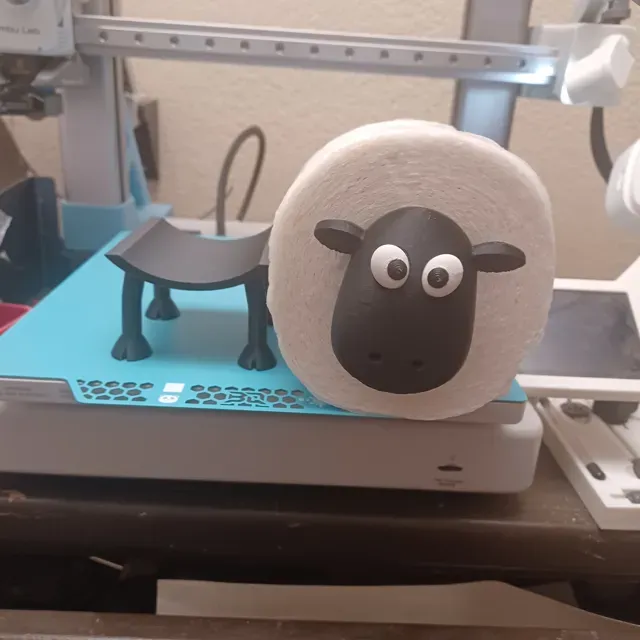
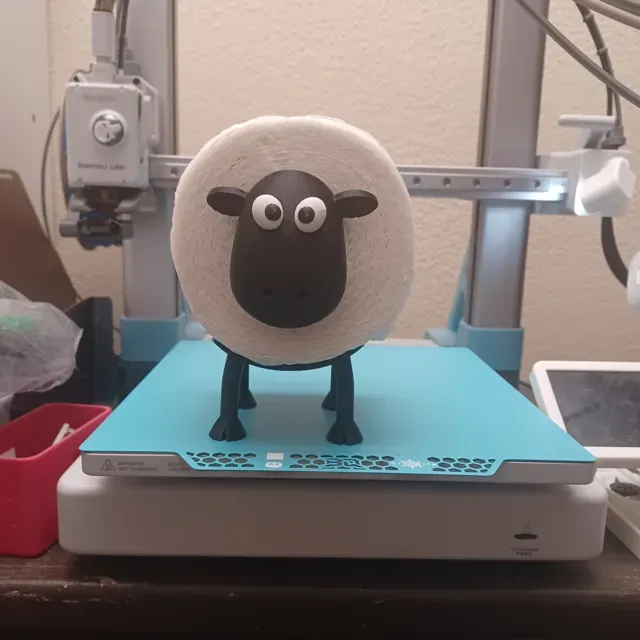
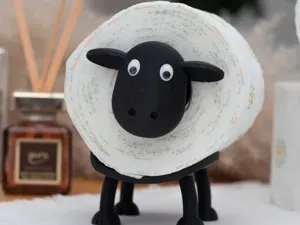
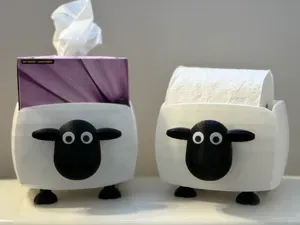
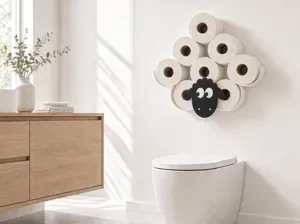
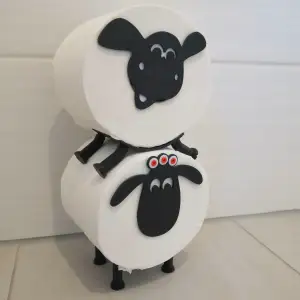
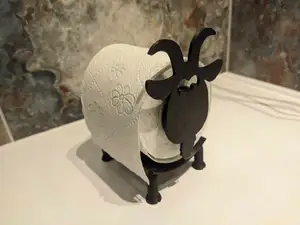
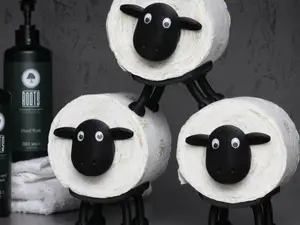
Saw the idea on Amazon and decided to sculpt my own version, that is also easy for those with non AMS printers. Each part is printed separately and attached with glue. Created with Nomad Sculpt and Tinkercad. Shaun The Sheep
NOTES:
I have printed 2 of these with no issues the way they sit on the plates. I used minimal support and brims to save time. I set a brim on the Base but nothing else really needed it.
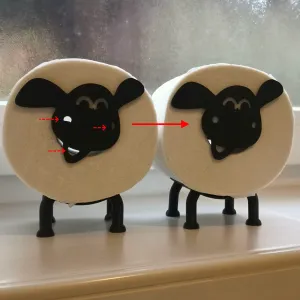
The pupils are tiny and may have issues IF YOU DIDNT CLEAN YOUR BED PROPERLY! If you have issues with them you can try adding a small brim, i avoided them so the pupils would fit into the eyes with no issues.
Everything was attached with super glue!
- When gluing the legs, add glue to the leg pockets and then align them so the legs bend inward slightly thegroove in the fronts of the hooves should all face the same direction, forward. After you put the legs into the glue slots, carefully flip it over on a table and give very slight downward pressure to make the legs sit in the slots properly and make them all even so the sheep doesnt wobble, Then let it sit to dry. - Add glue to the holes in the eye whites and then carefully place the pupils into the slots and add pressure( i was able to get mine to pop in snug) then let them dry. - Once the eyes are dry you can put glue into the eye sockets, the eyeballs should only fit properly one way and the pupils will point slightly inward and down when properly placed. There is also a flat spot on the back so they should sit in pretty nicely if done correctly. - Add glue to the slot on the back of the sheep head and then place adapter up snug to the top of the slot, holding it until it dries. Adapter has fins to help adjust to different size rolls.
No AMS Needed Multiple plates A1 Mini Friendly AMS NOT NEEDED FOR THIS VERSION
Saw the idea on Amazon and decided to sculpt my own version, that is also easy for those with non AMS printers. Each part is printed separately and attached with glue. Created with Nomad Sculpt and Tinkercad. Shaun The Sheep
***PLEASE CLEAN YOUR BED PROPERLY BEFORE PRINTING. DAWN DISH SOAP(Or Equivalent) AND HOT WATER THEN DRY WITH PAPER TOWEL OR AIR DRY!! NOTHING ELSE NEEDED!! THIS WILL ENSURE YOUR PRINT IS SUCCESSFUL***
## These printed as shown but if you dont clean your bed properly and have adhesion issues, then you can add a brim or mouse ears. I test all my prints and it is proven to print as I set it up. ##
NOTES:
I have printed 2 of these with no issues the way they sit on the plates. I used minimal support and brims to save time. I set a brim on the Base but nothing else really needed it.
The pupils are tiny and may have issues IF YOU DIDNT CLEAN YOUR BED PROPERLY! If you have issues with them you can try adding a small brim, i avoided them so the pupils would fit into the eyes with no issues.
Everything was attached with super glue!
- When gluing the legs, add glue to the leg pockets and then align them so the legs bend inward slightly thegroove in the fronts of the hooves should all face the same direction, forward. After you put the legs into the glue slots, carefully flip it over on a table and give very slight downward pressure to make the legs sit in the slots properly and make them all even so the sheep doesnt wobble, Then let it sit to dry. - Add glue to the holes in the eye whites and then carefully place the pupils into the slots and add pressure( i was able to get mine to pop in snug) then let them dry. - Once the eyes are dry you can put glue into the eye sockets, the eyeballs should only fit properly one way and the pupils will point slightly inward and down when properly placed. There is also a flat spot on the back so they should sit in pretty nicely if done correctly. - Add glue to the slot on the back of the sheep head and then place adapter up snug to the top of the slot, holding it until it dries. Adapter has fins to help adjust to different size rolls.
AMS 1 Plate for larger printers Not for A1 Mini This 1 plate version is for the larger 256mm plates or above using the AMS not for the A1 MIni
Saw the idea on Amazon and decided to sculpt my own version, that is also easy for those with non AMS printers. Each part is printed separately and attached with glue. Created with Nomad Sculpt and Tinkercad. Shaun The Sheep
***PLEASE CLEAN YOUR BED PROPERLY BEFORE PRINTING. DAWN DISH SOAP(Or Equivalent) AND HOT WATER THEN DRY WITH PAPER TOWEL OR AIR DRY!! NOTHING ELSE NEEDED!! THIS WILL ENSURE YOUR PRINT IS SUCCESSFUL***
## These printed as shown but if you dont clean your bed properly and have adhesion issues, then you can add a brim or mouse ears. I test all my prints and it is proven to print as I set it up. ##
NOTES:
I have printed 2 of these with no issues the way they sit on the plates. I used minimal support and brims to save time. I set a brim on the Base but nothing else really needed it.
The pupils are tiny and may have issues IF YOU DIDNT CLEAN YOUR BED PROPERLY! If you have issues with them you can try adding a small brim, i avoided them so the pupils would fit into the eyes with no issues.
Everything was attached with super glue!
- When gluing the legs, add glue to the leg pockets and then align them so the legs bend inward slightly thegroove in the fronts of the hooves should all face the same direction, forward. After you put the legs into the glue slots, carefully flip it over on a table and give very slight downward pressure to make the legs sit in the slots properly and make them all even so the sheep doesnt wobble, Then let it sit to dry. - Add glue to the holes in the eye whites and then carefully place the pupils into the slots and add pressure( i was able to get mine to pop in snug) then let them dry. - Once the eyes are dry you can put glue into the eye sockets, the eyeballs should only fit properly one way and the pupils will point slightly inward and down when properly placed. There is also a flat spot on the back so they should sit in pretty nicely if done correctly. - Add glue to the slot on the back of the sheep head and then place adapter up snug to the top of the slot, holding it until it dries. Adapter has fins to help adjust to different size rolls.
A1 Mini AMS 1 Plate AMS 1 plate for A1 Mini
Saw the idea on Amazon and decided to sculpt my own version, that is also easy for those with non AMS printers. Each part is printed separately and attached with glue. Created with Nomad Sculpt and Tinkercad. Shaun The Sheep
***PLEASE CLEAN YOUR BED PROPERLY BEFORE PRINTING. DAWN DISH SOAP(Or Equivalent) AND HOT WATER THEN DRY WITH PAPER TOWEL OR AIR DRY!! NOTHING ELSE NEEDED!! THIS WILL ENSURE YOUR PRINT IS SUCCESSFUL***
## These printed as shown but if you dont clean your bed properly and have adhesion issues, then you can add a brim or mouse ears. I test all my prints and it is proven to print as I set it up. ##
NOTES:
I have printed 2 of these with no issues the way they sit on the plates. I used minimal support and brims to save time. I set a brim on the Base but nothing else really needed it.
The pupils are tiny and may have issues IF YOU DIDNT CLEAN YOUR BED PROPERLY! If you have issues with them you can try adding a small brim, i avoided them so the pupils would fit into the eyes with no issues.
Everything was attached with super glue!
- When gluing the legs, add glue to the leg pockets and then align them so the legs bend inward slightly thegroove in the fronts of the hooves should all face the same direction, forward. After you put the legs into the glue slots, carefully flip it over on a table and give very slight downward pressure to make the legs sit in the slots properly and make them all even so the sheep doesnt wobble, Then let it sit to dry. - Add glue to the holes in the eye whites and then carefully place the pupils into the slots and add pressure( i was able to get mine to pop in snug) then let them dry. - Once the eyes are dry you can put glue into the eye sockets, the eyeballs should only fit properly one way and the pupils will point slightly inward and down when properly placed. There is also a flat spot on the back so they should sit in pretty nicely if done correctly. - Add glue to the slot on the back of the sheep head and then place adapter up snug to the top of the slot, holding it until it dries. Adapter has fins to help adjust to different size rolls.
One plate for AMS - sequential one color change I have no idea why the original designer split this print to so many plates. Anyway, this is a one plate variant you can use with only one color change for the eyes.




Names are used only to indicate the source of a result. Polyzon is not affiliated with the listed sites.
Comments