
Free 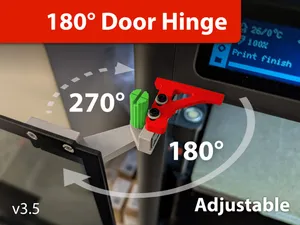
P1S/X1 Door hinge 180/270° - V3 adjustable
MakerWorld
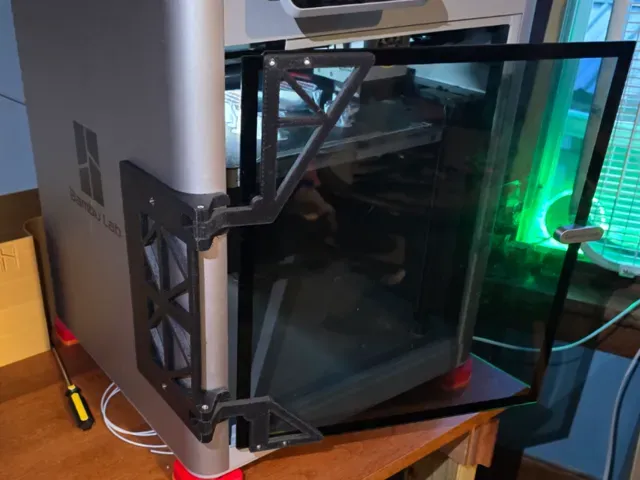
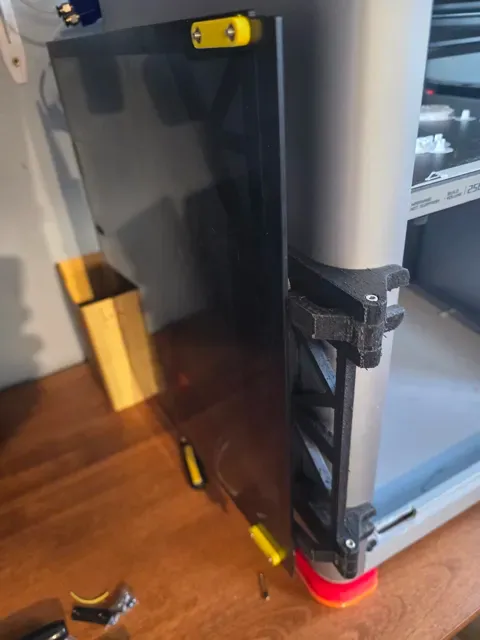
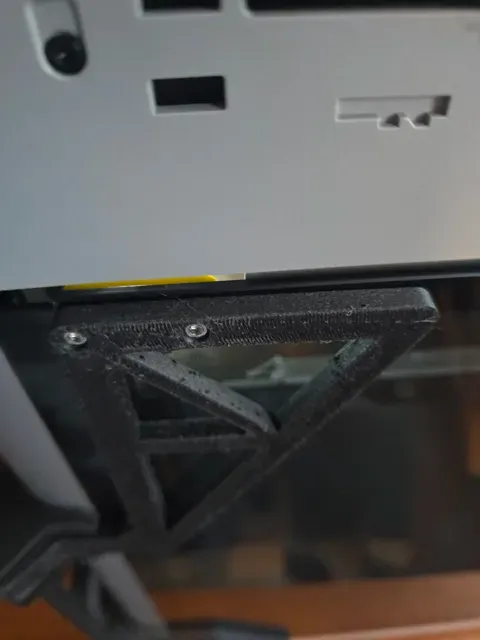
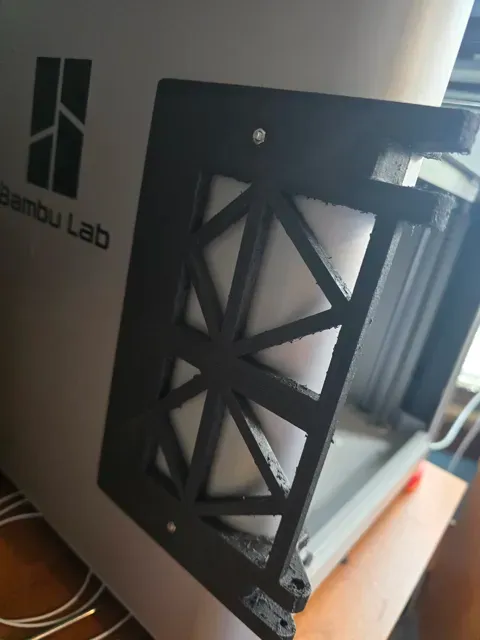
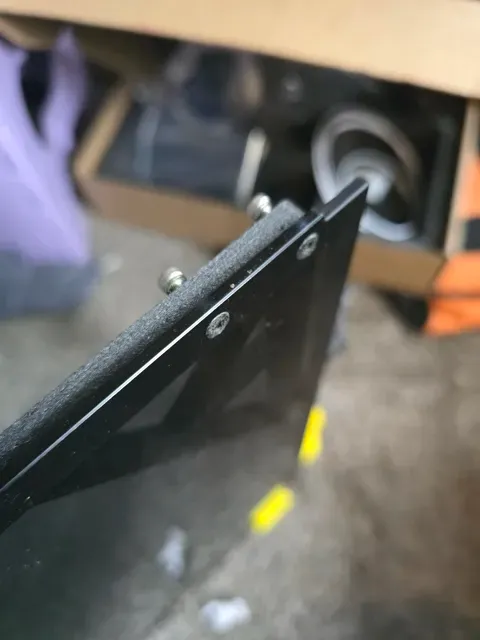
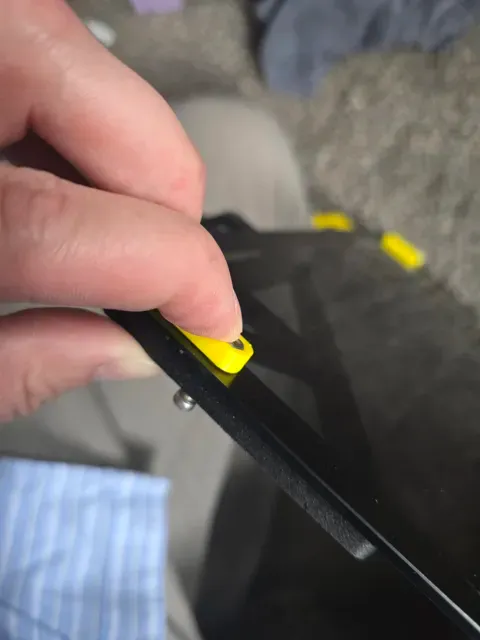
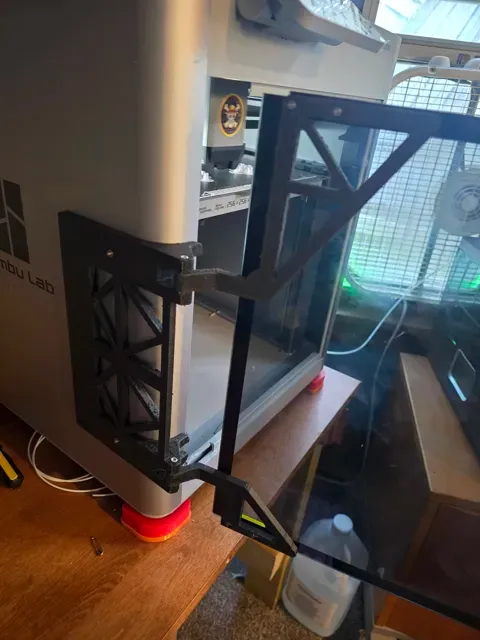
Boost Me If you have the opportunity to Boost any of my designs I would greatly appreciate the support. If not, PLEASE Like, Bookmark and Download any of my designs that catch your eye! Thank you! Welcome to the 270 Degree Door Hinge for the X1C! This model requires extreme modding with power tools to the X1C in order for it to work! You will need to cause irreparable cuts and drilled holes to your X1C in order for it to attach and close. The finished product is far from perfect and I will highlight the shortcomings below. It potentially has room for improvement that I will experiment with at a latter date however I do prefer this design to anything else I could find available. Read through thoroughly and fully, and THEN carefully consider whether the outcome will be worth it to you before you begin!
IF and AFTER you have decided you want to install this mod, you will need to follow Bambu Lab's tutorial for removing the hinges for the door as they will otherwise be in the way. Their tutorial is of the X1 I believe which slightly differed from my X1C but it is easy to figure out what bolts you have that need to be temporarily removed and which don't exist. Their tutorial can be found here:
https://wiki.bambulab.com/en/x1/maintenance/front-door-mounting-kit
You will need:
-Power Drill
-Drill Bit 2.38mm wide (fits in my 3/32" slot but not sure if it belongs there)
-Dremel or cutting tool
-Utility Knife
-M3 Allen Key/Socket Wrench
-x4 10mm M# Bolts (Socket Head)
-x2 14mm or 16mm M3 Bolts (Socket Head) [I don't have 14mm and had to use 16mm]
-x2 30mm M3 Bolts (socket Head)
-x8 M3 Nuts
-Safety Glasses for drilling and Dremeling
-Dust/Debris Mask to prevent inhalation of plastic and metal dust/debris
-Vacuum with Hose to remove plastic dust and metal debris
Optional:
-Hammer for setting M3 Nuts into Printer side hinge
-Rubber Mallet or Pliers for setting Plastic Spacers into Glass Door
Once you have removed the metal hinges by following Bambu Lab's tutorial above, follow these steps to install the fabricated parts and hardware. Be sure to equip your safety equipment when drilling or cutting with the power tools. Only remove the safety equipment once you have safely vacuumed and disposed of all plastic and metal debris.
Step 1.0
Remove the screws shown below as you will need to drill through these holes to create somewhere for the hinge to attach.
Step 1.1
Drill straight through these holes, being careful not to veer to the side and thus avoiding any damage to the threads.
Step 1.2
Drill through the outside shell back through the same holes that you just created in order to clean the edges and deburr the holes edges.
Step 1.3
Vacuum all metal debris from the area in and around the printer that has resulted from drilling through the metal.
Step 2.0
Pre-install the two 14-16mm M3 bolts from the inside of the printer's chamber without allowing them to protrude too far past the wall of the outer shell. I found the below picture grip to be best while using my right index finger to rotate the wrench/key.
Step 2.1 (Optional)
Hammer in two M3 nuts into the printer side hinge part so they are secure. I ultimately printed in Fiberon PA12-CF, after testing, which swells and leaves little room for the M3 nuts. Other materials should have ample space for the M3 nuts.
Step 2.2
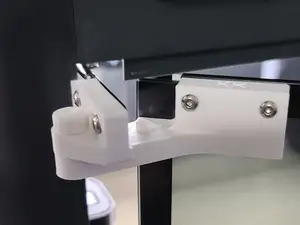
Press the door side hinge against the outer shell so the curvature of the hinge is snug against the printer's outer corners. Line up the slightly protruding 14-16mm with the holes and screw in the bolts from the inside of the chamber until they tightly secure the printer side hinge. Below is a picture of visually lining up the bolt with the hole for easy installation.
Shortcoming #1 Alert!!! Once installed, the hinge on the printer side has some relaxed play to it due to the lack of points you can secure anything to on this printer. Below is a GIF showing the amount of movement when printed with Fiberon PA12-CF.
Step 3.0
Prepare both door side hinges by partially inserting the 10mm M3 bolts and M3 Block Nut Head part with M3 nut hardware for express installation.
Step 3.1
Install the plastic spacers into the door hinge holes. I used pliers to gently squeeze the swollen PA12-CF plastic into place. BE CAREFUL not to break the glass if you decide to use tools to assist with insertion.
Step 3.2 (Repeat for both Upper and Lower hinges)
X1C Ultimate Door Hinge v1.0 Print in a material that is strong and built to last! I always print utility parts with 5 walls and outer/inner to ensure good fitment.


Names are used only to indicate the source of a result. Polyzon is not affiliated with the listed sites.