
Free 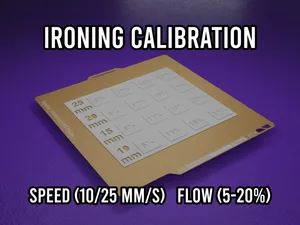
Ironing Test – Speed & Flow (10–25 mm/s | 5–20%)
MakerWorld
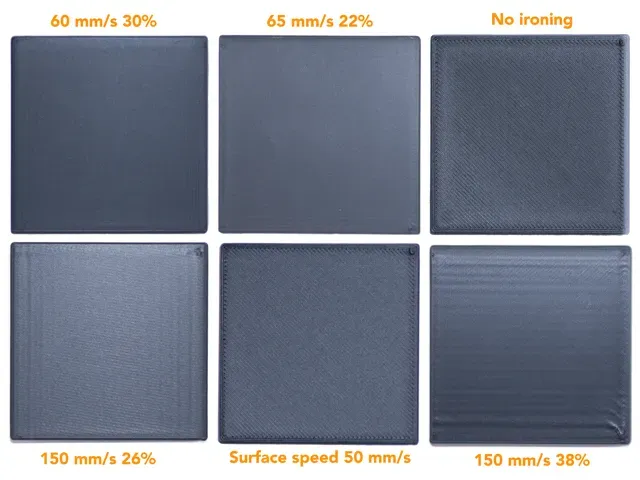
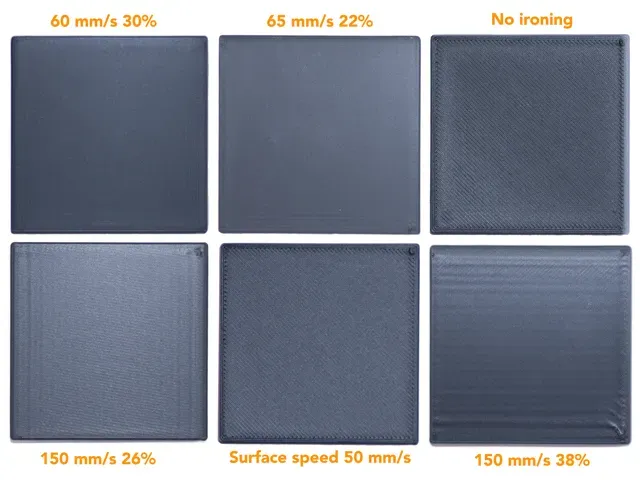
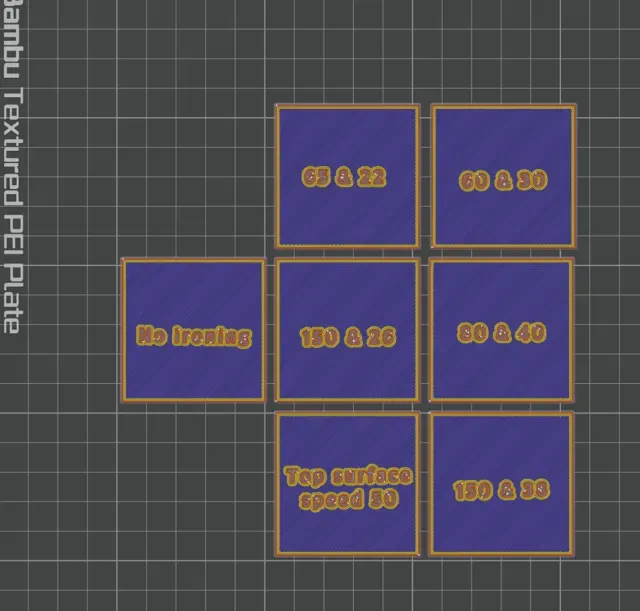
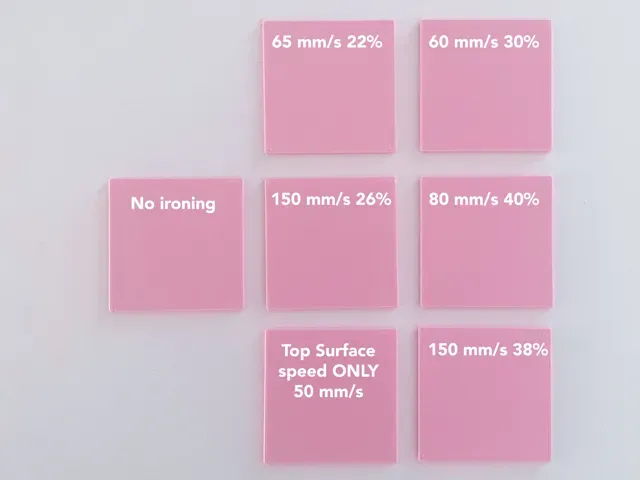
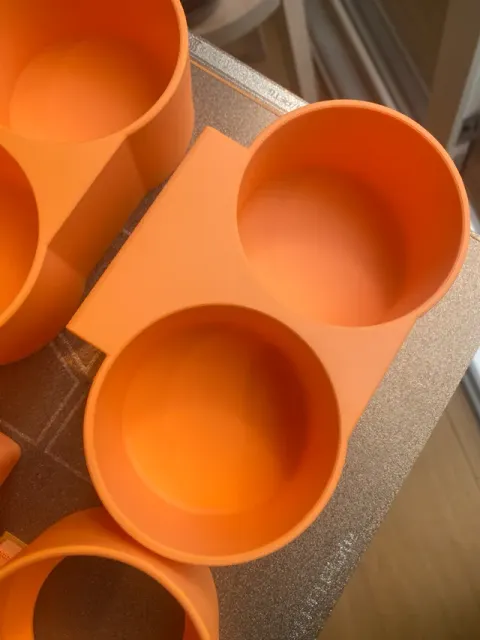
Recommended Ironing Settings – Tested and Compared
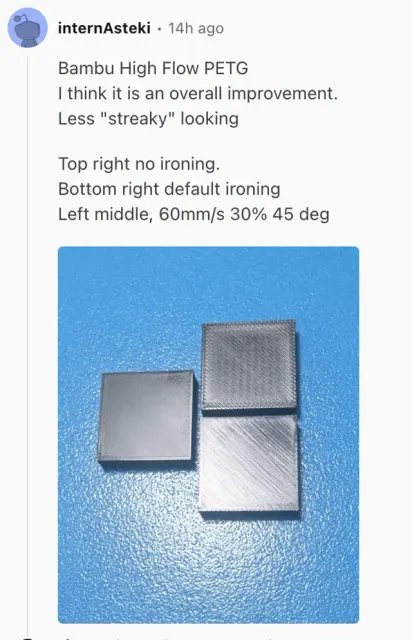
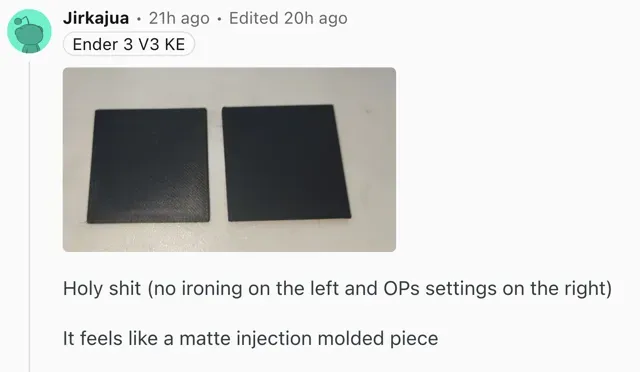
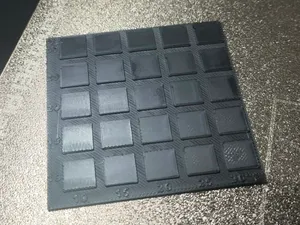
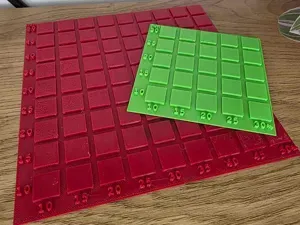
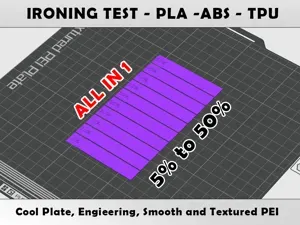
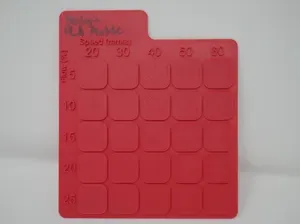
This file contains a side-by-side comparison of 9 different ironing configurations for top surfaces in 3D printing. Perfect if you're looking to improve the surface quality of your prints and want to skip hours of trial and error, i have made a collection of the most popular version that i have found.
🔍 The settings vary in:
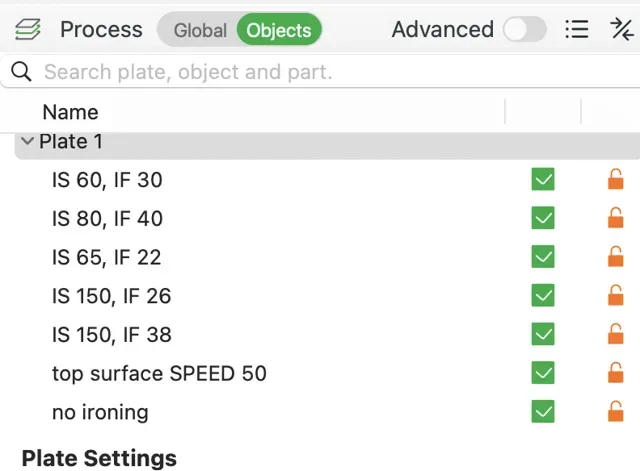
- Ironing Speed (from 25 mm/s to 150 mm/s) - Flow Rate (percentage of material extruded) - Top Surface Speed - With and without ironing - UPDATE: Debossed numbering on the bottom (first number = ironing speed, second number = ironing flow) 📌 The 60 mm/s & 30% flow version is the same one I shared on Reddit, you can see my posts here: https://www.reddit.com/r/3Dprinting/comments/1mets65/perfect_ironing_results_every_single_time/
https://www.reddit.com/r/3Dprinting/comments/1mfz2cu/here_we_go_again_perfect_ironing_results_every/
This is the exact file I use when comparing ironing results between filament types or tuning for specific use cases.
You don’t need to change any parameters, everything is set up as it should be. This includes ironing, which is already enabled individually for each object.
🛠️ You can:
- Use the file as a test print - Modify for your own filament tuning - Or just keep it for reference Let me know how it works for your setup! =)
I would always advice you to calibrate your printer in the slicer. But i will also recommend you to try these out:
- Z-Offset - Layerheight cubes - Bottom layer flow - Pattern - Ironing Oupss.. almost forgot, and no - i do not dry any of my filament (not even PETG), or use silica beads anymore in my AMS. Never ever ever - Humidity around 40-65%.
I only use BAMBU PLA Matte.
ORCA SLICER, you need to manually inset the ironing degree from -1 to 45!
0.2mm layer, 3 walls, 18% infill w. debossed numbers 0.4 nozzle, 0.2 layerheight
0.16mm layer, less max. speed, smaller size - Slim profile (40x40x1.8) for less filament use - Optimized speeds (max. 100 since surface on my A1 is always below) - Slow printing speeds as i use for HQ prints


Names are used only to indicate the source of a result. Polyzon is not affiliated with the listed sites.