
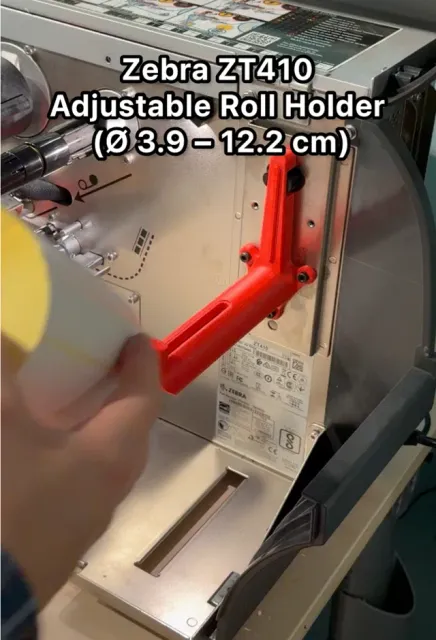
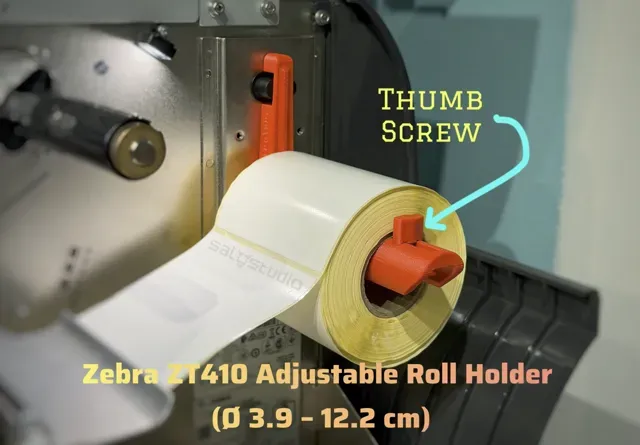
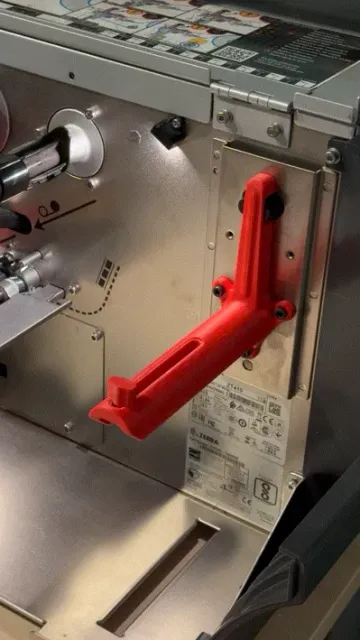
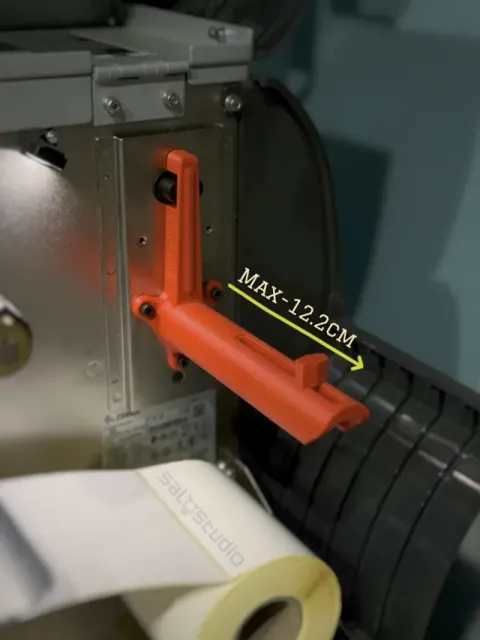
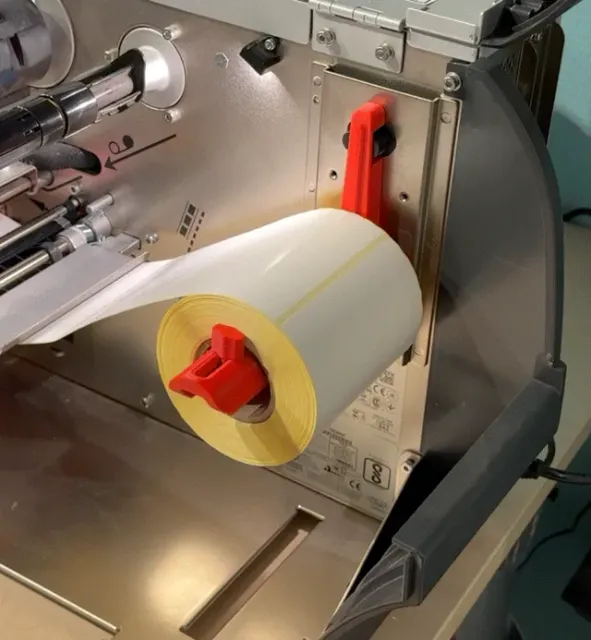
Zebra ZT410 Adjustable Roll Holder (Ø 3.9–12.2 cm)
Model details
- Platform
MakerWorld
- Price
- Free
- License
- PRIVATE-USE
- Personal use only: print for yourself, no selling or sharing.
- Formats
- STL
- 15 Likes
- 60 Downloads
- 30 Makes
- 20 Collected
- 2 Boosts
- 4 Comments
- 0 Views
Description
This adjustable roll holder was designed for users who want to use label rolls with a smaller inner core , which usually don’t fit on the original Zebra ZT410 holder because its shaft is too wide.
With this accessory, you can easily mount rolls with a minimum inner core of Ø 3.9 cm and a maximum roll width of 12.2 cm — perfect for shipping or industrial labels with small cores. It’s made for those who need a simple “Plug & Play” modification : just remove the stock holder and install this one — no complicated adjustments or tools required.
The design is optimized for quick and clean printing , requires minimal supports, and provides a strong, stable, and long-lasting structure for everyday use.
Boost Me ⚙️ Appreciate every impulse — it keeps the ideas rolling! — SALOSTUDIO ⚙️ Main Features
- Compatible with rolls featuring an inner core from Ø 3.9 cm - Maximum roll width: 12.2 cm - Strong and stable structure - Easy-to-print design (minimal supports needed) - Adjustable thumb-screw system to adapt the inner diameter - Direct mounting on the Zebra ZT410 printer chassis 🧱 Material Recommendations
To ensure long-term strength and reliability:
- Use durable materials such as PETG, PETG-CF, ASA, ASA-CF, or reinforced ABS - Avoid fragile materials like PLA or similar blends - Make sure your filament is completely dry before printing to prevent weak layers - Recommended settings: 30–40 % infill , 4 wall lines , and gyroid infill pattern for improved strength 🔩 Assembly Requirements
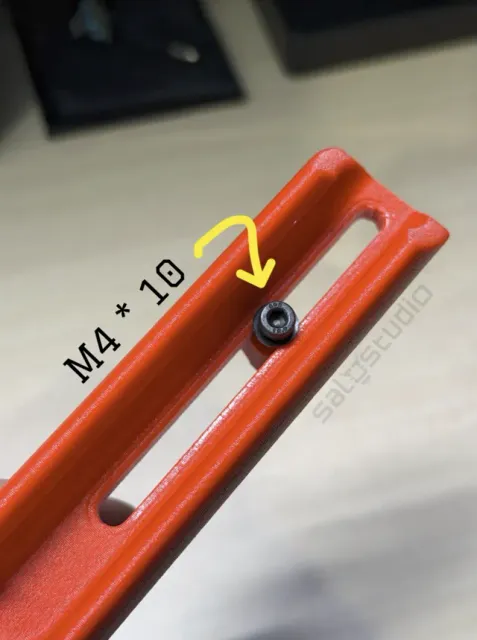
- 4 × M4 × 10 mm screws: - 3 → for attaching the holder to the chassis - 1 → for the adjustable screw system - 1 × washer Ø 8 mm for the adjustment screw 🛠️ Installation Tips
- Carefully remove the original roll holder and clean the mounting surface. - Check that your printed part has no weak or under-extruded layers. - Install the adjustable screw first, along with the washer. - Ensure the screw moves not too loose and not too tight , so the roll spins freely without changing its diameter during use. - Avoid overtightening to prevent damaging the print. - Attach the holder to the chassis using the three M4 × 10 mm screws. - Do not use longer screws to avoid piercing or damaging the frame. - Tighten firmly, but not excessively. - Once installed, mount your roll and adjust the thumb screw for a stable fit. 💡 Tip: Before installation, ensure the material is fully dry and that the printed layers are well bonded — this will maximize strength and prevent cracking during use.
This is a small contribution I’m sharing because I had several label rolls with small inner cores that couldn’t be used on my Zebra ZT410. I hope this design helps others make better use of their rolls as well.
Guides and print profiles
Print profiles and steps
0.18mm layer, 4 walls, 35% infill Print Profile Description (recommended settings)
- Layer height: 0.20 mm - Walls: 4 perimeters - Top/Bottom layers: 5 top / 4 bottom - Infill density: 35–40 % - Infill pattern: Gyroid (for maximum strength) - Supports: Minimal (only under the front slot if needed) - Material: PETG, PETG-CF, ASA, ASA-CF, or reinforced ABS - Bed temperature: 80–90 °C (depending on material) - Nozzle temperature: 240–255 °C (PETG) / 250–265 °C (ASA) - Cooling: 20–30 % - Orientation: Print the arm horizontally, flat on the bed - Notes: - Ensure filament is completely dry before printing. - Check that all layers are well bonded—weak layers can cause breakage. - Designed for strength and precision fit on Zebra ZT410 chassis.
Names are used only to indicate the source of a result. Polyzon is not affiliated with the listed sites.