
Free 
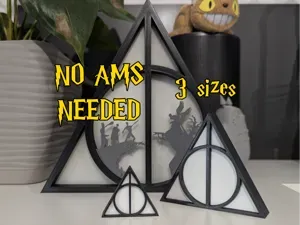
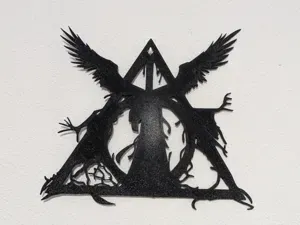
The Deathly Hallows Logo (Wall too) (NO AMS/AMS)
MakerWorld

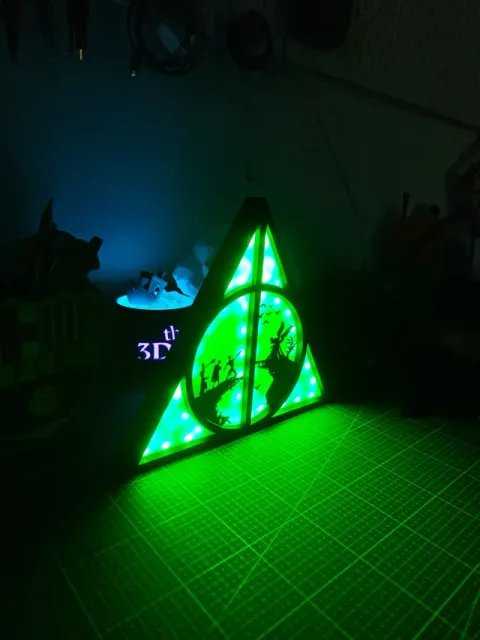
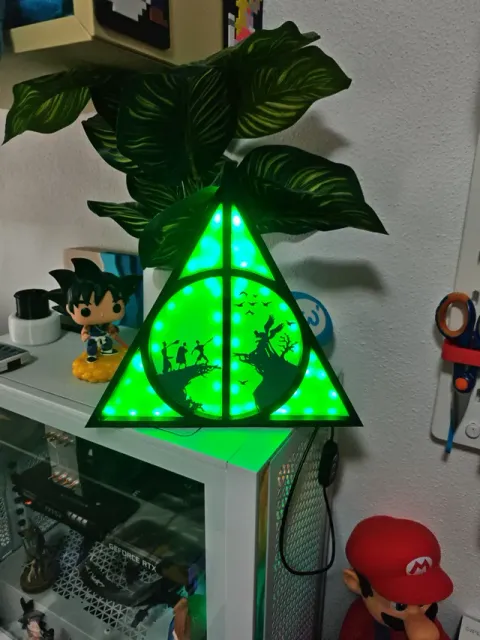
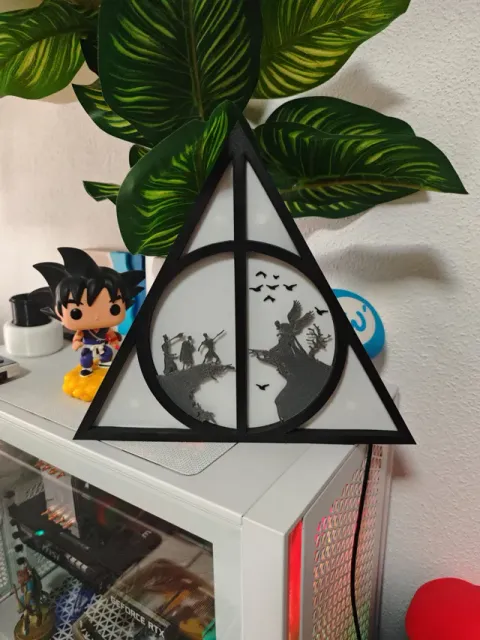
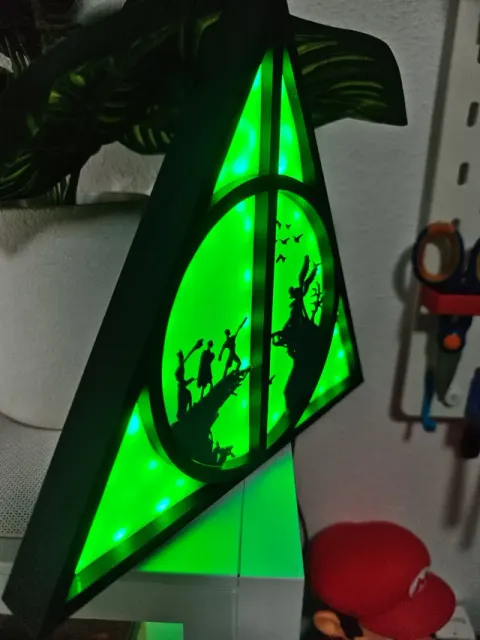
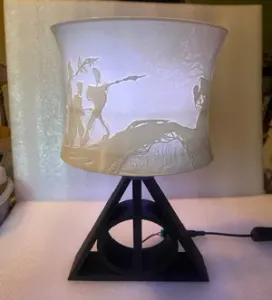
The Deathly Hallows Lamp – Perfect for Decoration!
This Harry Potter-inspired lamp can be printed on your A1 mini , as I've included a version where the body of the Hallows is split into parts. Important: If you adjust the size of the main relic, you must apply the same percentage change to all other profiles!
I've included two body profiles:
- One optimized for A1, X1, P1 , or similar-sized printers - Another split version specifically designed for the A1 mini (you’ll need glue for assembly) Each profile includes two internal versions :
- One with a standard hole - Another designed to fit a female USB-C port , depending on how you want to light up your lamp The other profile includes the back panel, front panel, and crows (optional). Due to their size, the crows will need to be glued rather than snapped in.
Lighting Options
Here are two ways to illuminate the lamp!
1. Easiest Option → Battery-powered wire LEDs Like This
I recommend using strands of at least 30 LEDs (50 is even better). To install them, insert the LEDs through the holes and distribute them evenly inside. You can secure them with a bit of hot glue to keep them in place. Add batteries, and you're done!
2. More Advanced Option → 5V LED strips
This option is a bit more complicated and requires basic soldering skills. You'll need:
- 5V green LED strip (buy at least 3 meters just to be safe) Like this
- Soldering wire Like this
- Female USB-C connector Like this - - Soldering iron & solder Alternatively, you can skip the USB-C connector and solder a small on/off switch directly to the LED strip: Like this
Pro tip: Use hot glue to reinforce the LED strips and any cables or connectors you install.
Here are a couple of pictures from my build process with led strip:
Background, Front and crows. Crows are optional. They must be glued. Feel free to resize them or print as much as you want.
Black Body For A1, X1, P1 size 1st tray = Hole option 2nd tray = USB C option
Black Body in parts (A1 mini) Choose the bottom right part you'd like: With a Rounded Hole (3rd tray) or USB C (4th).
You can also print de top side splitted (5th and 6th tray).



Names are used only to indicate the source of a result. Polyzon is not affiliated with the listed sites.
Comments