
Free 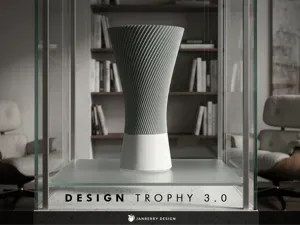
Design Trophy 3.0
MakerWorld






Design Trophy - Award
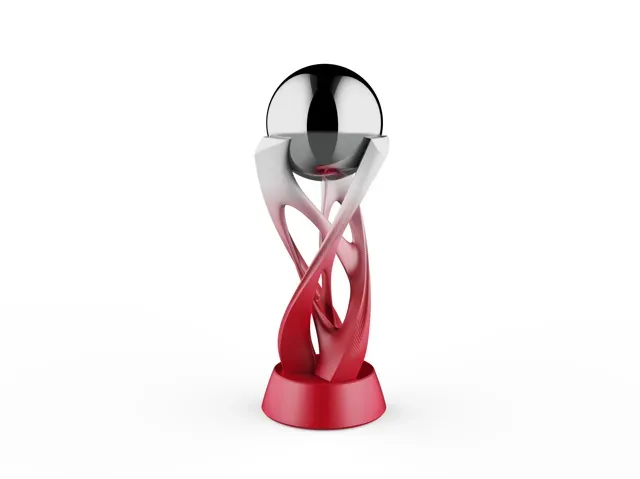
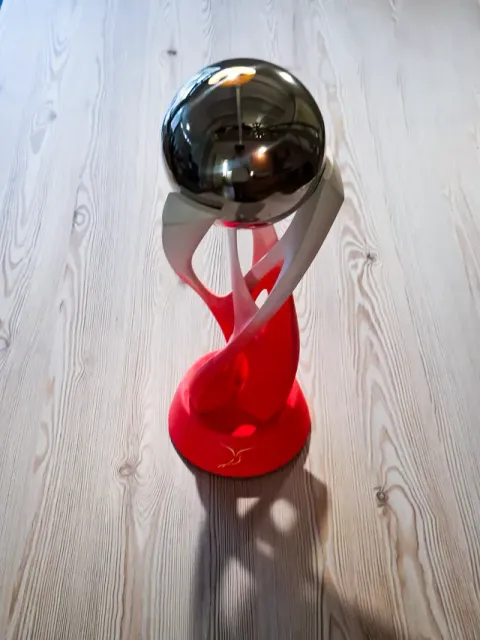
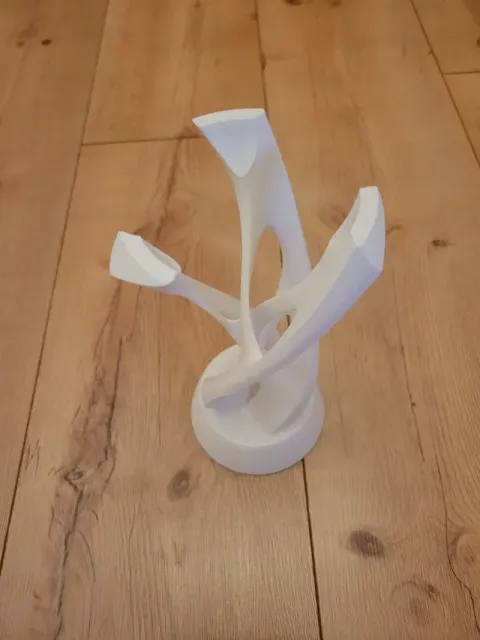
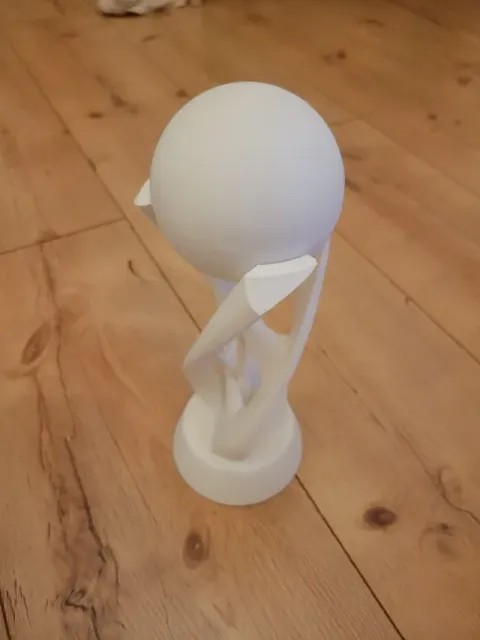
The new Design Trophy impresses with its dynamic, elegantly curved form and modern, sculptural appearance. Its distinctive branched structure, which can only be produced through 3D printing, gives the trophy a unique and innovative character. The surface transitions into a subtle, fading diamond pattern, adding depth and visual refinement.
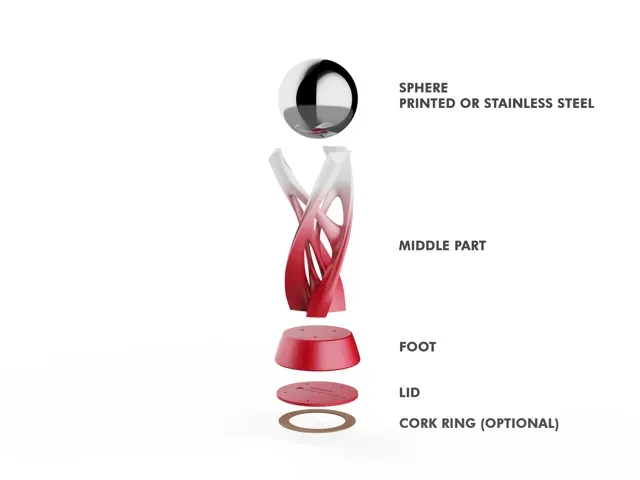
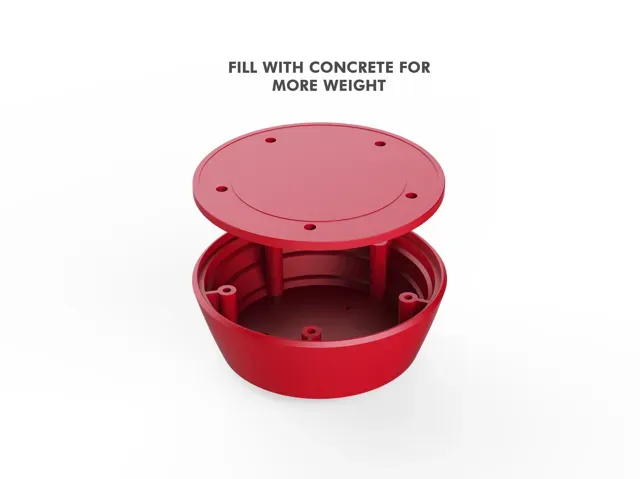
The top sphere can be customized either as a 3D-printed element or upgraded with a premium stainless-steel ball. The trophy features a customizable base, allowing you to add names, dates, event titles, or logos. Additionally, the base can be filled with concrete to increase the weight, giving the trophy a more substantial and premium feel.
Ideal for sports events, business achievements, creative competitions — and a wonderful keepsake for children’s birthday parties to celebrate young winners in a special way.
The trophy is available in multiple sizes: • Large: suitable for 3D printers with a build height of up to 320 mm ( H2 Series ) Total Height ~470 mm I 150 mm Sphere • Medium: compatible with printers offering up to 250 mm build height ( X- and P- Series, A1 ) Total Height ~360 mm I 120 mm Sphere • Small: printable on machines with a build height of up to 180 mm ( A1 Mini ) Total Height ~ 255 mm I 80 mm Sphere
I would not recommend to scale, because the threaded inserts and the screws will not fit. However scaling is possible if you use glue only . (NO screws)
Customization is possible. Use the text tool or SVG in Bambu Studio
Assembly
What else do you need?
M4 Threaded Inserts
M4x16 mm Socket Head Cap Screws
Optional Stainless Steel Sphere ( 150 mm, 120 mm , 80 mm depending on which size you print it)
These specific links may not be accessible in every country, but the required components are generally easy to find on Amazon, AliExpress, or similar online marketplaces.
- Heat-insert the threaded inserts into both the middle part and the base. - Attach the base to the middle part using the corresponding screws. I would recommend to add some glue on the bottom aswell. - If you want to add concrete for extra weight , this is the right moment to fill the base and let it cure. - Screw the lid onto the base once the concrete (if used) has set. - Glue the sphere securely into its designated position. - (Optional) Attach the cork pad to the bottom of the lid for a non-slip, scratch-free finish. Membership Boost Me Interested in my other work?
X- and P- Series Version 0.2mm layer, 3 walls, 20% infill
If you want to use the threaded Inserts and Screws it is not possible to scale.
H2 Series Version (320 mm) 0.2mm layer, 3 walls, 15% infill
A1 Mini Version 0.16mm layer, 3 walls, 20% infill







Names are used only to indicate the source of a result. Polyzon is not affiliated with the listed sites.