
Free 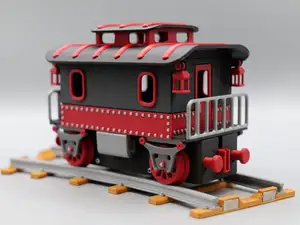
CyberExpress - Freight Car (Closed cargo Wagon)
MakerWorld
Introduction
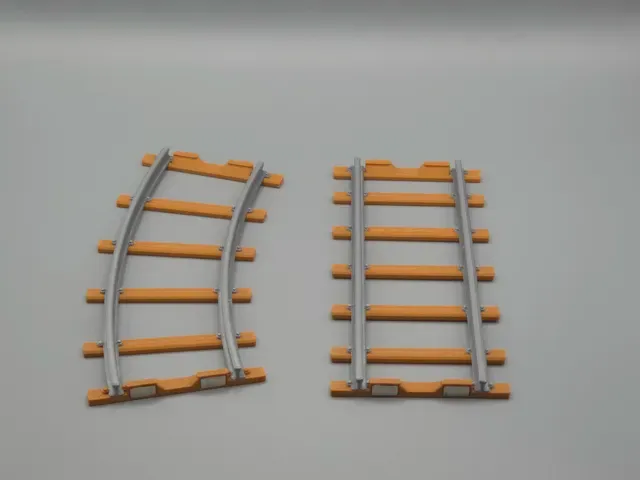
These are the track sections for the CyberExpress . Currently, there are two types available:
- Straight section with 170mm and, - 30-degree curved section, - 60º Cross - more to come soon It's important to note that these tracks were carefully designed with two key considerations in mind: they adhere to the Gauge 1 scale standard, and they're sized to be compatible with all 3D printers—including the A1 Mini, which is often overlooked in similar projects.
I'm fully aware that I could have designed larger sections or steeper 45-degree curves, but doing so would have made them incompatible with the A1 Mini's build volume. This doesn't mean I won't create those larger variations down the line, but for now, this approach ensures that everyone, regardless of their printer size, has the opportunity to build this kit.
Track System:
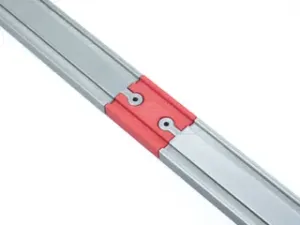
The track sections are inherently modular by nature, but there's a special feature I'm particularly excited about: I've taken advantage of the plastic construction to use magnets for assembly. The ease of connection is excellent—the tracks align themselves perfectly thanks to the magnetic orientation, creating seamless joins every time.
However, this magnetic system comes with one critical consideration that made me hesitate initially: polarity matters . For the system to work correctly, magnets must have the correct polarity. If they're reversed, track sections will repel each other instead of connecting.
Fast snap assembly track system My recommendation:
Install the magnets while you're assembling the track sections. This ensures everything will work perfectly. From personal experience, I know it's easy to get confused and end up with some sections that have reversed magnets if you're not careful. The key is simple: maintain the magnet stack with the same magnet orientation throughout all your track pieces.
I believe magnets are the best solution, but you can also glue the tracks together if you prefer. I could even create a printed connector clip to join sections, though not at this stage—introducing that now might create confusion.
Gluing is perfectly viable and will save money on magnets, since each track section requires 4 magnets (two at each end). But you will not be able to disassemble the tracks.
I may explore other connection methods in the future, but I won't be changing the gauge or rail head profile—those specifications are locked in to ensure compatibility across the entire system.
There are other modular aspects to this project, but it doesn't make sense to discuss them yet since those elements aren't available.
Alternative Clips
If you prefer not to use magnets, for any reason, I have created a clip that allows you to secure the tracks with a snap-fit style connection. There are two versions available: - One for my earlier track designs. - Another for the current tracks, which feature a small chamfer.
This is an alternative option, and I believe it is important to explain why I personally prefer the magnetic system over traditional mechanical ones. I designed this for myself, as a train enthusiast, but also for my son. When he plays with my Lima H0 train set, he occasionally knocks the tracks with his foot or hand. In these cases, the track or the connectors can be damaged. The situation is even worse with puzzle-style or dovetail joints, where the plastic connectors tend to snap.
While more robust plastic connections exist, they require mechanical properties that are not yet achievable with 3D printed parts due to the inherent anisotropic nature of the FDM printing process.
Clipping tracks assembly system Regarding the Scale
Track Gauge: Standard Gauge 1 (45mm)
This tramway uses the well-established Gauge 1 track standard of 45mm (1¾ inches) between rails. This means you'll be working with familiar geometry and can take advantage of the extensive range of commercially available Gauge 1 components, including track, switches, wheels, and other accessories that have been refined over more than a century of model railroading tradition.
For the locomotive, here you have the overall dimensions
Most important measurements for the tracks
60º Cross
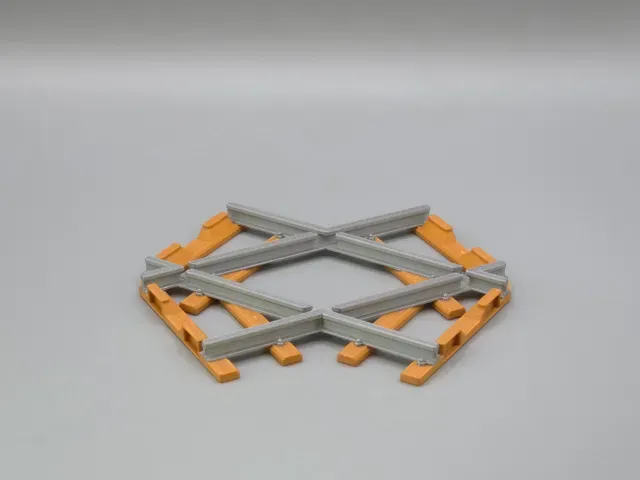
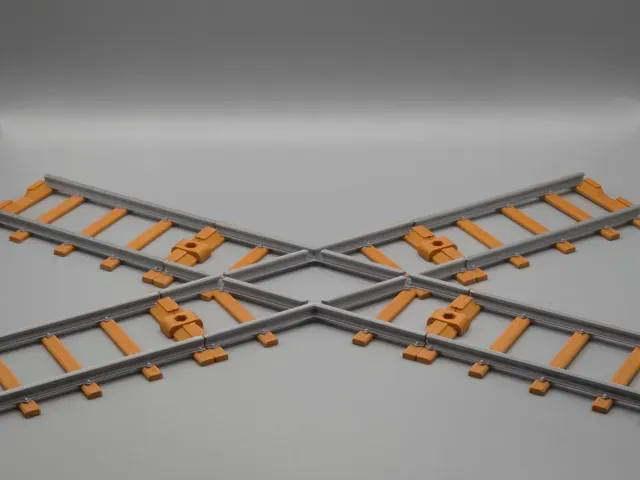
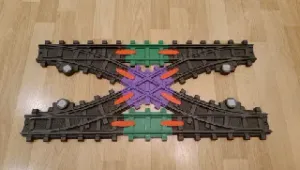
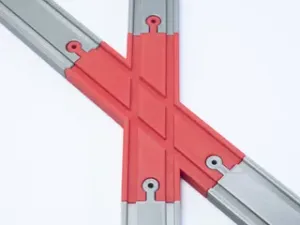
For the 60º crossing, this will result in an elongated 8 shape with almost 2 meters.
Two special 170mm straight tracks have been provided, which must be placed immediately next to the crossing. Standard straights would cause a slight interference with the crossbar containing the magnets. I could have avoided this, but it would have resulted in a larger crossing, making it incompatible with the Bambu Lab A1 mini—a compatibility I intend to maintain to the limit.
120º Cross
For the 120º crossing, this will result in an elongated 8 shape with almost 1,5 meters.
Two special 115mm straight tracks have been provided, which must be placed immediately next to the crossing. Standard straights would cause a slight interference with the crossbar containing the magnets. I could have avoided this, but it would have resulted in a larger crossing, making it incompatible with the Bambu Lab A1 mini—a compatibility I intend to maintain to the limit.
Turnouts
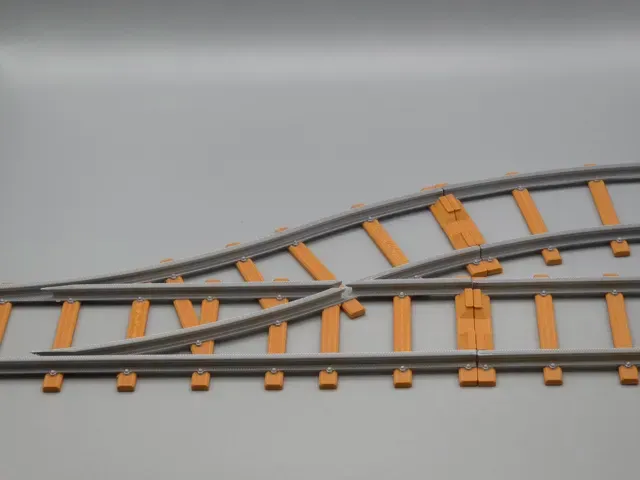
Here are the turnouts for accessing the main line. These turnouts, both left and right-handed, are static, meaning the points are fixed in place.
Regarding the printing process, some compromises were necessary. To ensure smooth operation, minimum curvature radii must be respected, which makes these components quite long—exceeding the limits of printers with a 250x250mm bed. This explains why they are segmented into smaller sections.
While larger printers, such as the H2 series, could produce these turnouts as a single piece, I chose to standardize the design to simplify track management. Consequently, the "approach or interface" tracks have different lengths compared to the standard curves and straights.
For the A1 mini, even more concessions were required, making it necessary to use glue on one of the sections. It is a straightforward process that I am sure will not cause any issues. Interestingly, as of late December 2025, I have yet to see anyone undertaking this project with an A1 mini, which leads me to wonder if these specific design compromises are truly worthwhile.
Double Branch
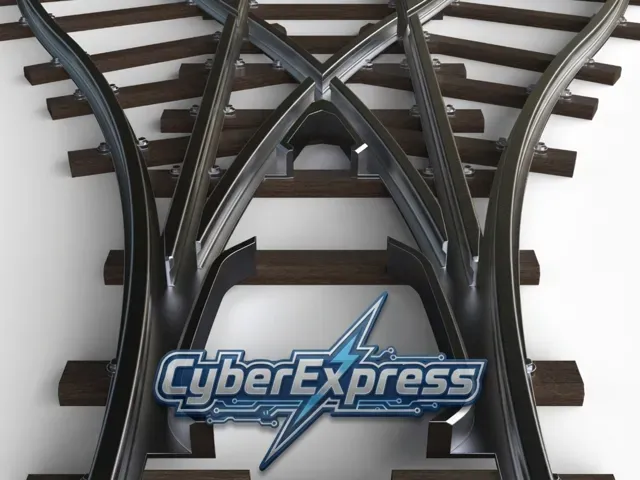
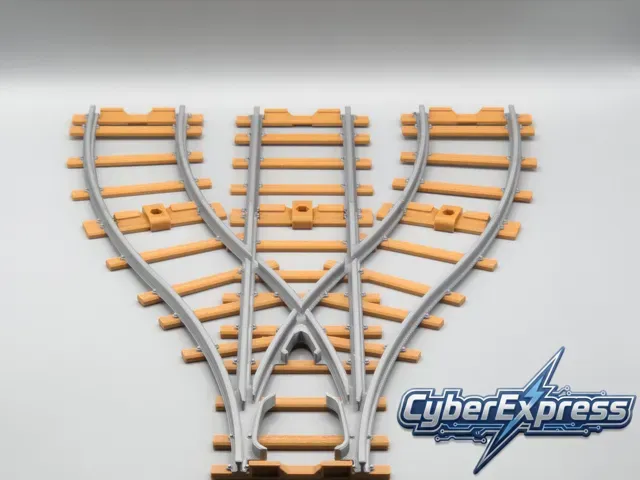
This track allows two tracks to merge into a main branch. Similar to previous versions, this is a fixed track, making it a simple version that is easy to print and assemble. Despite its simple appearance, modeling this piece was not particularly easy; it involves specific technical details to ensure it is not merely an aesthetic object, but a fully functional element.
What to expect from its operation: Traffic following the main line will maintain its direction regardless of the sense of travel. It is not possible to change the train's direction with this piece, as that would require a mechanized turnout. Depending on the feedback and interest in this model, a mechanized version may be released in the future.
The Future
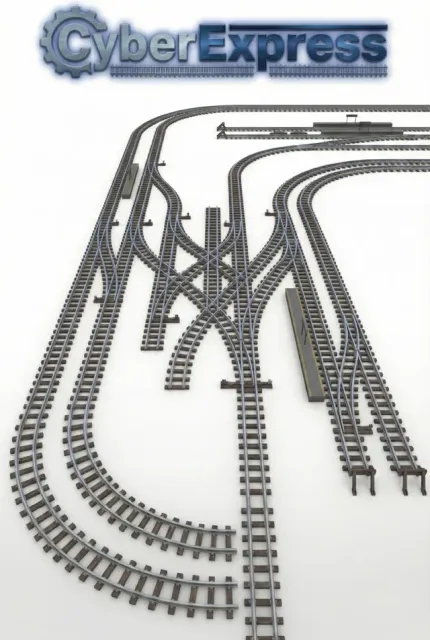
With this modular foundation, if all the steps go well, it will be relatively easy to create something like this. However, for those who already know me, I like to take safe steps, and it's necessary to pass the first trial by fire, and that trial is how you, members, will receive this project. If everything goes well, continue adding more tracks with different configurations.
Materials
- The material used for the rail was Silver-colored PLA Basic, and for the base I used PLA Wood, choose a dark one for better effect. - The magnets are rectangular with dimensions of 10x5x2mm. These must be installed carefully, as I mentioned earlier, again, it's crucial to pay attention to the polarity. Once you're certain of the correct polarity, secure them with epoxy glue or cyano acrylate (superglue). For example, the "0" layout (oval) will require 32 magnets. Since each pack contains 20 magnets, you'll need 2 packs for this configuration.
Straight and 30º Curves
Clip for the legacy tracks
120º Cross - For the A1 mini 120º Cross
For the 120º crossing, this will result in an elongated 8 shape with almost 1,5 meters.
Two special 115mm straight tracks have been provided, which must be placed immediately next to the crossing. Standard straights would cause a slight interference with the crossbar containing the magnets. I could have avoided this, but it would have resulted in a larger crossing, making it incompatible with the Bambu Lab A1 mini—a compatibility I intend to maintain to the limit.
60º Cross with approximation special 170mm tracks
120º Cross printers on the A1, P1 and X1 size range 120º Cross
For the 120º crossing, this will result in an elongated 8 shape with almost 1,5 meters.
Two special 115mm straight tracks have been provided, which must be placed immediately next to the crossing. Standard straights would cause a slight interference with the crossbar containing the magnets. I could have avoided this, but it would have resulted in a larger crossing, making it incompatible with the Bambu Lab A1 mini—a compatibility I intend to maintain to the limit.
120º Cross - For H2 and all bigger size build plates 120º Cross
For the 120º crossing, this will result in an elongated 8 shape with almost 1,5 meters.
Two special 115mm straight tracks have been provided, which must be placed immediately next to the crossing. Standard straights would cause a slight interference with the crossbar containing the magnets. I could have avoided this, but it would have resulted in a larger crossing, making it incompatible with the Bambu Lab A1 mini—a compatibility I intend to maintain to the limit.
Track Clips
Fixed Right Brach
Fixed Right Brach
Fixed Right Brach for the A1 Mini Despite my best efforts, I couldn't optimize this diverter configuration any further for the A1 mini. I had to cut the parts using the slicer on bambu Studio, is not the best option but is the best I could do… So they will need to be glued together afterwards. I made the cut on a crossbar to make the gluing process easier, and a little cyanoacrylate glue should make it look perfect, you can use a file to remover any bit os PLA that can remain
This component is quite large, so even with the special cuts and interface lines I added, it’s still not possible to fit the entire assembly within the A1 mini's build volume.
Profile for all except the Mini. This line allows two tracks to merge into a main line. Similar to previous versions, this is a fixed track, making it a simple version that is easy to print and assemble. Despite its simple appearance, modeling this piece was not particularly easy; it involves specific technical details to ensure it is not merely an aesthetic object, but a fully functional element.
What to expect from its operation: Traffic following the main line will maintain its direction regardless of the sense of travel. It is not possible to change the train's direction with this piece, as that would require a mechanized turnout. Depending on the feedback and interest in this model, a mechanized version may be released in the future.
A1 mini profile This track allows two tracks to merge into a main track. Similar to previous versions, this is a fixed track, making it a simple version that is easy to print and assemble. Despite its simple appearance, modeling this piece was not particularly easy; it involves specific technical details to ensure it is not merely an aesthetic object, but a fully functional element.
In this case, I was not able to make a universal version compatible with the A1 mini, so this one needs to be glued at one section. It will work great too. The larger section simply did not fit the A1 mini bed. I've done my best. Nevertheless, and from what I'm beginning to understand, very few, if any , members are doing this project on the A1 mini, so I'm considering removing the mini from this project, since it is limiting what can be done. If someone has a mini, please reach out.
What to expect from its operation: Traffic following the main line will maintain its direction regardless of the sense of travel. It is not possible to change the train's direction with this piece, as that would require a mechanized turnout. Depending on the feedback and interest in this model, a mechanized version may be released in the future.




Names are used only to indicate the source of a result. Polyzon is not affiliated with the listed sites.