
Free 
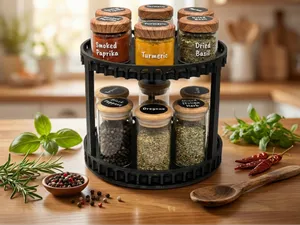
Spice Carousel - Spice Rack
MakerWorld
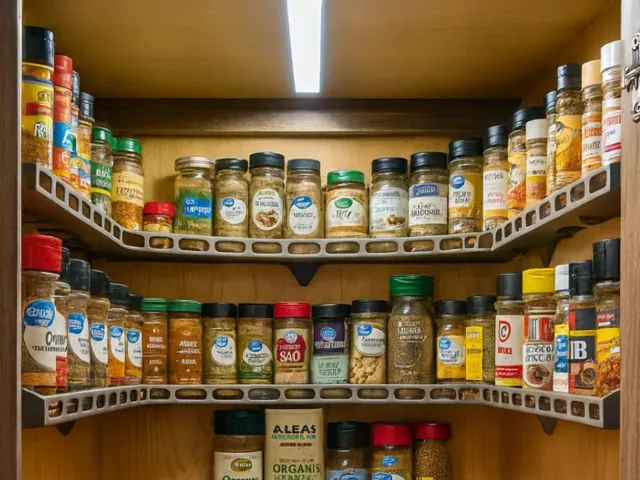
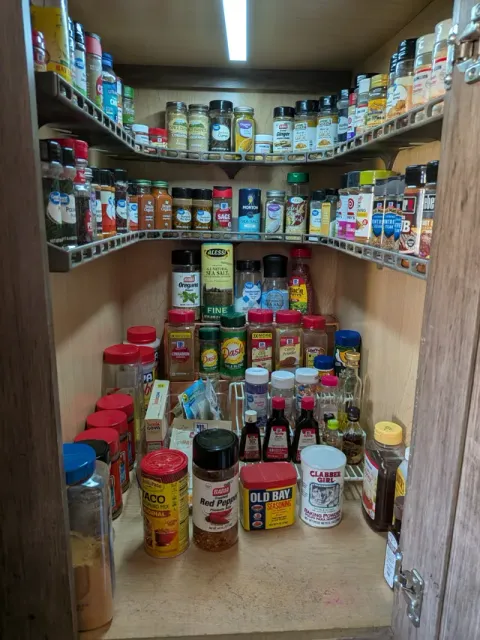
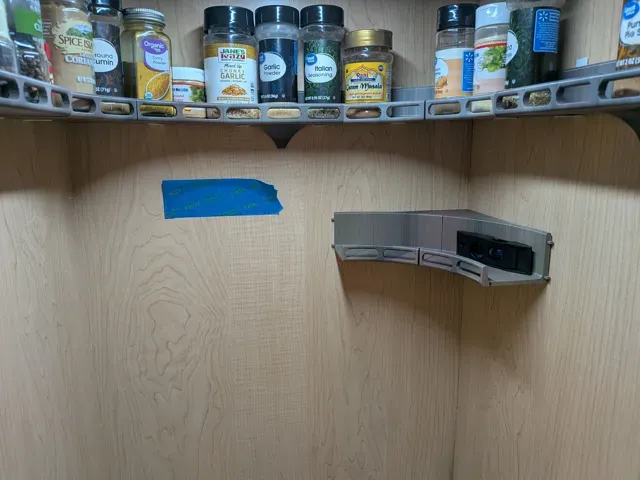
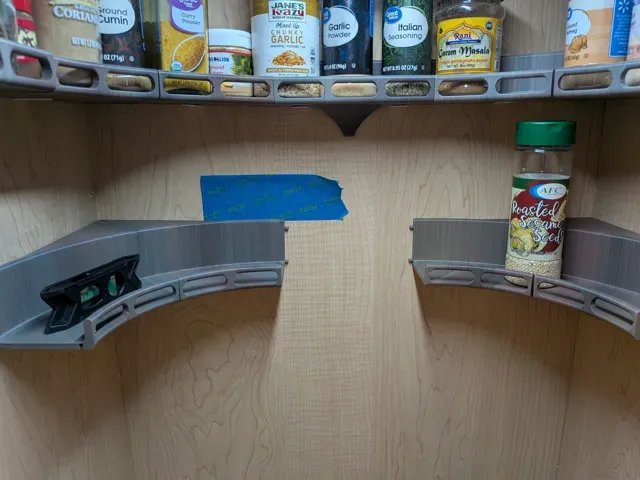
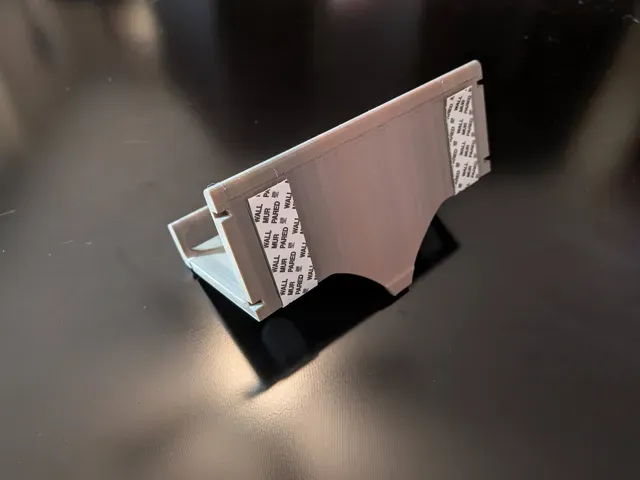
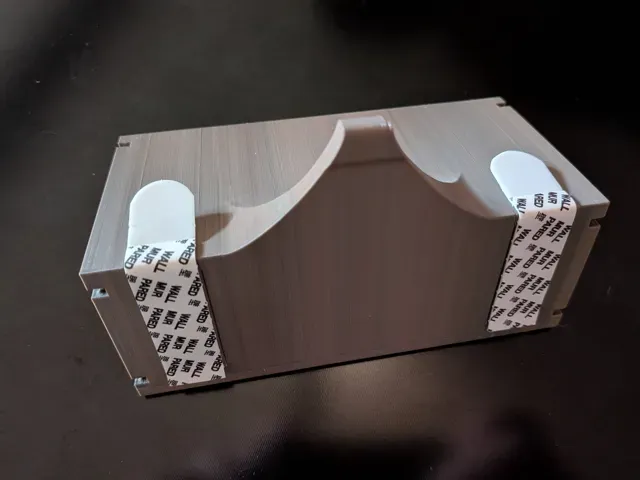
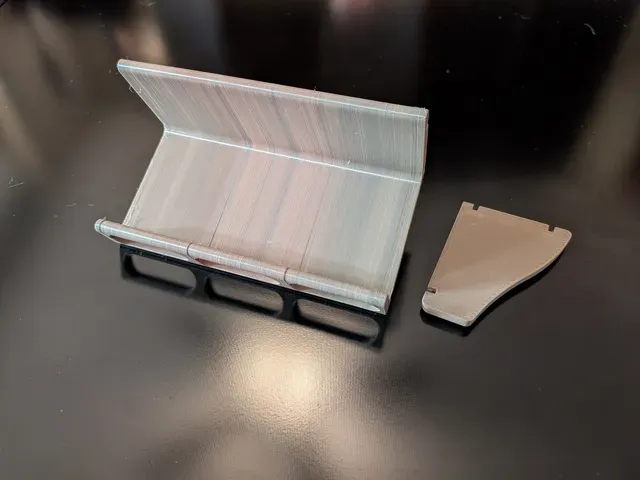
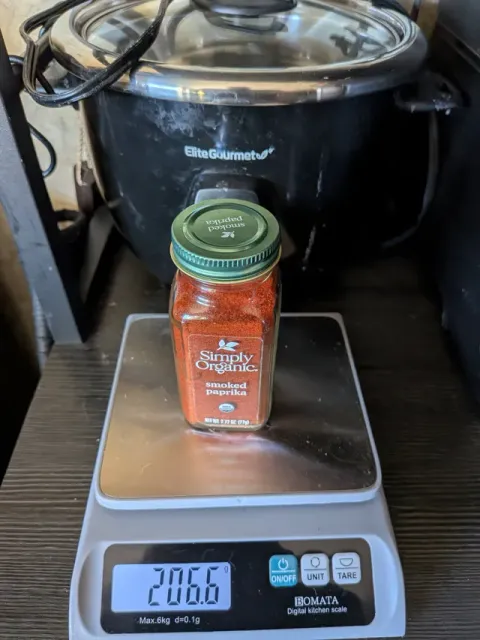
Your spice cabinet is probably a war zone — bottles stacked, toppled, hiding in the shadows… silently conspiring to make you buy smoked paprika for the sixth time. Mine definitely was.
The final straw? I lost my beloved Jane’s Krazy Mixed-Up Garlic (the chunky one!) right when I needed it for pizza. After tearing the cabinet apart like a man searching for buried treasure, I snapped. I wanted order. I wanted visibility. I wanted… Spice Invaders .
I searched for printable shelf systems, but everything required drilling holes in cabinets. Absolutely not! I avoid holes in walls like spicy food avoids toddlers.
So this design became my mission from the moment I got my printer — but I wasn’t skilled enough… until now. Now the system is real, it prints beautifully with zero supports , and it installs using 3M Command Strips only. No screws. No damage. No sadness.
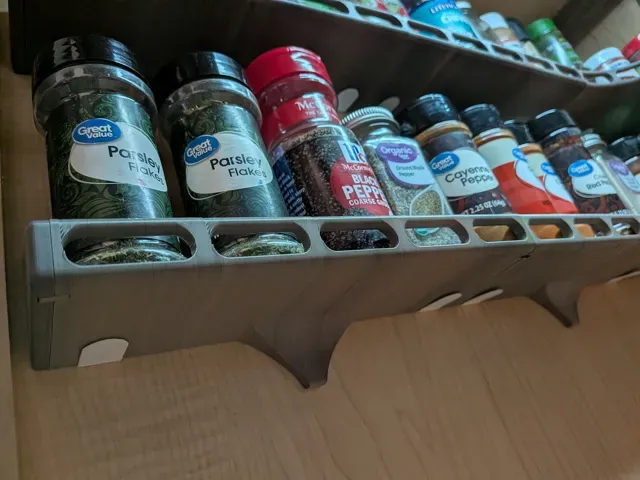
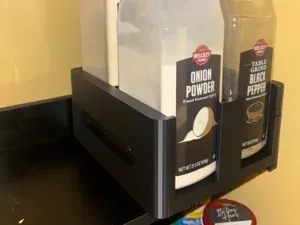
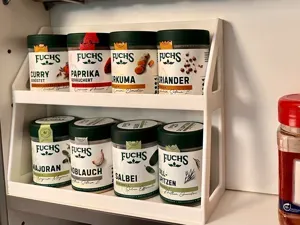
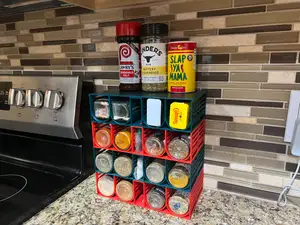
All shelves are modular, connect using clever locking pegs , and can be arranged in straight runs, corners, or full U-shapes. There are no needless dividers, allowing you to slide the spices around to squeeze a new spice where ever you please. The columns on the straight shelves auto-calculate their spacing based on width, so the look stays consistent even if you resize. Everything is parametric, customizable, and designed so your cabinet becomes a smooth, glowing (yes, glowing — I use a motion-activated light !) alphabetized spice library.
When you’re done, your bottles line up like tiny retro aliens marching across the shelf — thus the name: Spice Invaders .
At last, order rises from the chaotic spice nebula. Balance has been restored… and dinner tastes way better.
Defeated your Spice Invaders 👾👾👾? Upload your victory photos 📸! I’d love to see your setup — and let me know where you’re printing from 🌎. I genuinely love the thought of these designs becoming real in kitchens around the world. If this project helped tame the chaos in your spice cabinet, drop a review 💬 and hit that thumbs-up 👍. It powers up my next upgrade!
Version Updates
(V2) Updated On 2026-01-26
- Added cornerShelfWidth parameter - Renamed shelfWidth parameter to straightShelfWidth - Moved objects to try to center them on the build plate when customizing (V1) Created On 2025-12-02
- Initial release. The files are available in case there are issues with newer versions. The System Includes
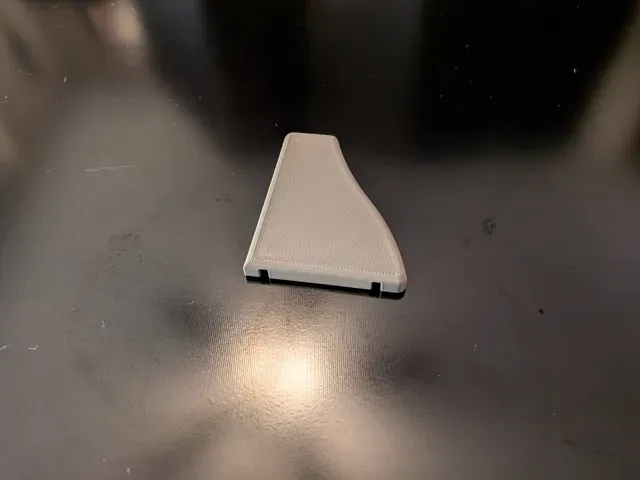
- Straight shelves - Corner shelves - End caps - Joining pegs - (two variations) Customizable Parameters
Use the same settings for each model to ensure that all pieces fit together.
commandStripHeight:
Controls the height of the back of the shelf and sets the top guide line for placing the 3M Command Strip .
Note: Because a portion of the strip’s adhesive is to be wrapped under the shelf to hide the lower edge, the shelf back will be 24 mm shorter than the strip height.
commandStripWidth:
Sets the left and right guide lines for placing the 3M Command strip so users know exactly where to stick it.
cornerShelfWidth:
Sets the width of the corner shelf. Choosing a value that is too large relative to your bottle size can make the corner look oversized and awkward and if too small it may not be able to fit the number of bottles you wish to accommodate. Use this formula to first calculate the minimum corner shelf width for your needs and adjust from there: (0.6 * cornerBottleCount * maxBottleDiameter ) + (0.588 * maxBottleDiameter ) - (0.8 * cornerBottleCount ) + 14.9
NOTE: A good cornerBottleCount value to use is 4 to ensure you can easily get the bottles out.
maxBottleDiameter:
Controls the shelf depth so the largest spice bottle you plan to store fits comfortably behind the rail without tipping.
railHeight:
Controls the height of the front safety rail. A taller rail keeps bottles more secure but may obscure some labels; a shorter rail keeps the design lighter and more open.
railColumnTargetPitch:
Sets the target spacing used with straightShelfWidth to determine how many rail columns appear on straight shelves. Corner shelves always use a fixed layout of three center columns with half columns at each end.
Smaller values produce more columns; larger values produce fewer, but the final spacing is always recalculated so the columns remain evenly distributed.
straightShelfWidth:
Sets the total shelf width. This value is also used, along with railColumnTargetPitch , to calculate how many front rail columns are created on straight shelves.
Instructions
Printing
- No supports are required for any part. The models are already oriented to avoid supports while maximizing strength. - When calculating the width of your straight shelves, subtract the cornerShelfWidth and end cap width (6 mm) from the total width you need to ensure a perfect fit. You may also need to compensate for the thickness of the 3M Command Strips. - If your straight shelf width exceeds your printer’s build volume, divide the shelf width into 2 or 3 shorter widths that fit and enter it into straightShelfWidth parameter. Do not print a single long shelf and split it in your slicer — you will lose the pre-designed peg holes needed to join the straight shelves together. - Print the pegs — they are included in the plates in the print profile. - Use the Customize button here on Maker World to adjust settings for your shelves. Take note of your settings so you can reuse them for any additional shelves in this system. - Recommended: print corner shelves first to see the fixed column spacing, then after setting the straightShelfWidth , match your straight shelf column spacing using the railColumnTargetPitch setting. - Reduce all overhang print speed settings to about half to ensure clean prints. Installation Prep
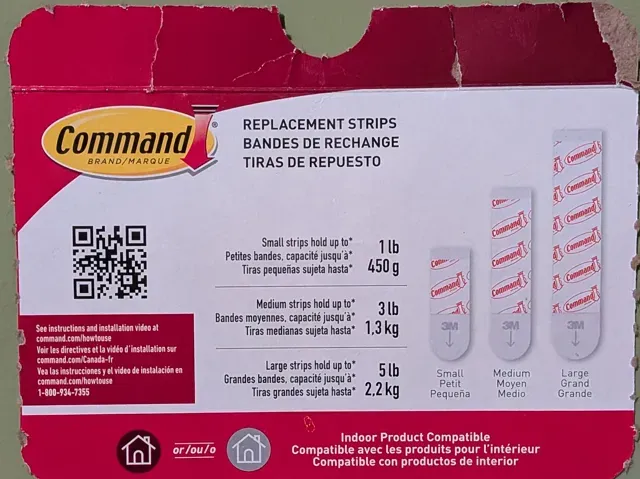
- Use Medium 3M Command Strips . Two medium strips can support far more than a full shelf of spice bottles. - I also include a small lower fin in the design to eliminate peel forces so the Command Strips only take shear loads (exactly what they’re meant for). - To perfectly align your shelves, use a level , or simply place a long straight object (wood piece, 3D-printed rectangle, box, etc.) on the cabinet floor and rest each shelf on it as you stick it to the wall. - Make sure you leave enough space to fit the tallest spice bottle you wish to accommodate. In my case, I my tallest spice bottle is 142 mm tall, so I made sure I used that bottle when installing my first shelf. Make sure to take into account the height of the rail that it would need to go over. Shelf + Corner Joining
The system uses custom-designed joining pegs:
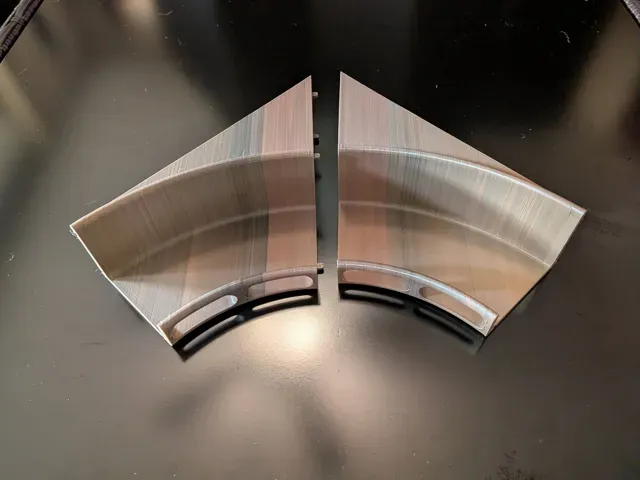
Corner Shelf (two-piece):
- Uses 4 pegs containing channels on both short sides and fully rounded corners. - Insert them into one half with the channel and indentation facing upward , then press the halves together until they lock. - Insert 4 pegs containing channels facing the long edge with rounded corners with the channel and indentation facing upward to both sides before attaching to the cabinet. - Place Command Strips on the back using the built-in guide lines. - Apply strong pressure on the Command Strips area for 30 seconds. - Wrap the bottom tab of the strip under the shelf (this hides it from view). Straight Shelves:
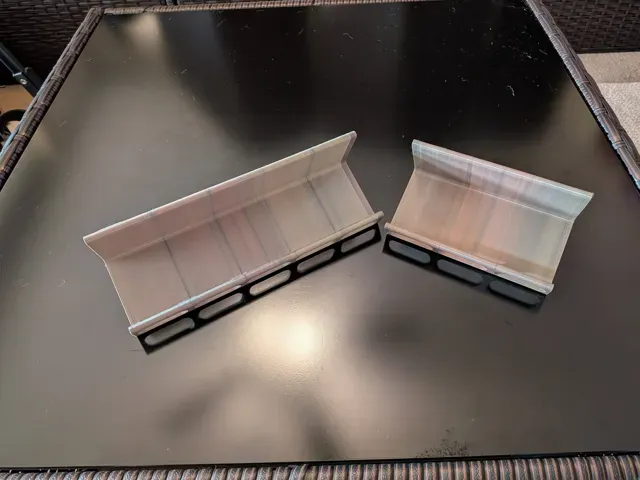
- On the back edge: peg holes have directional cones. - Insert 2 pegs containing channels facing the long edge with rounded corners with the channel and indentation facing upward to one side before attaching to the cabinet. If you are not connecting the shelf to another, you will need to ad 2 more pegs to the other side. - Place Command Strips on the back using the built-in guide lines. - Apply strong pressure on the Command Strips area for 30 seconds. - Wrap the bottom tab of the strip under the shelf (this hides it from view). - When connecting the next shelf: - Insert pegs on the opposite side from where you’re joining. - Place Command Strips on the back using the built-in guide lines. - Apply strong pressure on the Command Strips area for 30 seconds. - Wrap the bottom tab of the strip under the shelf (this hides it from view). - Slide the shelf into the neighbor until the back cones snap in. - Add 1 peg containing channels facing the long edge with rounded corners to the bottom ( channel and indentation facing toward the back this time ). End Caps:
- Added last to keep bottles from sliding out the sides. - They slide onto the back pegs just like the shelves. - Add 1 peg containing channels facing the long edge with rounded corners to the bottom ( channel and indentation facing toward the back ). - No Command Strips required for end caps. Recommended Order
Print Pegs Only, Use Customize Button For Everything Else - Fits 58 mm diameter bottles - Designed for a cabinet with a width of 19 ¾" and a depth of 24 ½" - Print 1 back straight shelf, 4 side straight shelves, 2 corners, 2 end caps, and pegs


Names are used only to indicate the source of a result. Polyzon is not affiliated with the listed sites.
Comments 0
Loading comments…