
Free 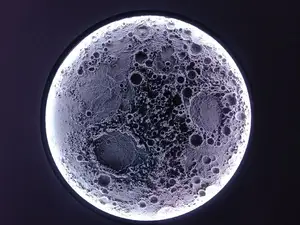
Large Illuminated Lunar Wall Lamp — Version 1
MakerWorld
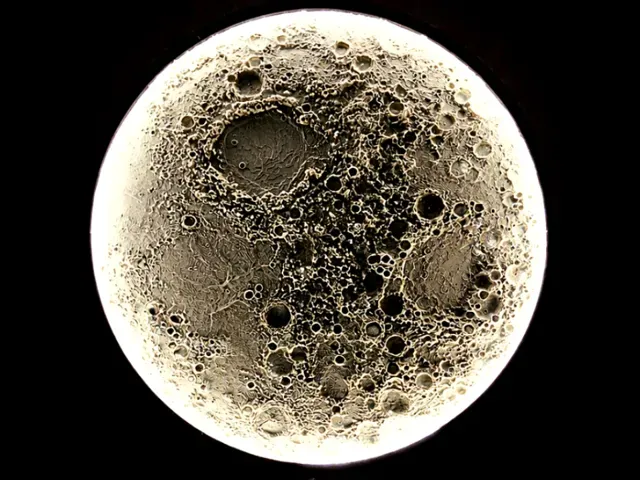
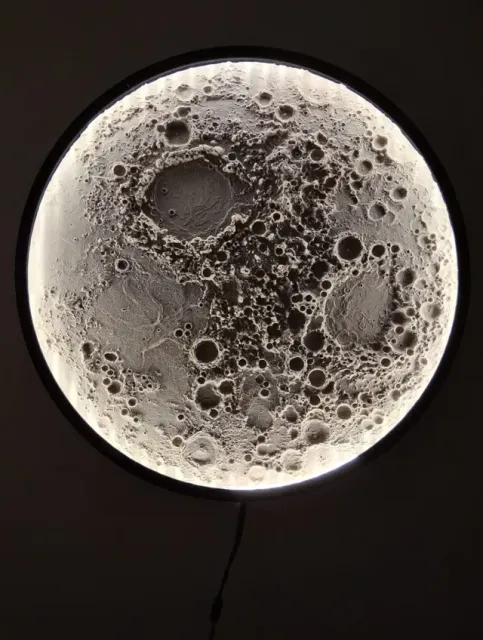
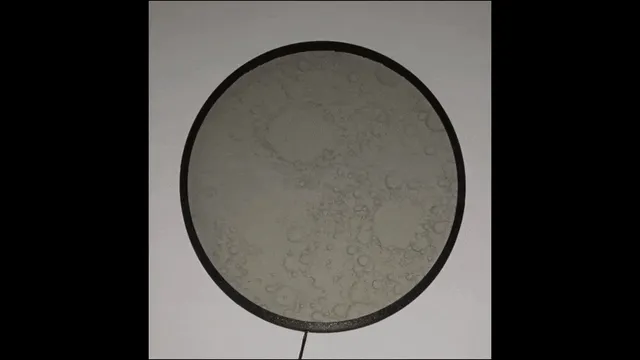

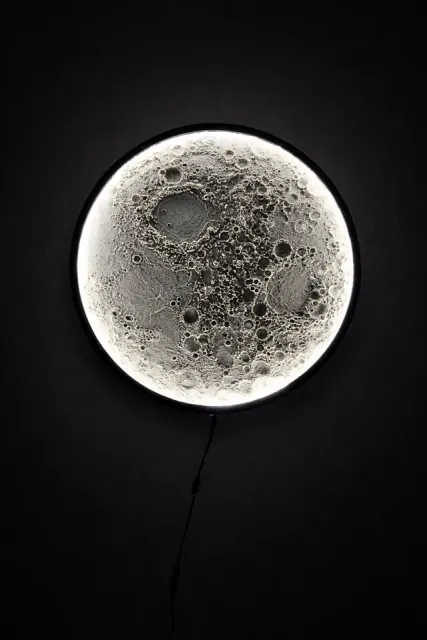
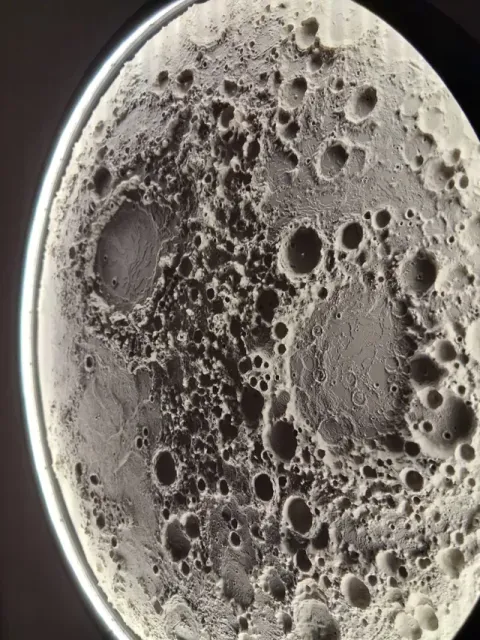
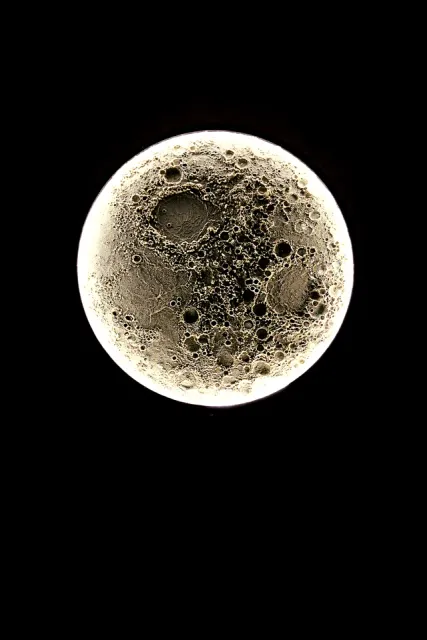
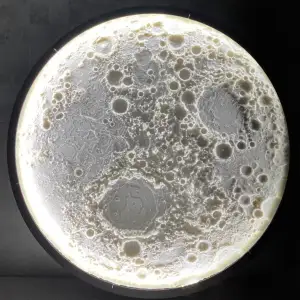
High-detail 50 cm illuminated Moon wall lamp , based on real lunar surface data, featuring the eastern lunar region with realistic surface relief.
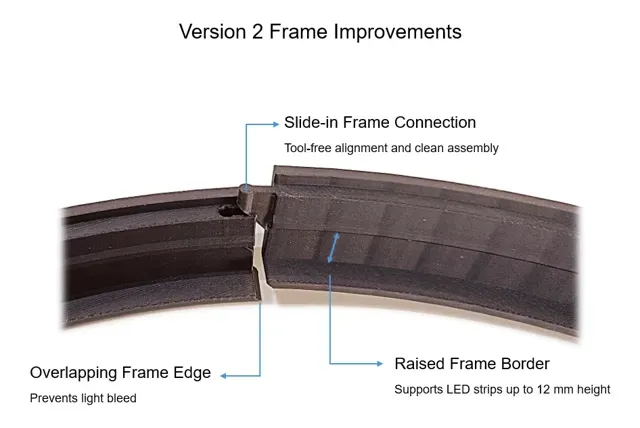
Version 2 introduces an improved frame system with better light sealing, easier assembly, correct Northern Hemisphere orientation, and support for LED strips up to 12 mm width . The Version 2 frame and baseplate are backward compatible with Version 1 moon parts.
---
Version 2 – Improvements & Changes
This model has been updated to Version 2 with the following improvements:
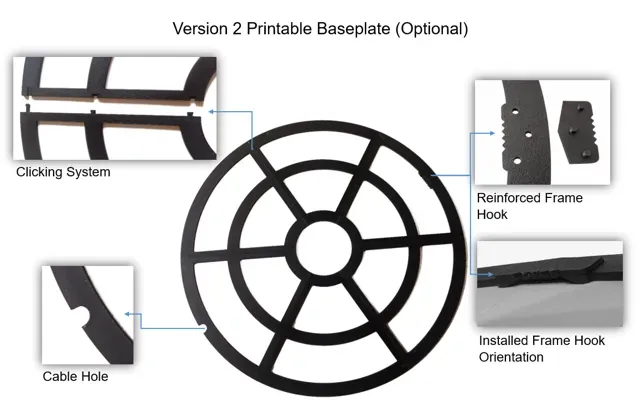
- Raised frame design , allowing the use of LED strips up to 12 mm width - New slide-in frame system , making assembly easier and cleaner - Overlapping frame edge , preventing light bleed between frame segments - Moon pieces mirrored , so the orientation correctly matches the Moon as seen from the Northern Hemisphere - Optional printable baseplate parts added , replacing the MDF board and separate hook - Baseplate parts can be glued together to form a rigid mounting plate - Integrated frame hook for wall mounting
---
Materials:
- PLA (matte filament recommended for the outer frame) - Superglue - Acrylic joint sealant (for filling small gaps between the moon surface pieces) - Spray paint (light gray or beige recommended, after filling) - Minimum of 1.53 m LED strip - COB LED strips recommended for a more uniform light output - Maximum LED strip width: 12 mm Optional:
- ABS, PETG-CF or other robust filament - Recommended for increased strength and durability when printing the baseplate If not using the printable baseplate:
- MDF board (3 mm thickness) - Cut into a 50.2 cm diameter circle - Frame hook
---
Assembly Overview (Quick Guide)
- Glue moon surface parts together, fill seams and spray paint - Glue the baseplate parts together (optional printable baseplate)
Make sure frame hook orientation is correct (see reference images)
- Assemble and glue frame parts and install LED strip (max 12 mm width) - Dry-fit frame over moon and baseplate to check alignment - Glue moon onto baseplate
Use the reference images for correct orientation
- Glue frame onto baseplate
---
Finishing tips:
- Take time to fill seams carefully for the best visual results. - After applying sealant between the gaps, lightly dabbing the surface with a paper towel helps create a more realistic lunar texture. - When using COB LED strips with fixed cut lengths, slightly overlapping the final segment can help avoid visible dark gaps and ensure more uniform illumination. ---
Credits
This lunar lamp is a remix of a model originally designed by Martin Kozak and is shared under the same Attribution–NonCommercial license (commercial use is not allowed).
Full size – 50 cm • Variable layer height enabled for enhanced lunar surface detail • Designed to print without supports
Tested on Bambu Lab P1S at full scale.
This profile is intended as the full-size (≈50 cm) reference version. For smaller printers, see the dedicated scaled profiles.
35 cm Moon – A1 mini compatible 35 cm version optimized for A1 mini printers.
The moon surface parts are uniformly scaled for improved surface quality, while the frame is scaled in X–Y only to keep the 12 mm LED slot compatible.
The visible moon surface diameter is about 34.2 cm, with an overall size of approximately 35 cm including the frame.
This version fits the A1 mini build plate, but can also be used on larger printers if you prefer a smaller moon.
25.5cm, 2 Plates - With Supporting Base - Same Print Quality Model Details
- Plates: 2 - Size: Maximum diameter of 25.5 cm. - Layout: Separated into two pieces across two build plates for easy printing. - Plate 1: The Moon (Features a newly added flat base for improved printing support and stability). - Plate 2: The Frame. Scaling Instructions for A1 Mini
To fit the smaller build volume, apply the following scale settings to both the Moon and the Frame:
- X and Y Axes (Length & Width): Scale to 70% - Z Axis (Height): Keep at 100% (Do not scale)
RESIZED AND IMPROVED - read description! Why it's super:
- Resized so that you only need 2 plates (1 for moon, 1 for frame) - It is positioned vertically to have super high details
- The moon fits perfectly so you don't need the extra support - It's relatively fast
NOTE:
For the moon, watch the first layer and remove the purge line as soon as it is printed! If it looks like the moon isn't being held in place by the inner step, it's because you tilted it during insertion. After a couple of attempts, you'll find the correct position.
Even if it fits quite perfectly and interlock, I suggest you putting a bit of hot glue (or silicone ecc…) behind the moon as a stopper.
The vertical support was made by Martin Kozak from https://makerworld.com/it/models/513707-wall-moon-lamp#profileId-429828 , thx!
Moon pieces print vertically to save time
0.16mm layer, 2 walls, 15% infill Scaled up to 98cm
For A2L - 32cm Full Big Moon - 2 Plates, Same Print Quality - Fits With: Specially for A2L and other bigger plates. - Plates: 2 - Size: Maximum diameter of 32 cm. - Layout: Separated into two pieces across two build plates for easy printing. - Plate 1: The Moon (Features a newly added flat base for improved printing support and stability). - Plate 2: The Frame.



Names are used only to indicate the source of a result. Polyzon is not affiliated with the listed sites.