
Free 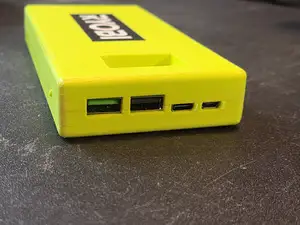
Power Bank Charger (6, 18650 batteries)
MakerWorld
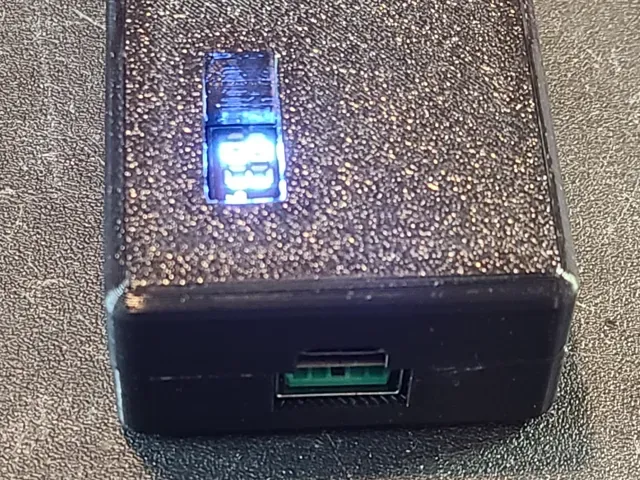
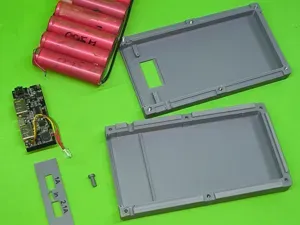
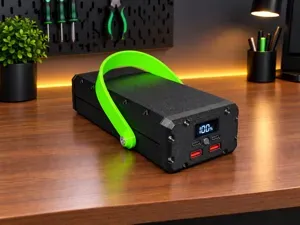
This is a case to build your own USB power bank. It uses two 21700 batteries, I've provided a link to the ones I used here . The circuit board I used came from Aliexpress ( link ). Be sure to select the one with the LED digital display to fit properly! I used a 2 part epoxy ( like this one ) to glue the two halves together. Make sure it is fully functional before you glue it - that means charge it and make sure it charges your phone.
You assume all risk for electronics by making this device. I am simply providing the details on how to build it. Buy name brand or reliable batteries as lithium ion batteries can be dangerous.
You'll also need some knowledge on how to solder. You'll want to connect your batteries in parallel.
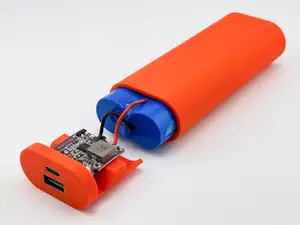
Here's a simple short on how to make this. It's a smaller charger, but with the same concept. Keep in mind you want to connect all of the positive together and all of the negative together. DO NOT put them end to end as you would for a remote control or a toy. We're not trying to increase the voltage, just the length of charge time you'll get. Don't worry about the voltage being less than 5V as the circuit board will manage that for you! One more thing to be aware of, soldering these batteries heats them up. It's best to use a mini spot welder (linked below) as it doesn't really heat the batteries up.
This project was printed in PETG for durability. Four walls with 15% gyroid infill.
Spot welder (optional): https://a.co/d/iCum6kh (you can use wire to solder the batteries together, but do NOT overheat the batteries)
These are the 21700 batteries I used: https://a.co/d/0eTxD2Ad
This is the charging board. You can find it on Aliexpress: https://www.aliexpress.us/item/3256807046636114.html?channel=twinner *You want the one with the digital LED numeric readout.
I used this heat resistant tape to keep the batteries together when I was spot welding. It may or may not be needed, but it WILL prevent rattling in the case. https://a.co/d/jiRSVct Also be sure to tape the thermistor (heat sensor) to one of the batteries (preferably right where they meet, but without causing issues with the case fitting).
Lastly, I used some small nails I cut down to reinforce the corners when I epoxied it together using this 2 part epoxy from Dollar Tree: https://www.dollartree.com/searchresults?Ntt=2%20part%20epoxy
You'll also need a very small amount of wire (less than 1 foot), solder and a soldering iron. Less than 2 inches of wire if you get the spot welder! Note that the positive and negative soldering points are marked on the circuit board.
Enjoy and be sure to post photos of your build, I'd love to see them.
0.16mm layer, 4 walls, 15% infill PETG , 4 walls, 14% gyroid infill, no supports required.



Names are used only to indicate the source of a result. Polyzon is not affiliated with the listed sites.
Comments 0
Loading comments…