
Free 
Black Forest cuckoo clock – Bambu Lab KIT-011
MakerWorld
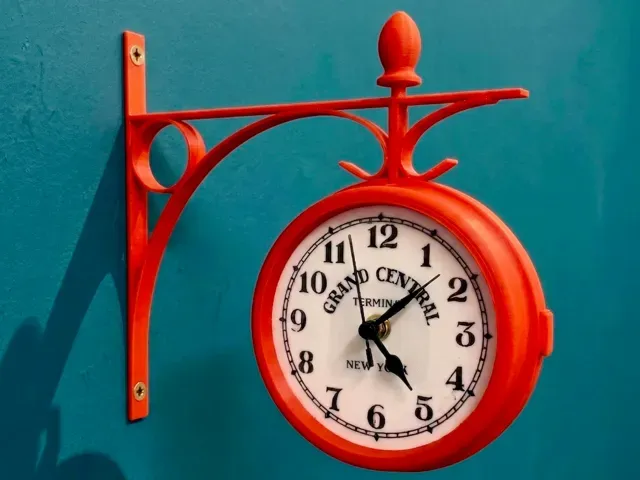
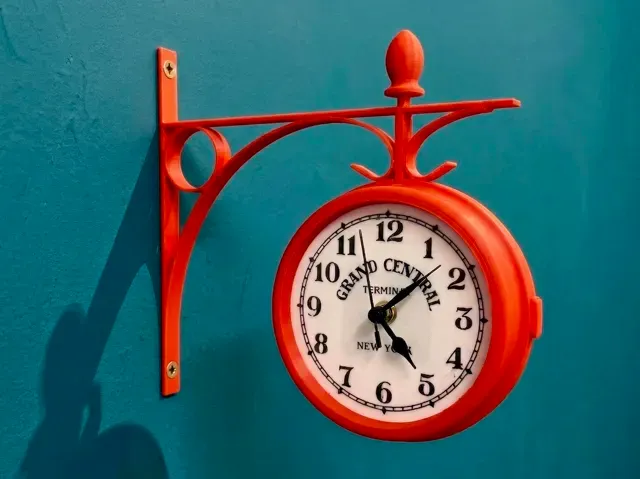
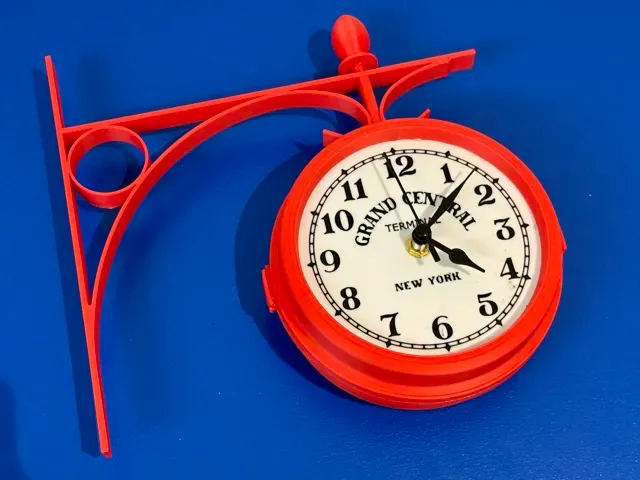
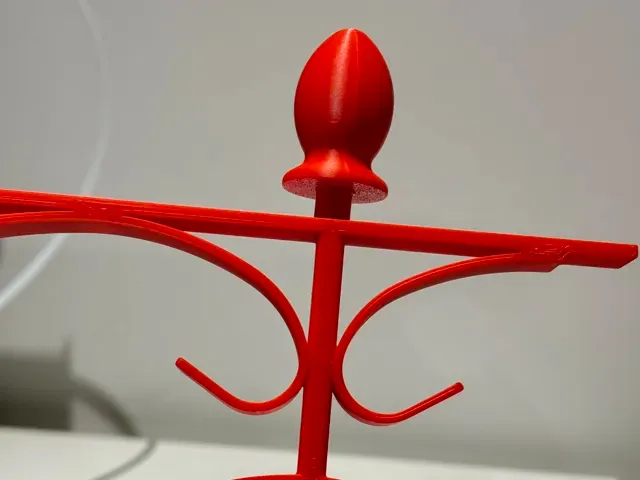
🚂 Bring the nostalgic atmosphere of a 20th-century train station into your home.
Relive the golden age of rail travel with this Vintage Railway Station Dual-Face Clock .
Inspired by the timeless clocks that hung over the platforms and corridors of iconic 20th-century train terminals around the world, this piece brings a touch of classic industrial elegance to any modern space.
Its clean lines and suspended bracket make it the perfect statement piece for hallways, open-plan living areas, or offices, adding a "retro-loft" atmosphere to your decor.
This isn't just a decorative shell, it’s a fully functional, double-sided timepiece.
This project is specifically designed to house the Bambu Lab Clock Components Kit 011 MH011 . To complete the dual-face display, two (2) kits are required .
Design Concept: Classic Railway Terminal Platform Clock.
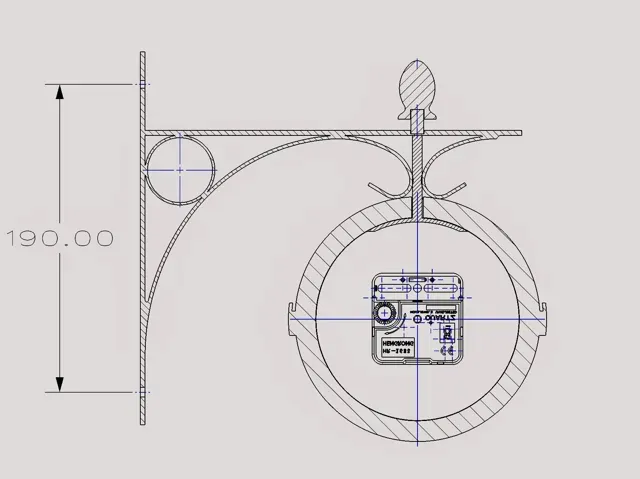
Mounting: Secure wall-mount bracket with two screw points (top and bottom) for a flush, professional finish. Spacing between screws: 190mm.
Hardware Required: 2x Clock Components Kit 011 - Bambu Lab MH011.
Dimensions:
Dial Diameter: 125 mm
Total Height: 230 mm
Total Length (protrusion from wall): 250 mm
Case Thickness: 65 mm
Customization & Printing:
Classic Look: Print in Matte Black or Dark Bronze for an authentic antique metal feel.
Modern Pop: Try a vibrant color to create a high-contrast focal point.
🛠️ Assembly Instructions
Follow these simple steps to build your Vintage Railway Station Clock . All parts are designed for a snug fit, but a small amount of superglue is recommended for permanent parts.
Step 1: Top Finial & Support
- Take the 8mm pin and glue it into the slot of finial. - Once secure, glue this sub-assembly to the top of the wall support bracket . Ensure it is perfectly centered. Step 2: Clock Faces & Housing
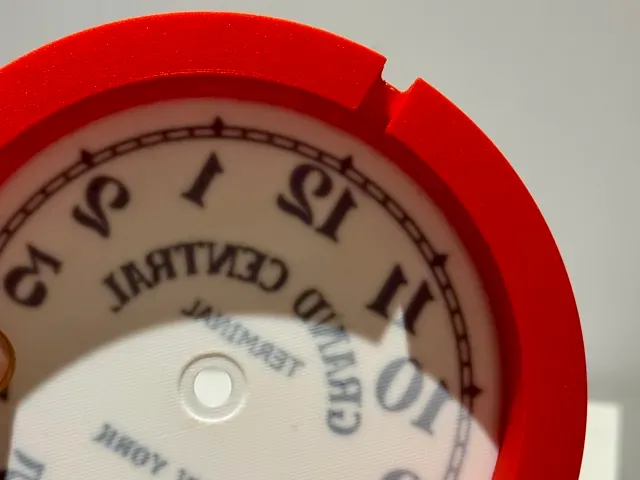
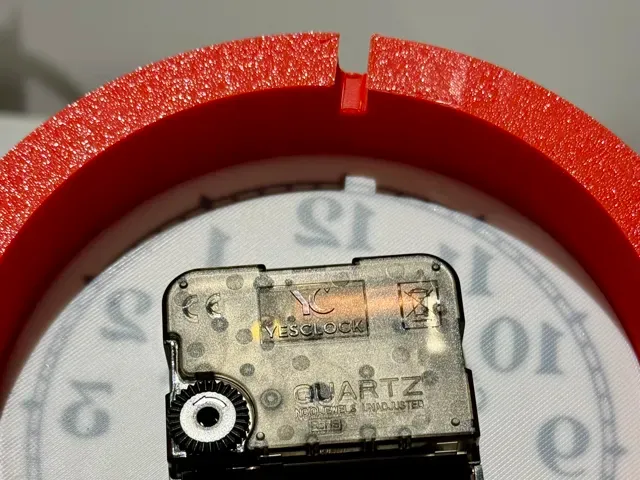
- Prepare your clock faces . - Apply glue on the body and align the 12 o'clock position exactly with the notch in the main body (housing). This ensures your clock stays perfectly vertical when mounted. Step 3: Installing the Mechanisms
- Install the Bambu Lab Clock Components (Kit 011) into each housing. - Follow the standard kit instructions for mounting the hands (Hour, Minute, and Second). Step 4: Main Assembly
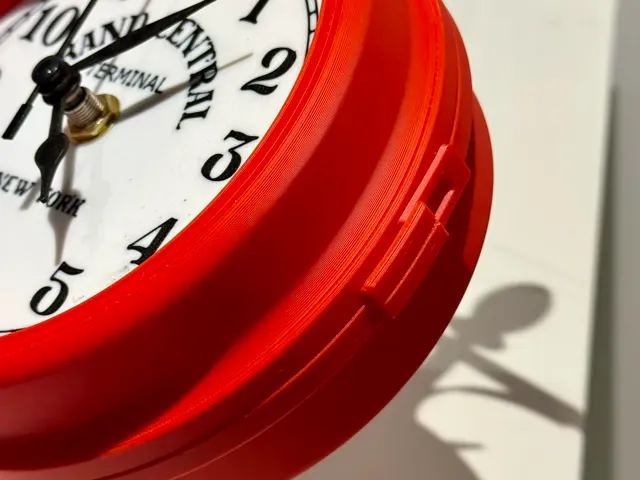
- Slide the two clock housings into the bracket slot . - Use the two small clamps provided in the print to lock the two housings together securely. This creates the solid dual-face unit. Step 5: Wall Mounting
- Mark your wall using the two 5mm mounting holes on the bracket. - The distance between the hole centers is exactly 190mm . - Use appropriate wall plugs and screws for your wall type to ensure a flush and secure fit. Quick Tips:
- Alignment: Double-check the 12 o'clock orientation before the glue sets! - Hardware: You will need two (2) Bambu Lab Clock Kits 011 MH011 for this dual-face version. - Finish: If you printed in PLA, avoid placing the clock in direct sunlight or near high-heat sources to prevent warping.
Enjoy your new piece of history!
If you like this model, please upload a photo of your print, I’d love to see it in different colors! 📸✨
Membership
0.2mm layer (Arachne on plate #3 If you change the profile don't forget to put Wall generator Arachne for plate #3 (the clock face)



%2Fhttps%3A%2F%2Ffbi.cults3d.com%2Fuploaders%2F49234087%2Fillustration-file%2F2a2c06ce-f0f5-4c99-b375-a44da81b9620%2FnQRFFuph.png&w=300)


Names are used only to indicate the source of a result. Polyzon is not affiliated with the listed sites.
Comments