
Free 
Star Wars Shadow Lord Lightbox
Creality Cloud
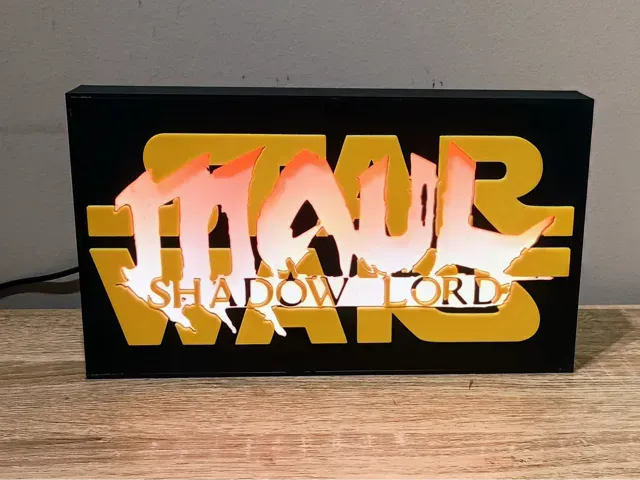
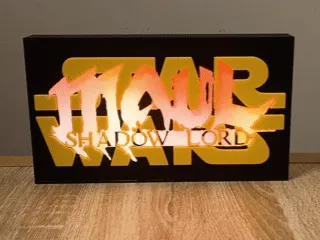
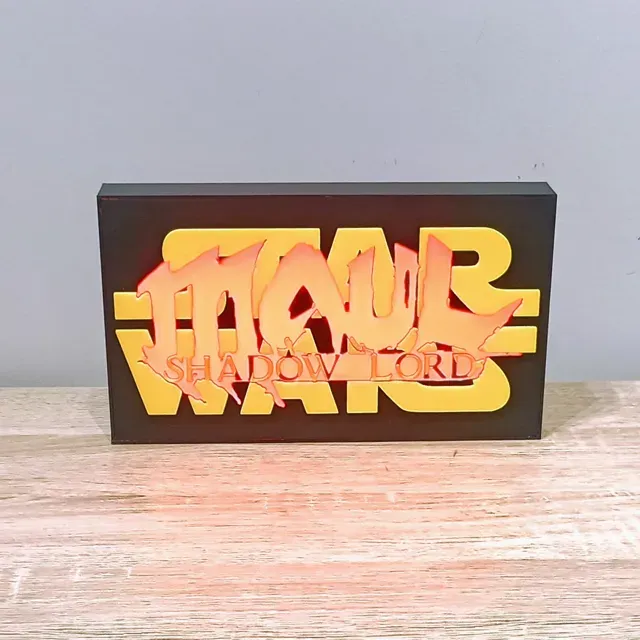
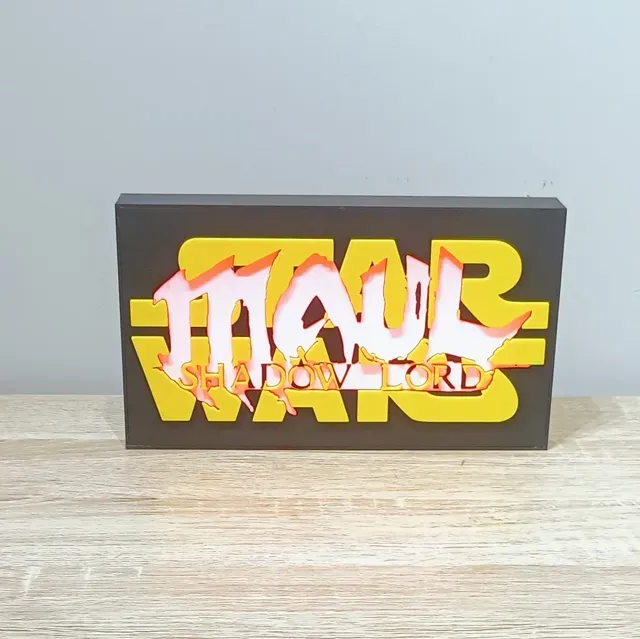
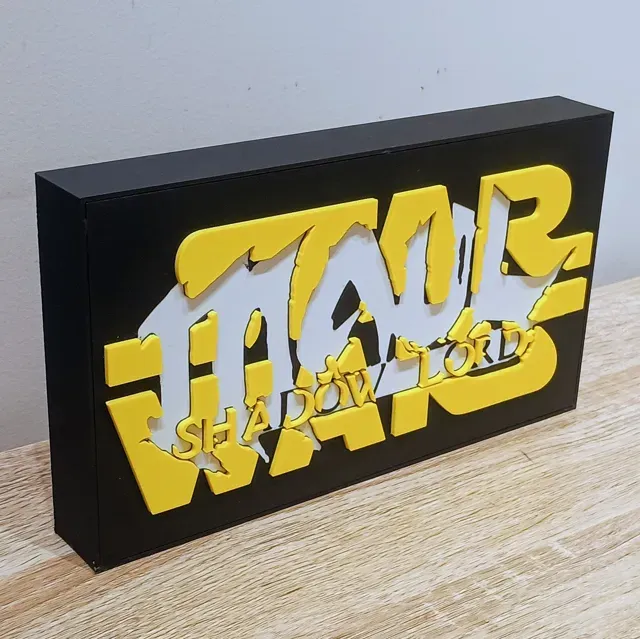
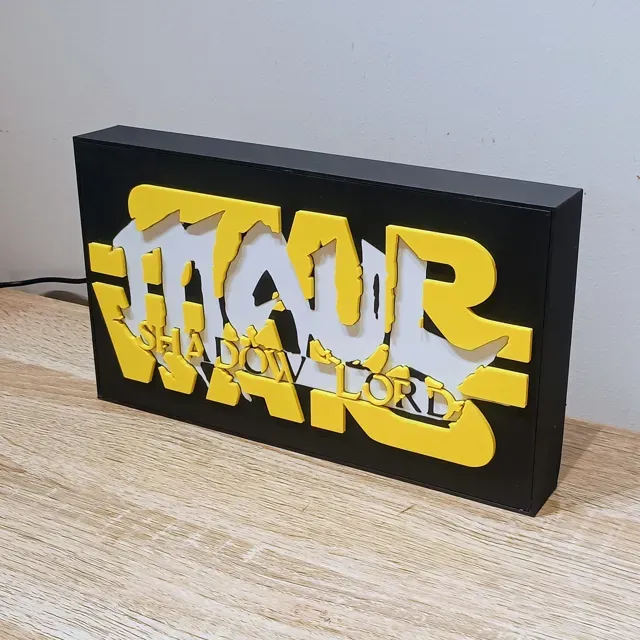
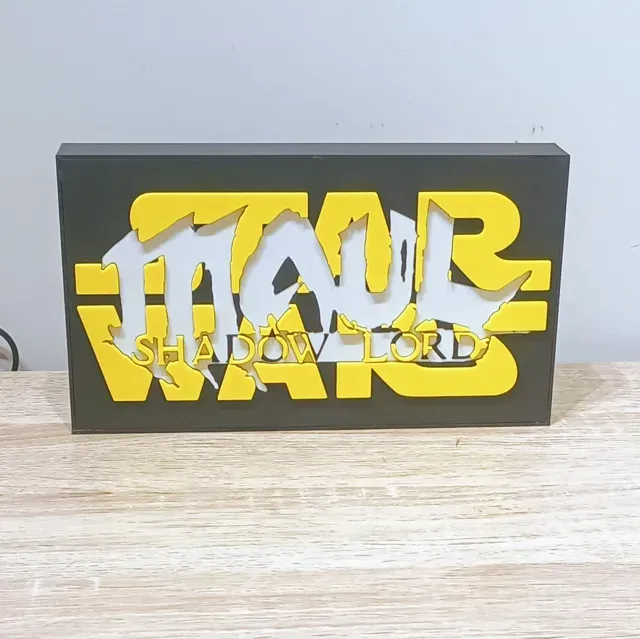
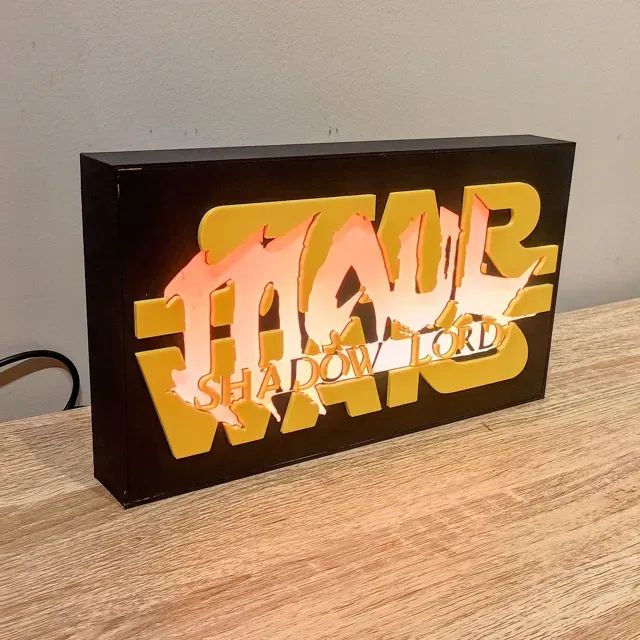
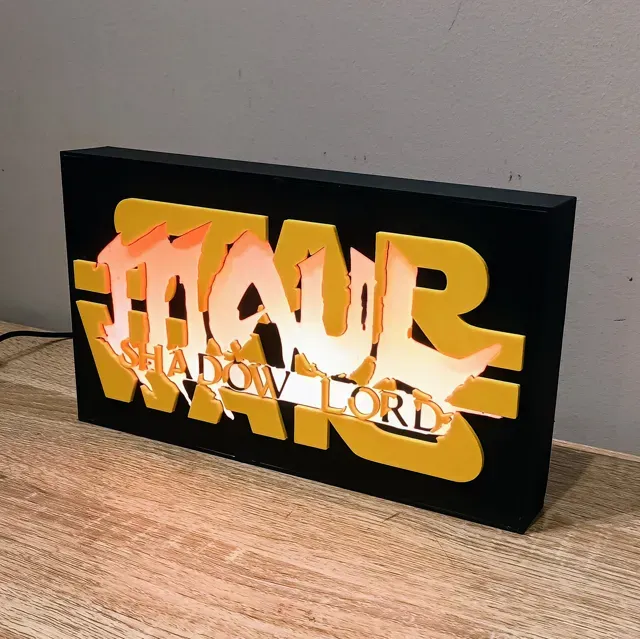
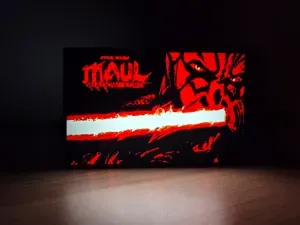
I made this Maul Shadow Lord lightbox to take advantage of one of WLED’s coolest effects for this kind of build: Fire2012. Because the LEDs are set up as a 2D matrix, the animation rises from the bottom of the lightbox and gives the flames a much more natural look, instead of just being a random flicker behind the panel.
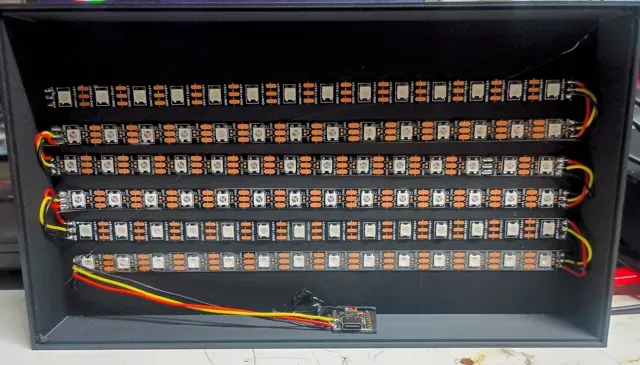
This build uses 6 strips of 14 WS2812B LEDs, for a total of 84 LEDs, wired as a serpentine-style 2D matrix. I used an ESP32 SuperMini C3 running WLED, which makes setup nice and simple and lets you control brightness, colour, effects, and presets from your phone or browser.
Assembly is very easy, and once the matrix is configured properly in WLED, the effect does most of the heavy lifting. Stick the LEDs down, wire them in the correct order, set the matrix dimensions, enable serpentine layout, and you’re pretty much ready to sit back and enjoy Maul looking angry in RGB.
Assembly
- First, flash WLED to the ESP32 SuperMini C3 using install.wled.me. - Cut 6 strips of WS2812B LEDs, each strip 14 LEDs long, giving you a total of 84 LEDs. - Solder the strips together using jumper wires approximately 30mm to 30mm long between each strip. - Make sure you connect the DO (data out) pad from one strip to the DI (data in) pad of the next strip. If you get this backwards, the signal will not continue through the matrix. - Solder a longer set of wires, around 200mm, from the first strip back to the microcontroller location. - Stick the LED strips down onto the base using the double-sided tape already on the back of the strip. - For wiring power, I usually twist the red wire from the USB cable together with the red positive wire going to the LED strip, tin them together, and then solder them to the microcontroller. Do the same for the black wires for ground. - The data wire from the first LED strip solders directly to the microcontroller. - On the ESP32 SuperMini C3, solder the wires to: 5V GND GPIO 4 for data - Once everything is working, mount the ESP32 using double-sided tape and add a bit of hot glue over the cable exit hole and USB wire for strain relief. - Glue on the front panel, plug it in, and bask in its glory. WLED Setup After flashing WLED, go into the LED settings and change the total LED count to 84 .
Set the data GPIO to 4 . The default GPIO 2 can cause issues on the SuperMini C3, so it’s best not to use it for this build.
Set the current limit to suit your power supply. I set mine to 3000mA because I generally use a decent fast phone charger. If your power supply is rated lower, set the current limit accordingly.
Then go into the 2D configuration and set the matrix to: 14 across 6 vertical Serpentine layout
Once that is done, the Fire2012 effect should rise from the bottom of the lightbox exactly how it’s meant to.
This lightbox was designed around WLED and the 2D matrix setup, so the effect really depends on getting the strip order and matrix settings correct. If the animation looks scrambled, the first thing to check is the strip direction and serpentine configuration.
I used the ESP32 SuperMini C3 here because it’s tiny, cheap, and works great once the GPIO is set correctly. Just don’t leave it on the default pin unless you enjoy unnecessary pain.
Really simple build, but the final effect looks awesome. Sometimes all you need is a good panel design, a pile of LEDs, and WLED doing what WLED does best.
Bill of Material (BOM)
Item
Quantity
Links
D1 Mini (or ESP32) 1
https://www.aliexpress.com/item/1005006235653025.html?
ESP32 SuperminiC3 (or D1 Mini) 1
https://www.aliexpress.com/item/1005006599545782.html?
WS2818B DC5V RGB LED (60 IP30) 2 Meters
https://www.aliexpress.com/item/1005006766819624.html?
USB cable (At Least 100 cm) 1
https://www.aliexpress.com/item/1005008045179029.html
Wire 26 AWG Red, Black, Yellow as needed
https://www.aliexpress.com/item/4001283806251.html
Soldering Iron 1
https://www.aliexpress.com/item/1005007099216072.html
Solder as needed
https://www.aliexpress.com/item/1005008695639704.html
CA Glue as needed
https://www.aliexpress.com/item/1005008249812950.html?
Hot glue as needed
https://www.aliexpress.com/item/1005008055271799.html?
0.2mm layer, 2 walls, 15% infill uses standard 0.2mm profile with arachne walls
Names are used only to indicate the source of a result. Polyzon is not affiliated with the listed sites.