
Free 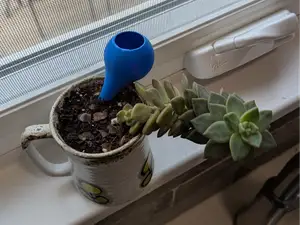
Tiny Indoor/Outdoor Self- Watering Plant Globe
MakerWorld
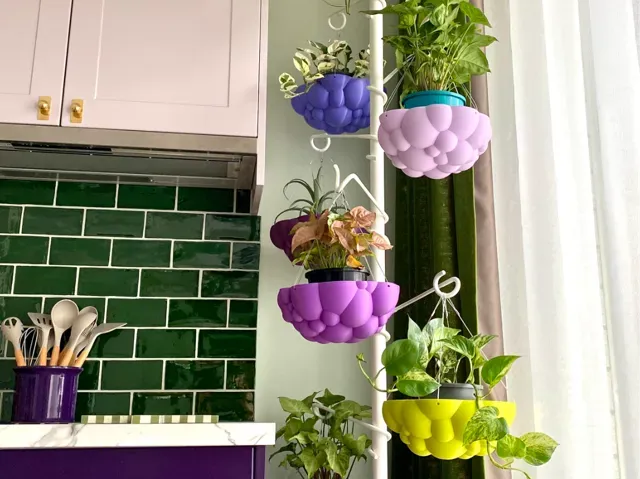
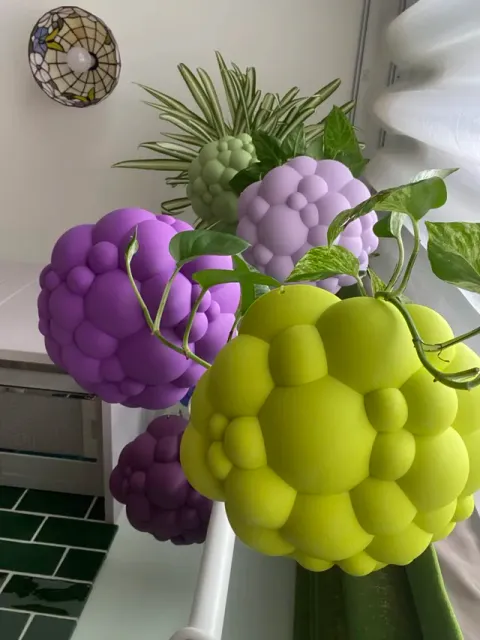
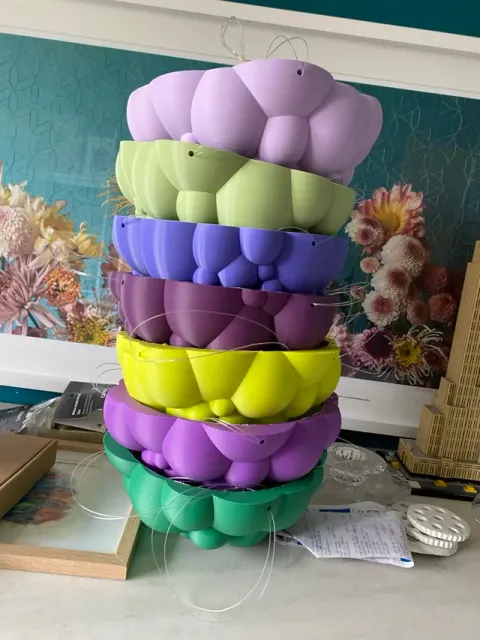
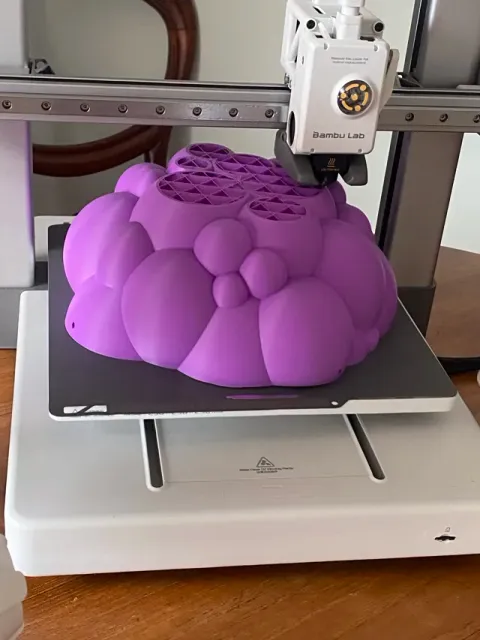
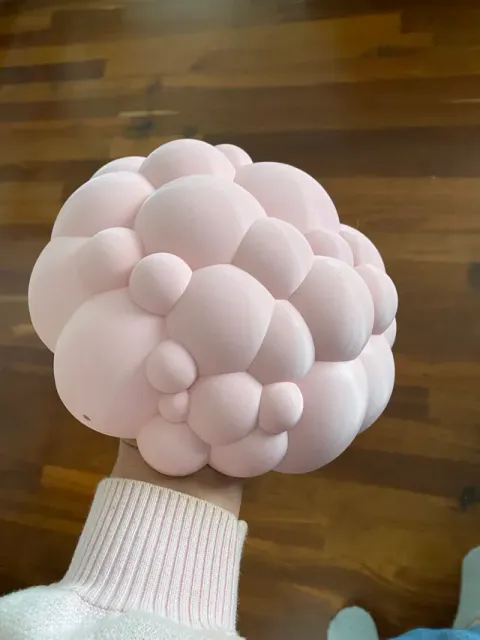
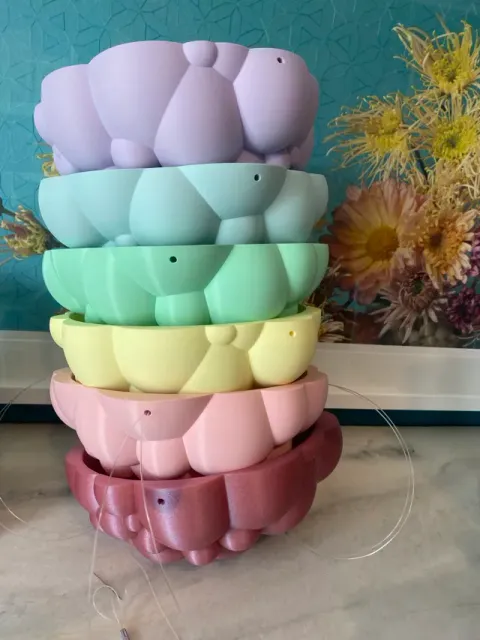
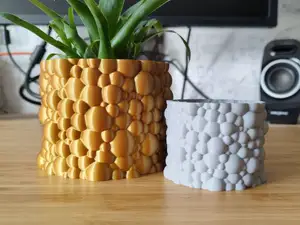
This bubbly indoor hanging pot planter brings a whole lot of whimsy into the home. It prints absolutely beautifully, and looks so charming when printed in multiples.
Instructions and Ideas of how to finish off your Bubble Planter once it's finished printing.
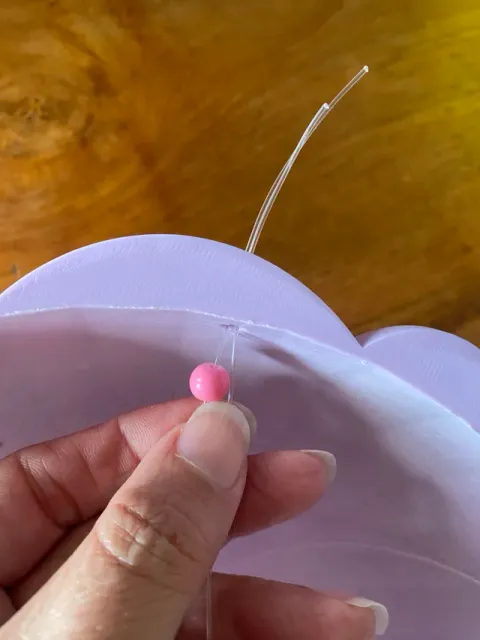
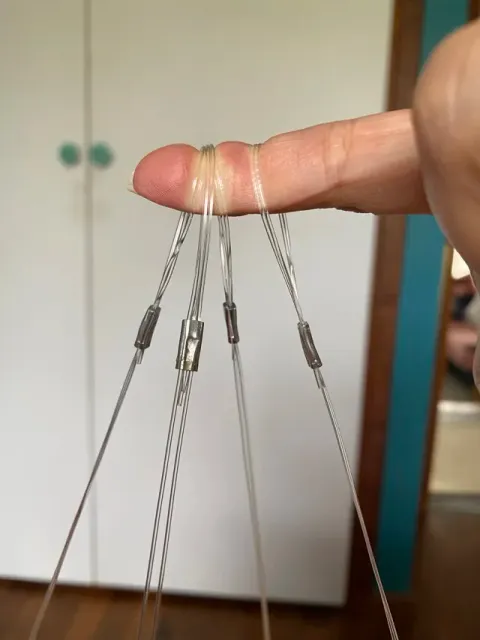
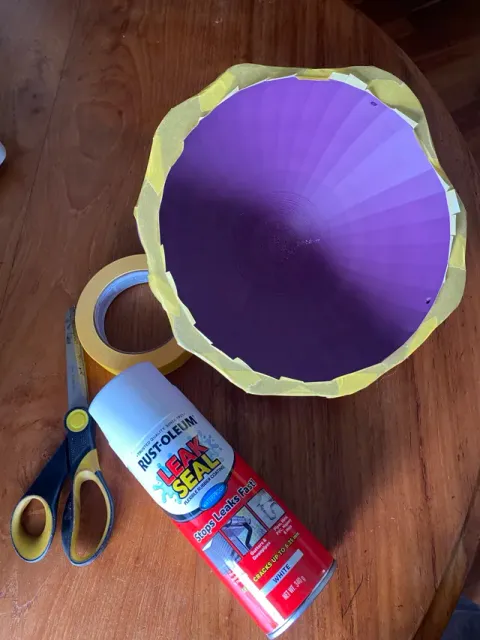
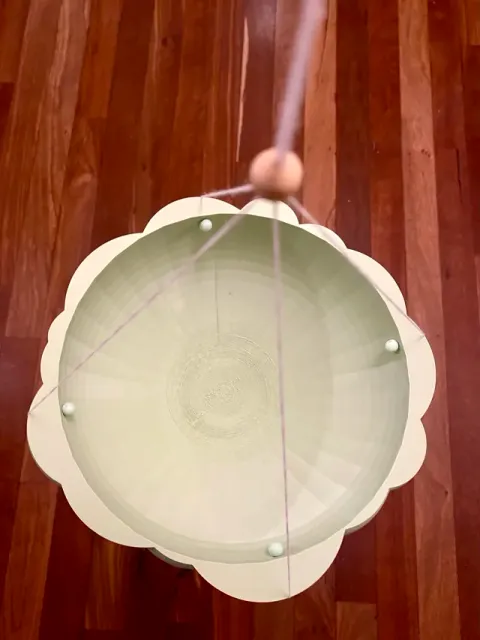
- I rubber sealed the inside of the pot with Rusto-leum Leak Seal to give it extra durability. - The easiest way to hang would be to use thin rope, and tie all four together creating a loop to hang from. There are lots of macrame videos on YouTube that can help. - I wanted clear line instead of rope so I strung a glass bead (larger than the hole) on some heavy duty nylon line, and fed both ends through the inside hole of the bubble planter. I did this for all 4 holes. I think it gives a nice “stud” looking finish. (If you are using rope, I think it would also look nice to do the same thing with wooden beads.) - I then used aluminium sleeves from a fishing store and clamped them to form the loops at the end. The exact sizes for the aluminium sleeves depends on how thick your line is. The sleeve needs to fit 4 lines of thickness through (2 going in, loop, 2 more going back through the sleeve. - Once all four loops have been made, you could put all four loops onto a split ring (like on a key chain) to bring them together to create a single loop for hanging. - Whichever method you choose make sure that the end loops can fit on your hook/hanger. Potting Ideas-
- You can plant directly into the pot, but I would definitely recommend sealing it first. Water lightly because there is no drain hole. - Alternatively you can put a plant straight from the nursery into the bubble planter without re-potting it. - For bigger plants I used a parametric pot generator to create bigger pots with side slits and drain holes. This allowed me to move my plants up to a bigger size when they were ready. I'm happy to share these print files if people are interested. - Because I sealed the inside of my bubble planter, it also means I can bottom water my plants. This is great for the health of the plants, and also allows you the option of topping them up if your are going to be away on vacation for a few weeks. I have printed this many times using all sorts of colours, and it always turns out amazing. The only time I wasn't completely happy with the final print was with a filament that was slightly transparent. When the light shined through I could see the inside supports, so that is the something to keep in mind when choosing filament.
0.12mm layer, 2 walls, 15% infill - print with supports
Names are used only to indicate the source of a result. Polyzon is not affiliated with the listed sites.
Comments