
Free 
Gravity Adjustable Heavy-Duty Phone Desk Stand
Printables
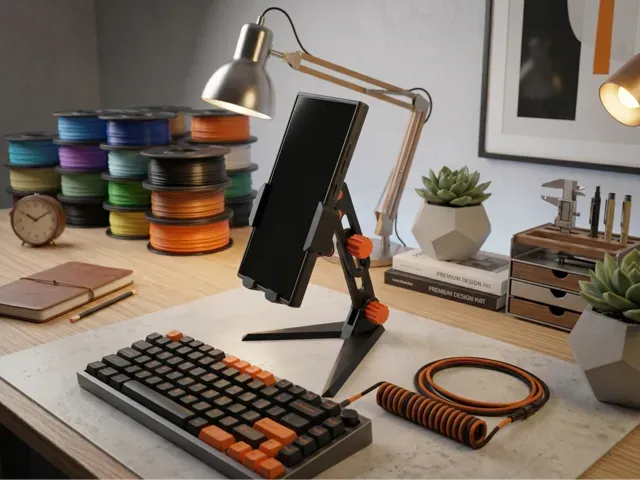
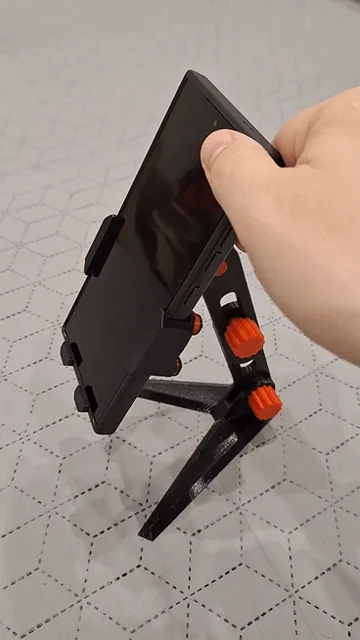
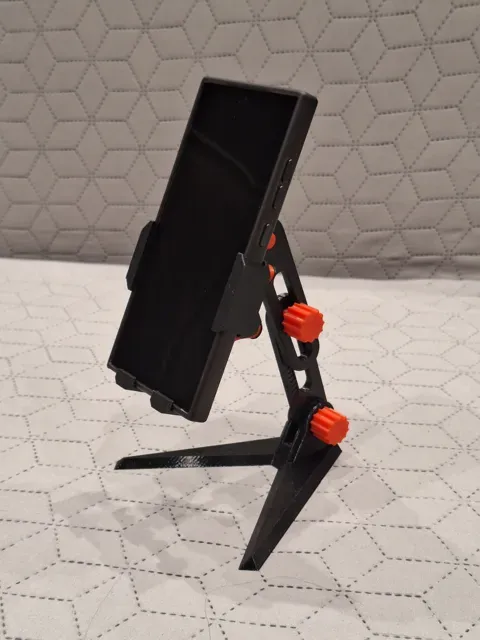
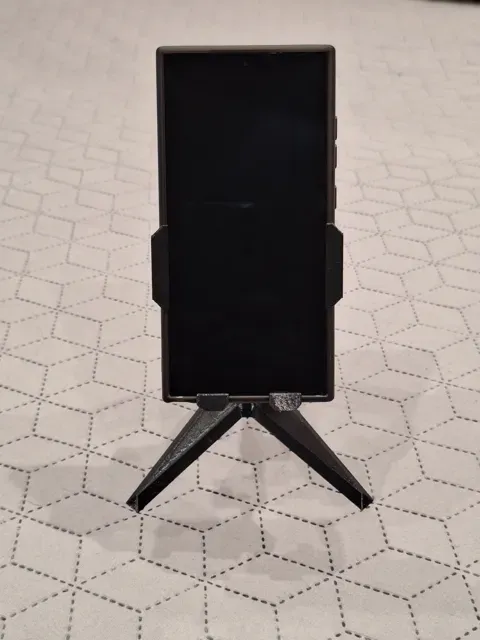
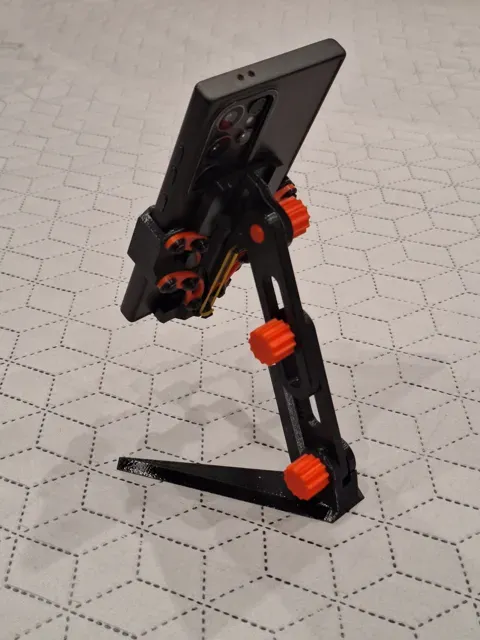
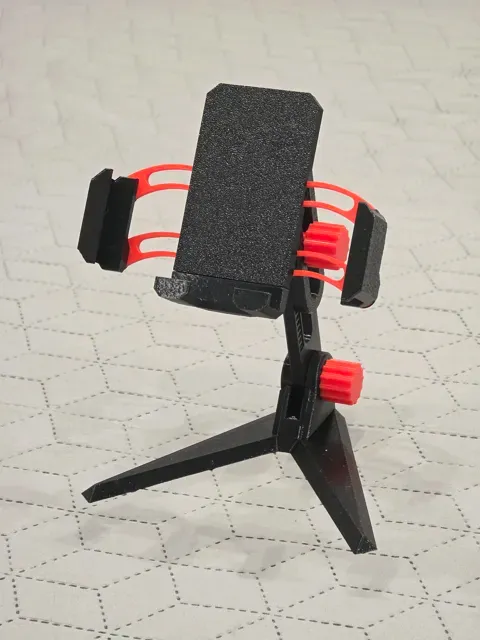
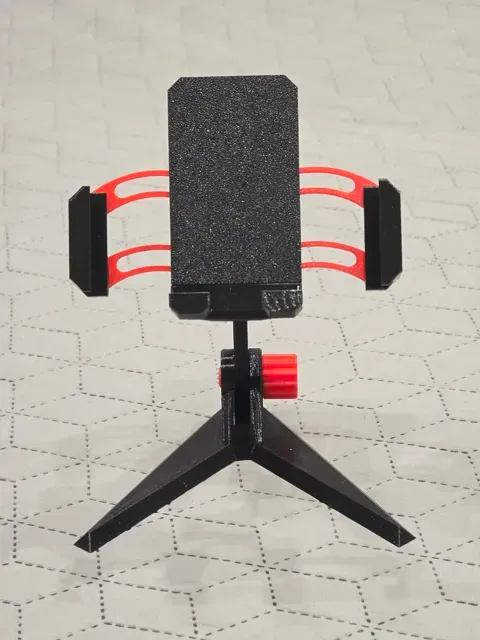
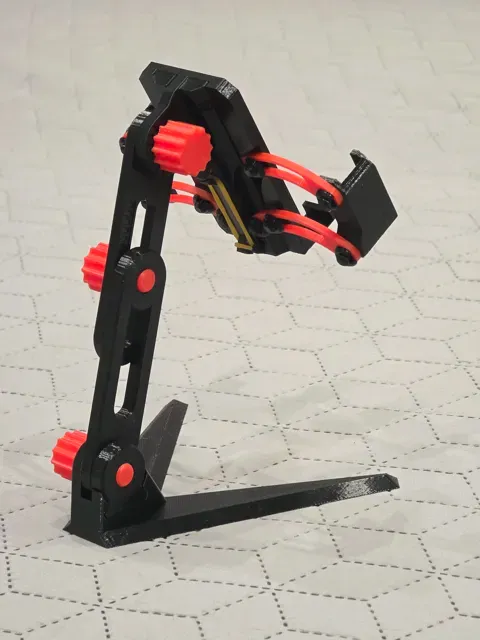
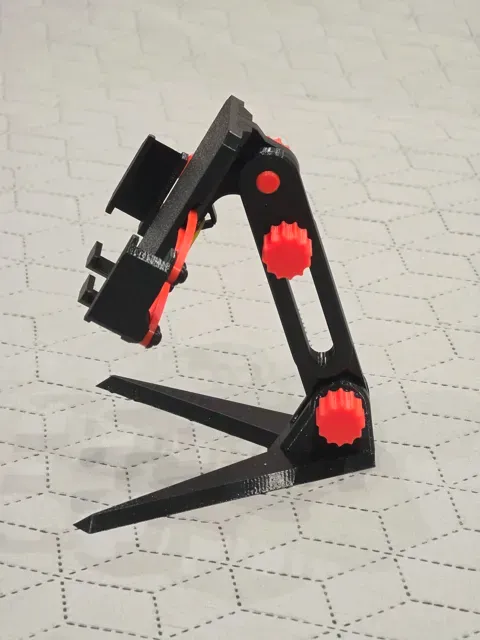
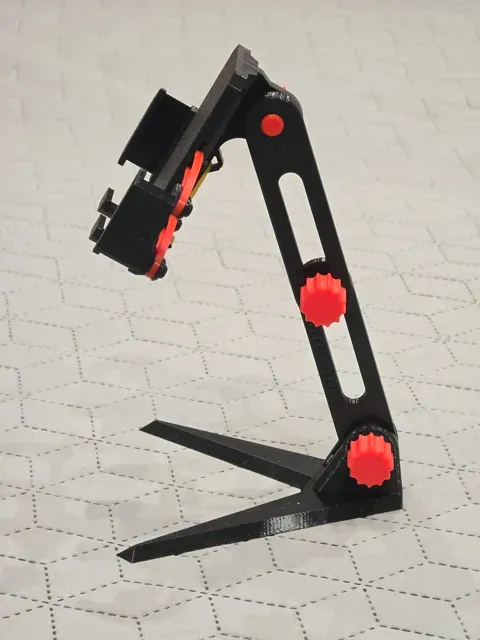
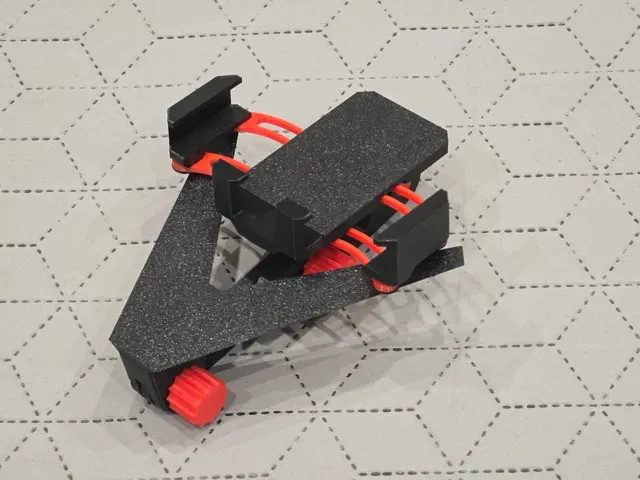
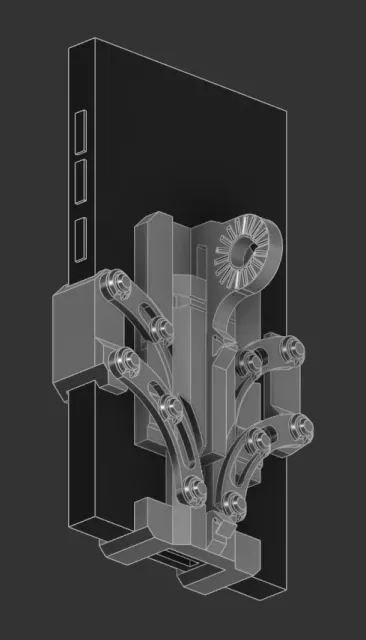
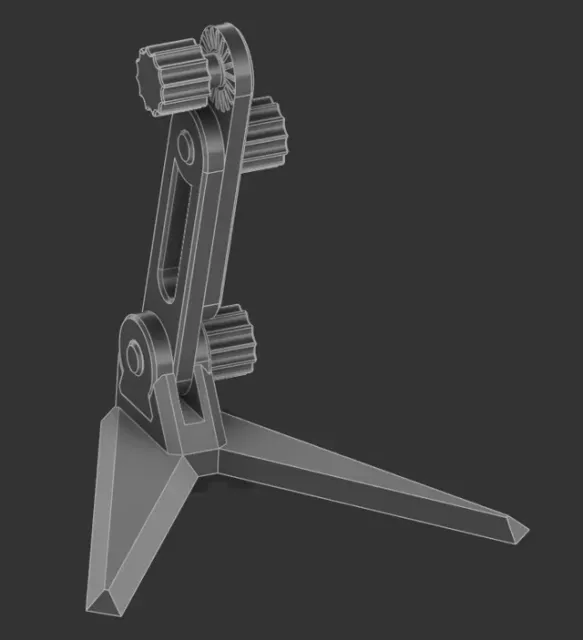
Tired of phone stands that sag under the weight of an Ultra or Pro Max smartphone?
This Gravity Desk Station is a heavy-duty, professional-grade solution designed for maximum stability and precision. It uses a smart mechanical linkage to secure your phone and a ratchet-style locking system to ensure it never slips.
Features
Designed for maximum practical organization and convenience, this model includes:
- Automatic Grip: Simply place your phone on the base, and its weight triggers the side clamps via a 4-bar linkage system. - Parallel Precision: Dual arc links on each side ensure the clamps stay perfectly vertical, preventing any phone tilt. - Elastic Return: Uses a simple rubber band to automatically open the clamps when you lift your phone. - Safety First: Built-in safety pins prevent the moving parts from over-extending. - Ratchet Tilt Joint: Instead of relying on friction, the tilt mechanism uses radial teeth (Hirth-style joint) for a rock-solid lock at any angle. - Step-Lock Height: The telescopic arm features internal serrations and an M10 bolt, ensuring your desired height stays fixed even under heavy load. - Dovetail Compression: The V-base connects via a precision dovetail joint for a wobble-free experience. Technical Specifications
Key dimensional, functional, and structural parameters for this model are listed below:
Feature Value
Clamping Range 70 mm – 118 mm (Fits 99% of phones)
Max Device Thickness 13 mm (Compatible with bulky cases)
Height Adjustment +50 mm extension
Base Footprint 136 mm (W) x 128 mm (D)
What You'll Need
To fully assemble this model, you will need the following hardware and components:
- Elastic Band: 1x standard rubber band - 3D Printed Fasteners: 3D printed M10 bolts (included in print files) How to Assemble
Follow these step-by-step instructions to assemble the phone holder and stand components:
Phone Holder
- Print List: 1 HolderBase, 1 HolderBottom, 1 HolderBottomStopper, 1 HolderSideLeft, 1 HolderSideRight, 2 HolderArcLeft, 2 HolderArcRight, and 10 HolderShims. - You can use the provided .3mf file, where all of these objects are already arranged on the build plates. - Tip: Try printing HolderArcLeft, HolderArcRight, and HolderShim on a smooth, non-textured plate. This will help the holder slide more smoothly. - Take the HolderBase and place one HolderArcLeft and one HolderArcRight onto the middle pins, ensuring the arrows on the arcs are pointing inward . - Tip: For better sliding and a cleaner look, it is best to place the arcs with the build-plate side facing away from the base. - Secure the arcs using two HolderShim clips. Try to slide, it should be easy. - Slide the installed arcs inward , then position the HolderBottom part so that the middle pins fit into the holes on the arcs. - Place the HolderBottomStopper into the cutout on the HolderBottom part and into the hole in the HolderBase . - Place the second HolderArcLeft and HolderArcRight onto the bottom pins of the HolderBase and the outer pins of the HolderBottomStopper , ensuring the arrows point inward. - Lock the arcs in place with four more HolderShim clips. - Tip: Test the slider. It should move easily; if it is too stiff, check the pins for any remaining support material or try reducing the height of the clips. - Insert the HolderSideLeft part into the left side of the arcs so the pins fit into the holes, then secure it with two HolderShim clips. - Repeat this process for the HolderSideRight part on the right side. - Choose an elastic band size that allows the holder to compress the bottom part snugly, but without pushing the phone out of the mount when it was installed. Holder Stand
- Print List: 1 StandBase, 1 StandNut, 1 StandLathBottom, 1 StandLathTop, 1 StandBoltBig and 2 StandBoltShort. - You can use the provided .3mf file, where all of these objects are already arranged on the build plates. - Take the StandBase and place the StandNut into the left side of the base. - Position the StandLathBottom (the side with the unthreaded hole) into the space between the base and the StandNut . - Align the small pins on the StandLathBottom with the matching small holes on the base. - Adjust the angle, then secure it in place with the StandBoltBig . - Align the slotted side of the StandLathTop with the StandLathBottom . - Secure the StandLathTop by inserting the StandBoltShort through the slot and into the StandLathBottom . - Tip: Keep both parts aligned in a straight line to allow for easy height adjustment of the holder. - Now, at the top of the assembled stand, you will find the threaded hole of the StandLathTop . - Use another StandBoltShort to secure the holder (assembled in the first Phone holder part) to the StandLathTop . - Make sure the small alignment pins fit into the corresponding small holes on the holder. - Adjust the angle for the best viewing position for your phone. Recommended Print Settings
For optimal print quality, structural durability, and functional performance, use the following slicer settings:
- Material: PLA for everyday use; PETG or ABS for enhanced durability - Layer Height: 0.2 mm - Infill: 20–25% (Gyroid or similar recommended) - Wall Loops: 6–7 wall loops - Supports: Required only for the Phone Holder main part (upper assembly); not required for the stand components - Orientation: Print the legs and pins horizontally to maximize load-bearing capacity - Hardware & Fasteners: Modular design using C-clips for easy maintenance. No glue or metal screws required! Troubleshooting
If you encounter issues during printing or assembly, review the following troubleshooting solutions:
- Mechanical Friction: For smoother articulation, avoid printing the C-clips on a textured build plate. Alternatively, adjust the C-clip scale in your slicer (Z-height to 95–98%, diameter to 103–105%) to reduce mechanical friction. Support Block
❤️ Enjoyed this print? All my models here are completely free for personal use. If you like my design and want to show your appreciation — or help me buy more filament for testing new projects — you can support my work by purchasing this model on Cults3D: https://cults3d.com/:4352141
Commercial License Block
💼 Commercial License & STEP Files: If you want to legally sell physical 3D-printed copies of this model, you can purchase the Commercial License and get editable STEP files on Cults3D here: https://cults3d.com/:4811614
Similar Models
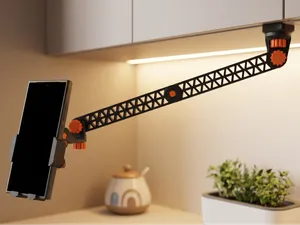
Gravity Phone Mount & Articulated Arm: https://makerworld.com/uk/models/2815216-gravity-phone-mount-articulated-arm#profileId-3134186
Phone holder, 0.2mm layer, 5 walls, 25% infill
Stand for Phone holder, 0.2mm layer, 8 walls, 15% infill

![Hawk-Lock Kinetic Folder [assisted-opening system]](https://cache.polyzon.org/api/img?url=https%3A%2F%2Fmakerworld.bblmw.com%2Fmakerworld%2Fmodel%2FUSa8b1e0e8e7471b%2Fdesign%2F3c3d2b52e29d9a5d.jpg&w=300)

Names are used only to indicate the source of a result. Polyzon is not affiliated with the listed sites.