
Free 
Cute Wobbly Penguin – NO AMS
MakerWorld
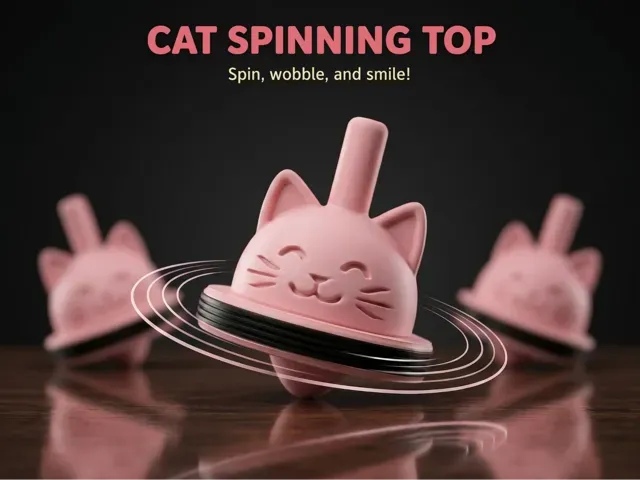
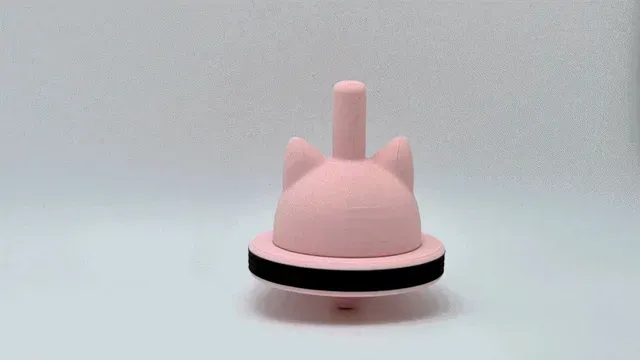
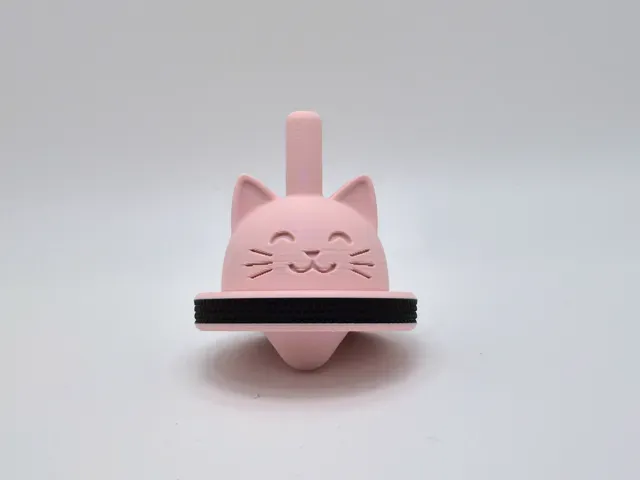
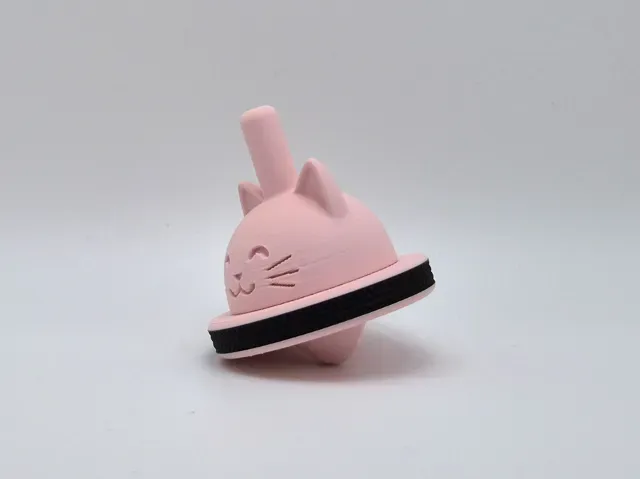
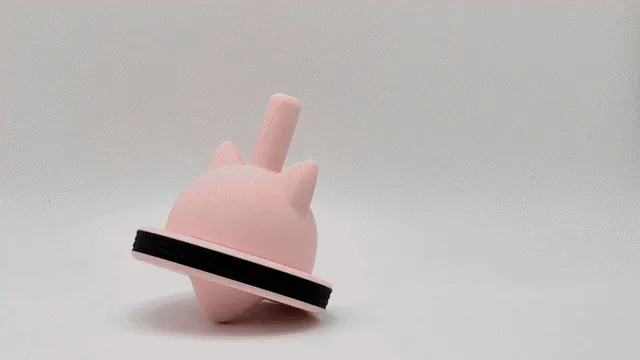
Add a splash of purr-fect fun to your day with this charming Cat Spinning Top!
Designed as a beautifully balanced spinner, this cat twirls, hums, and spins for over 60 seconds with a single flick, while also combining simple physics with playful interaction to create a fun hands-on experience for all ages!
🧠 Educational Play & Design
This elegant, easy-to-print toy combines learning through play with smart technical design, maximizing performance without relying on external parts.
- Cause & Effect: Early learners discover that their physical actions (the snap of their fingers) create an immediate and rapid rotational reaction. - Fine Motor Skills & Physics: Gripping the stem and executing the perfect twist improves finger dexterity and visual tracking, while the prolonged spin naturally introduces older kids to angular momentum, friction, and gyroscopic stability. - Zero Hardware Required: This model relies entirely on its 3D-printed structure and optimized solid infill to maintain momentum. - Multiple versions: A smart multipart design minimizes filament swaps while incorporating a dual color design. A rapid single-color version is also included! 🛠️ Step-by-Step Assembly Guide
The assembly process is straightforward and consists of just five simple steps . Using CA glue (superglue) is recommended.
Step 1: Print all Components
These include the solid bottom base, the hexagonal connector, and the lightweight top section.
Step 2: Prepare the Base
Apply a small drop of glue to the bottom of the cutout.
Step 3: Install the Connector
Press the hexagonal connector into its cutout, ensuring it is fully seated and aligned.
Step 4: Prepare the Top
Apply glue in a circular pattern along the mating surface of the top component.
Step 5: Attach the Top
Align the top component and press it onto the assembled bottom base. Hold firmly for a few seconds.
Boost Me To help me make more models like this! Membership If you want to sell physical prints of my models, you can get a commercial membership here. By clicking on "Join", you will see the different tiers available!
MULTICOLOR Version - no supports - easy assembly - only two filament swaps - fast print
SINGLE COLOR Version - no supports - easy assembly - no filament swaps - fast print
Names are used only to indicate the source of a result. Polyzon is not affiliated with the listed sites.