
Free 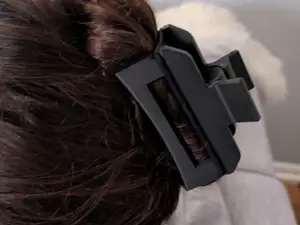
Hair Tie Hair Clip
MakerWorld
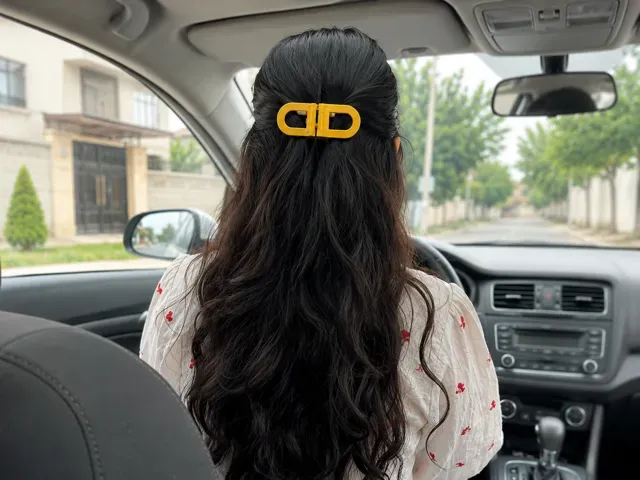
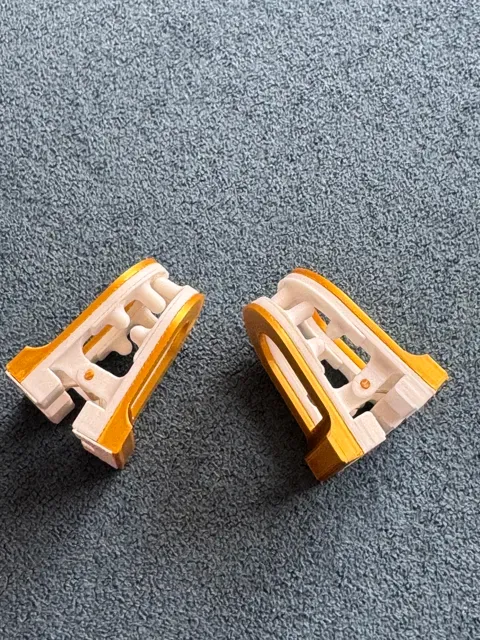
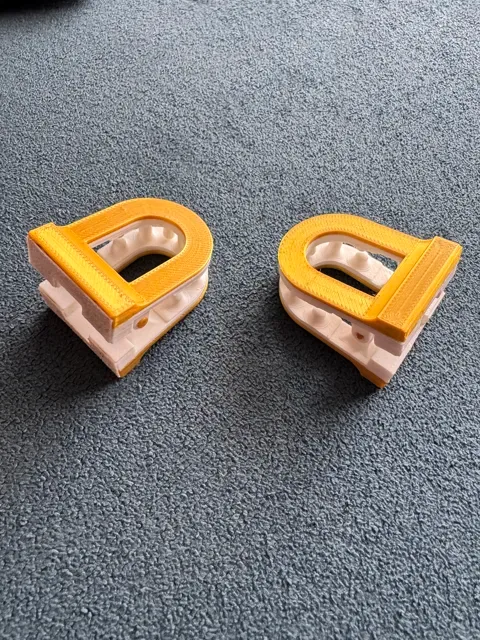
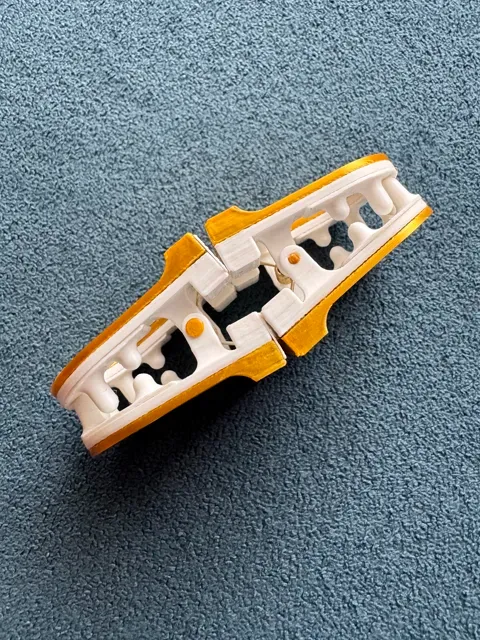
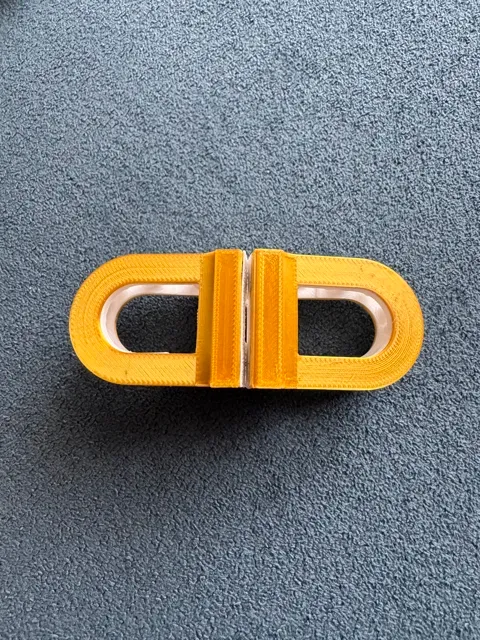
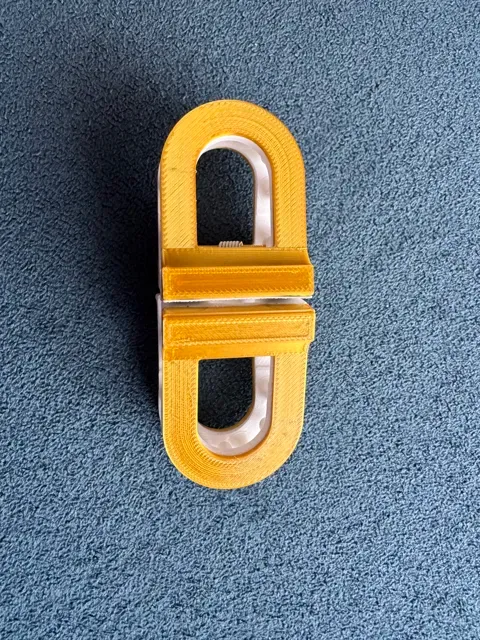
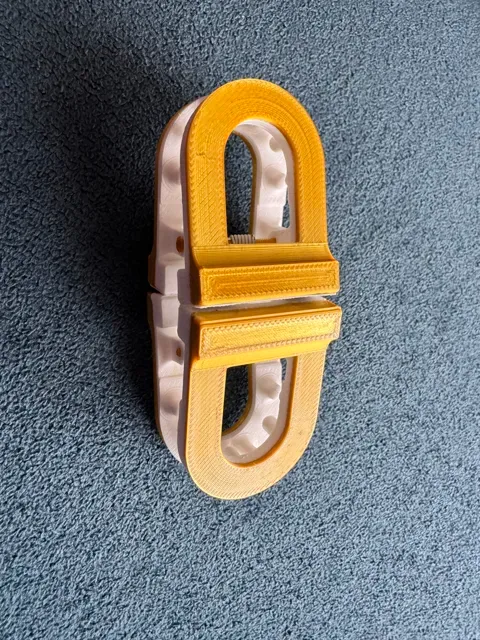
Say Goodbye to the Claw-Clip Head Bump!
We’ve all been there: you clip your hair up, get into the car, and immediately realize you can’t lean your head back comfortably against the headrest. My wife was looking for a viral magnetic hair clip that solved this problem, but it was sold out everywhere. So, I decided to design my own!
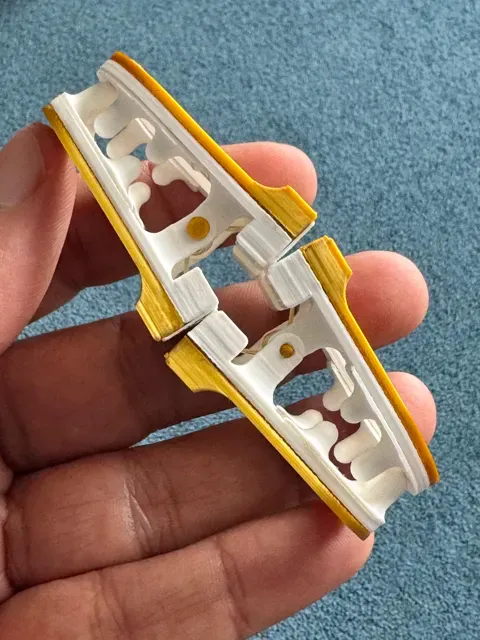
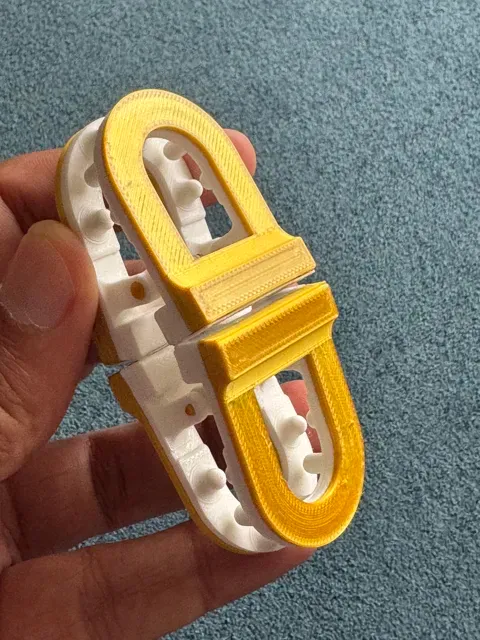
This Flat Magnetic Hair Clip is a modular, low-profile system. Instead of one bulky claw, this design uses two separate pieces held in each hand. They gather your hair in the center and snap securely together using four strong neodymium magnets. The result is a secure, flat hold that sits flush against the back of your head.
Key Features:
- Travel & Car Friendly: Designed specifically to allow you to lean your head back comfortably on car headrests or airplane seats. - Modular Design: I designed this in Autodesk Fusion with every part separated. This means ZERO SUPPORTS are required for printing! - Secure Hold: Uses 4 strong magnets to lock the hair securely in place. - Customizable: Because the pieces are separate, you can easily mix and match filament colors for the top caps and the base clips! Check out my YouTube Short showing how I designed and tested this: [Insert link to your YouTube Short here]
🛠️ Print Instructions & Assembly
Print Settings:
- Material: PETG or ABS/ASA is highly recommended for durability and flexibility, but tough PLA will also work. - Layer Height: 0.12mm works perfectly. - Infill: 15% - 20% (Gyroid recommended). - Wall Loops: 3 or 4 walls for extra strength on the clip teeth. - Supports: NONE! All parts are designed to print flat on the build plate. Hardware Required:
- 4x Neodymium Magnets (Size: 8x5mm ). - Cyanoacrylate Glue (Superglue). Assembly Guide:
- Print all the individual parts. - Check the polarity of your magnets before gluing! Ensure the magnets on the Left Clip will attract the magnets on the Right Clip. - Apply a small drop of superglue into the magnet recesses on the base clips and press the magnets firmly into place. - Apply a thin layer of superglue to the top surface of the base clips. - Align and press the decorative Top Caps onto the base clips, sandwiching the magnets inside. - Let the glue cure completely before testing. - Snap them together and enjoy comfortable travel!
0.12mm layer, 2 walls, 15% infill
Lighter design with 6x3 magnets 50% weight of original design
uses 6 x3 magnets
wide mouth, opens 50% more
Slim design


Names are used only to indicate the source of a result. Polyzon is not affiliated with the listed sites.