
Free 
Cat flap for bug screen
MakerWorld
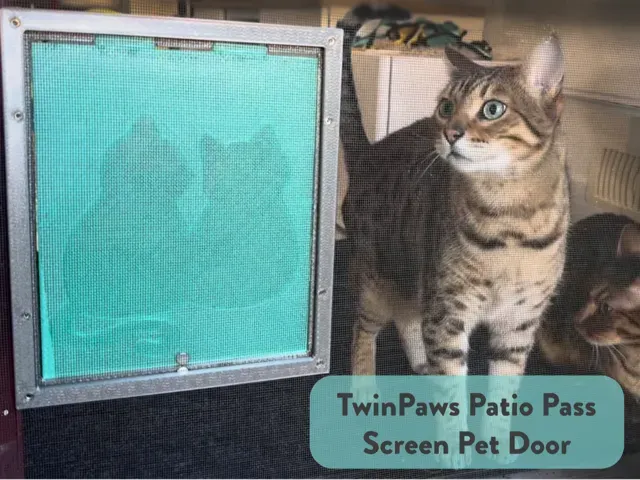
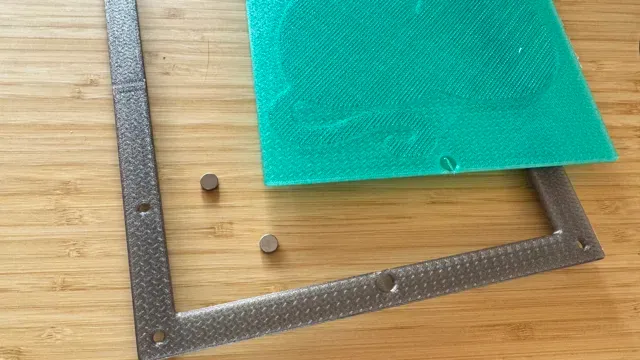
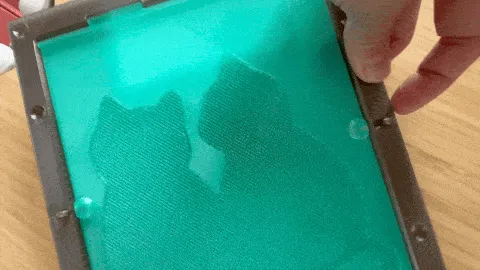
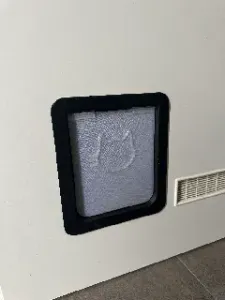
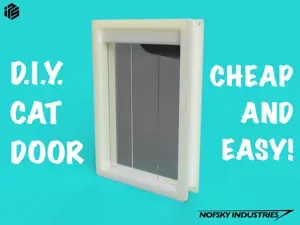
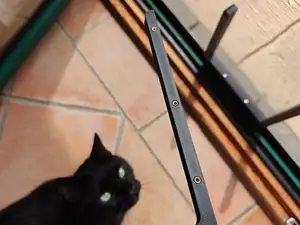
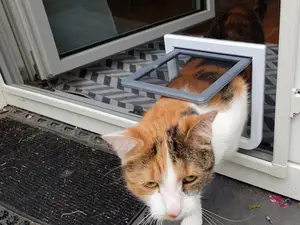
I have 2 cats. The younger cat always wanna play in the backyard while the older one always need to "think about it". So I made a cat flap for my older boy to go outside when he made up his mind. I know I know… I can buy one cheap online. But making my own is more fun, right?! :) Plus, the stockpile of filaments aren't gonna use themselves…
----------------------------------------------------------------------
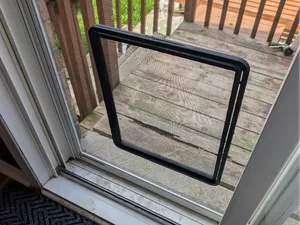
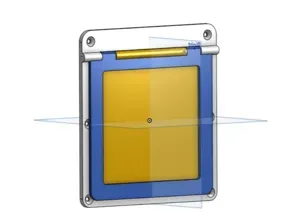
A low-profile patio screen flap designed for easy printing and installation. Features a built-in filament hinge, magnetic closure, and dual slide-locks. STEP files included.
You'll need these:
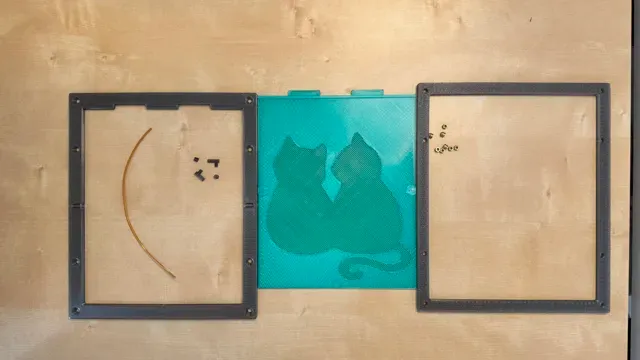
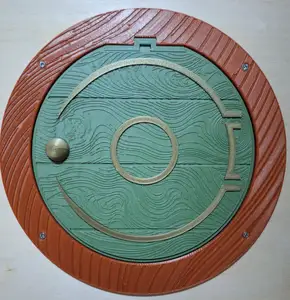
- Filament or Stiff Wire (1.75 mm – for top hinge pin) - 8x M3 Screws - 8x M3 Brass Threaded Inserts - 6x3 Neodymium Magnets (Door + Frame) - Super Glue or Hot Glue - Soldering Iron Edit/add your own design for the silhouette with the slicer:
Step-by-Step Assembly & Installation
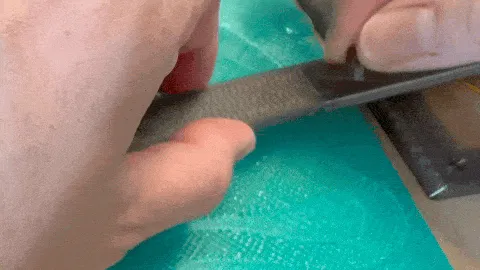
- Print & Prep: Print all parts separately. Completely remove all brims! (leftover brim edges will rub and catch against the door frame). - Install Slide Locks: Place the slide lock levers into the door (fits both available slots). Note: The lock is designed with slight friction so it stays securely in place.
- Heat-Set Inserts: Melt the 8x M3 brass inserts into the rear frame holes using a soldering iron.
- Prep Magnet Hole: Remove the small printed support piece inside the door's magnet pocket.
- Install Magnets: Insert magnets into the matching pockets on both the door and front frame. Secure each with a small dab of glue (check polarity first!). - Assemble Top Hinge: Align the flap inside the front frame. Thread a piece of 1.75 mm filament (or stiff wire) through the side frame hole all the way across the top hinge. Cap the ends using the printed hole plugs to lock the hinge pin in place.
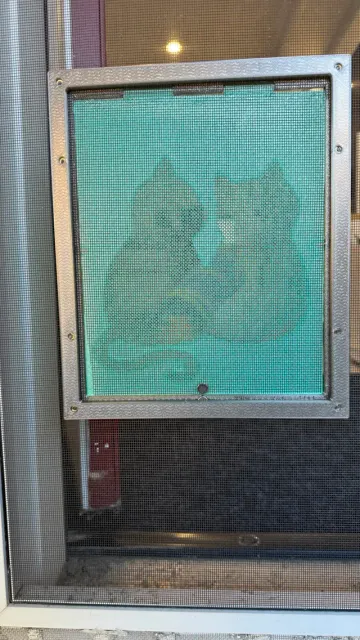
- Mount to Screen: Sandwich your patio screen between the front and back frames. Secure the assembly using the 8x M3 screws. - Final Cut: Trim out the screen section inside the flap opening using a utility knife.
0.2mm layer, 2 walls, 25% infill - Material: PETG - Layer Height: 0.20 mm - Infill: 25% Gyroid - Walls: 2 - Supports: Needed only for overhangs/magnet pockets - Brim: Recommended to prevent warping on large flat frames (Must be cleaned thoroughly!)


Names are used only to indicate the source of a result. Polyzon is not affiliated with the listed sites.