
Free 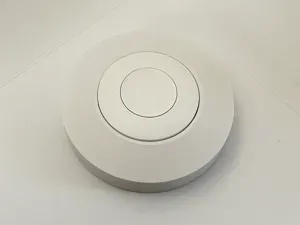
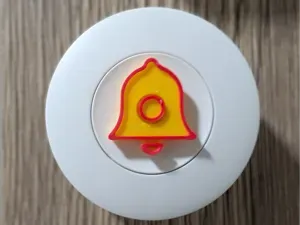
Round Wall Mount Twist-Lock for SONOFF SNZB-01P
MakerWorld
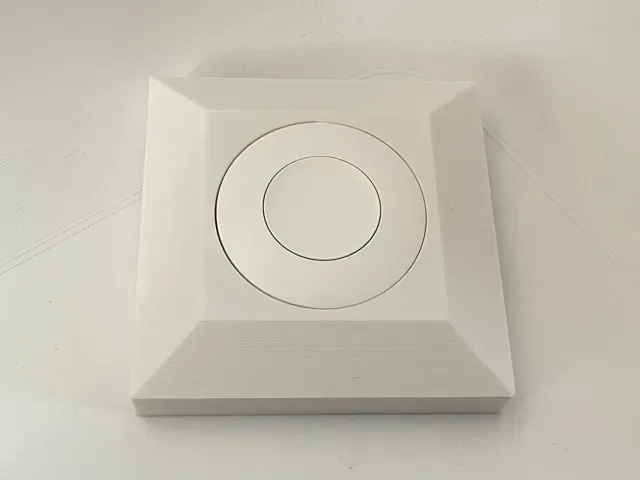
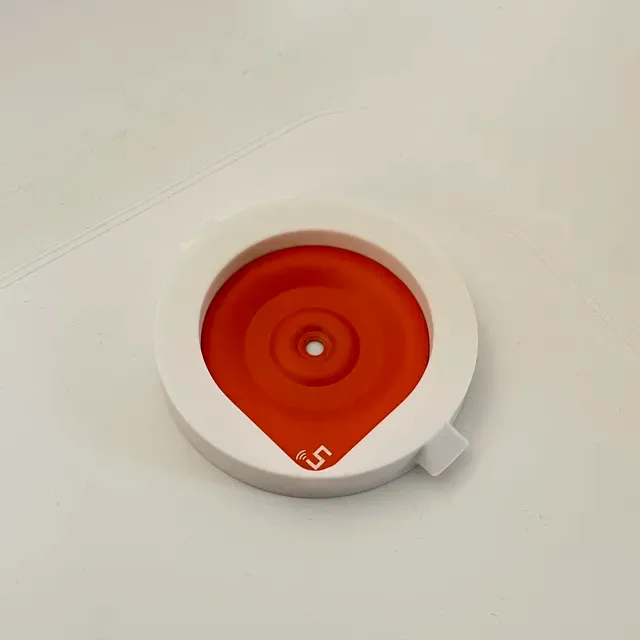
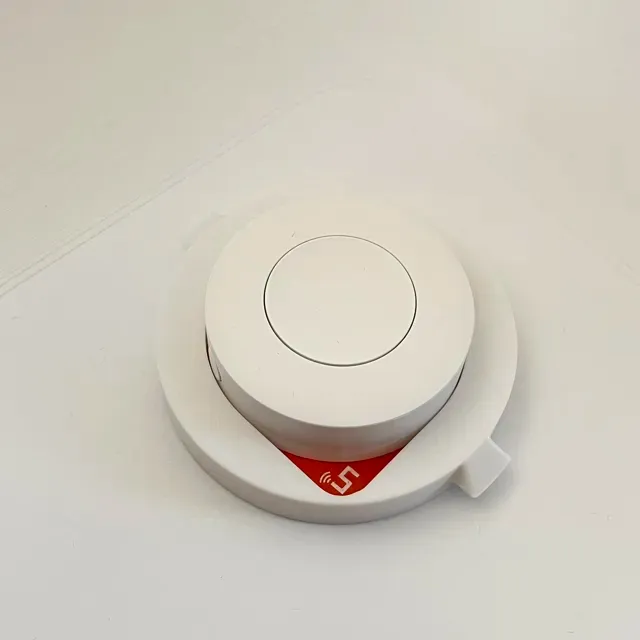
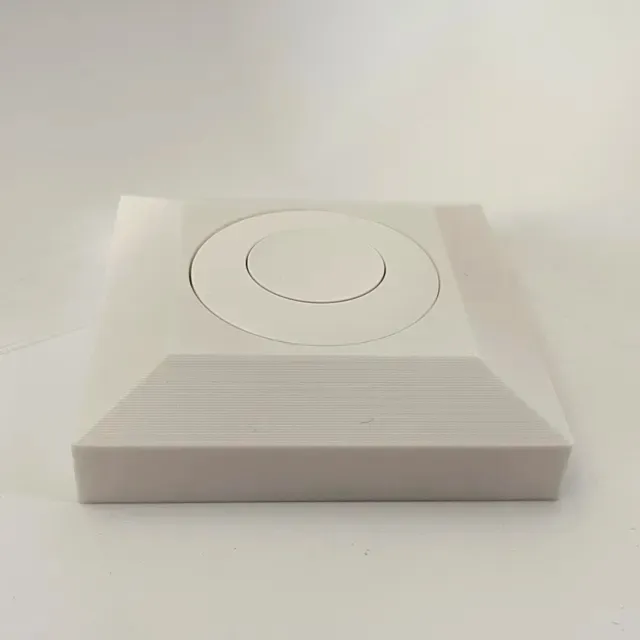
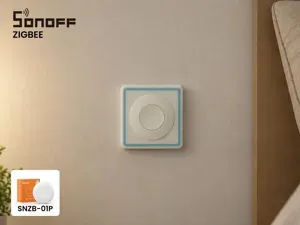
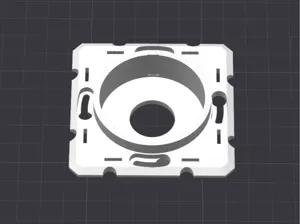
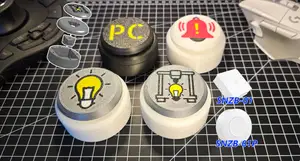
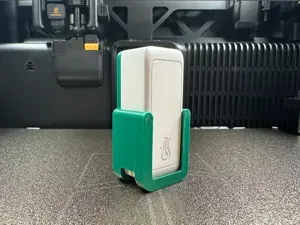
This is a two-part square wall mount designed for the SONOFF SNZB-01P Zigbee wireless button .
This version works the same way as the round model, but the outer shape is square for a different look that may fit better with other wall-mounted switches or interior designs.
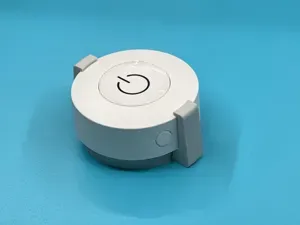
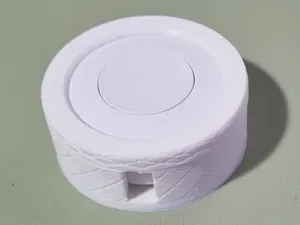
The original metal mounting plate supplied with the button is placed inside the printed base. The mount can then be installed in two ways:
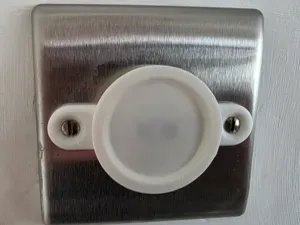
- Screw mounting: The base and metal plate are fixed together directly to the wall using a screw through the central mounting hole. - Adhesive mounting: If no screw is used, two pieces of double-sided adhesive tape are required — one to secure the original metal plate inside the printed base and another to attach the printed base to the wall. The SONOFF button attaches magnetically to the original metal plate, so it can still be removed easily when needed.
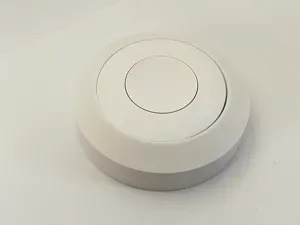
After installing the button, place the outer cover over the base and rotate it to lock it in position. The cover holds securely while keeping the button accessible for normal use. It can be removed again by twisting it in the opposite direction.
Required parts
- Printed mounting base - Printed twist-lock cover - Original SONOFF SNZB-01P metal mounting plate - One suitable wall screw, or - Double-sided adhesive tape for both the metal plate and the wall mounting Assembly
- Insert the original metal mounting plate into the printed base. - Choose the mounting method: - Fix the base and metal plate to the wall using a screw through the central hole. - Or use double-sided tape to secure the metal plate inside the base and a second piece of tape to attach the base to the wall. - Place the SONOFF SNZB-01P button onto the metal plate. It is held in place by its built-in magnet. - Fit the outer cover over the mounting base. - Rotate the cover until it locks into position. Printing notes
Print both parts in the orientation shown in the print profile. After printing, check the twist-lock mechanism and remove any small imperfections if needed.
A small difference in fit may occur depending on printer calibration and filament type.
0.2mm layer, 2 walls, 15% infill

Names are used only to indicate the source of a result. Polyzon is not affiliated with the listed sites.