
Free 
Magnetic Deep Picture Frame 20x20 cm
MakerWorld
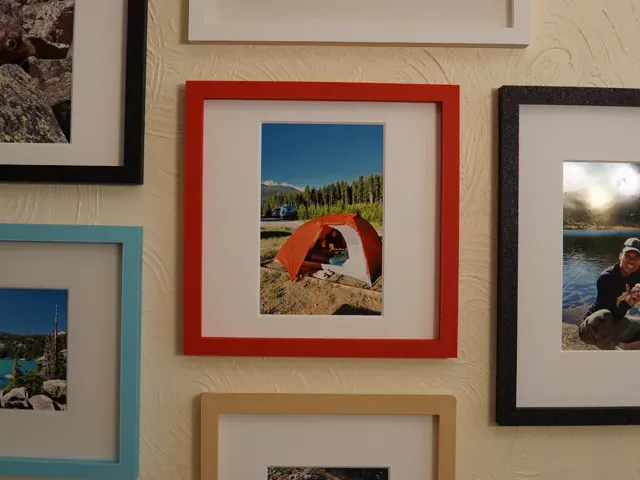
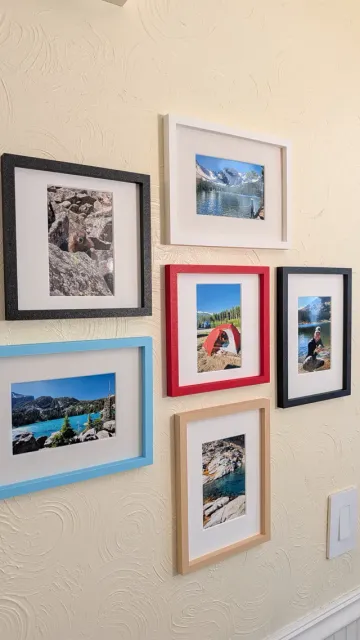
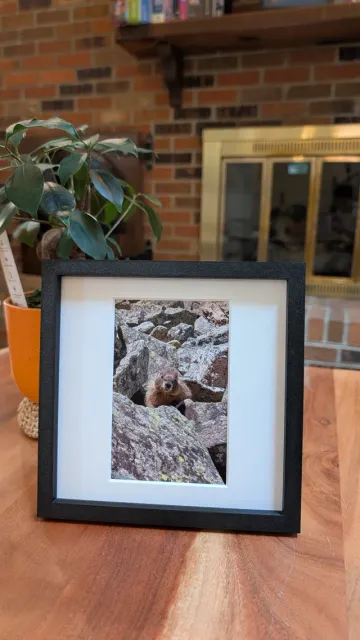
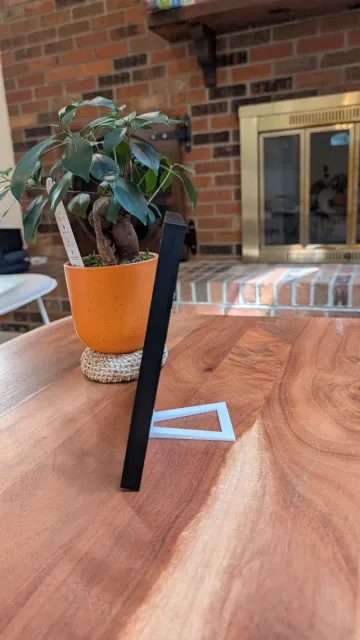
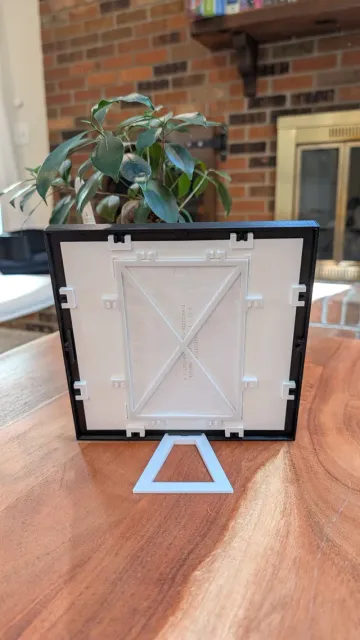
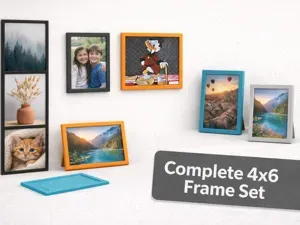
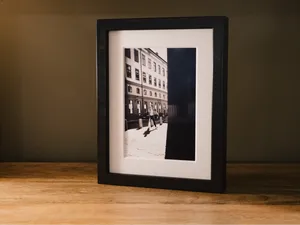
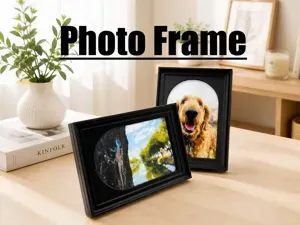
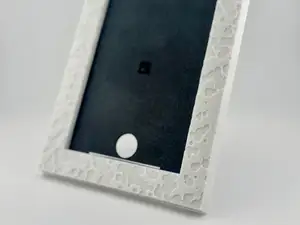
I designed this frame to combine the clean look of a modern gallery frame with practical, material-efficient 3D printing. The square 4x6 wall version uses under 100g of filament . The separate white Photo Mat gives the photo an elegant matted presentation, while the Outer Frame prints in one piece with no corner joints to glue together.
The connections are simple and easy to assemble (no glue, no magnets). The Photo Mat, Photo Backing Panel, and Outer Frame form a modular set, so you can change the frame color or style later without reprinting everything .
The frame hangs in portrait or landscape orientation. The optional Tabletop Stand works in both orientations and holds the frame at a 15° viewing angle.
What is included
- Photo Mat - Photo Backing Panel - One-piece Outer Frame - Optional Tabletop Stand Included 4x6 print profiles
Two ready-to-print layouts are included:
- Square Gallery Frame: 94.6 g without the stand; 101.8 g with it
- Rectangular Gallery Frame: 107.3 g without the stand; 114.6 g with it
What to print
Print Plates 1-3 for the wall-mounted version:
- Photo Mat - Photo Backing Panel - Outer Frame Print Plate 4 if you also want the Tabletop Stand.
Both profiles use a 0.4 mm nozzle, 0.20 mm layers, two walls, and no supports. The Outer Frame uses 6% gyroid infill. Each plate uses one color, so no AMS is needed.
Assembly
Text version:
- Place the photo behind the Photo Mat. - Add the Photo Backing Panel. - Fit the mat assembly into the Outer Frame. - Add the stand for tabletop display, or hang the frame with a fastener suited to your wall. No glue, screws, or magnets are needed for assembly.
Customizing the frame
MakerWorld creates one printable part from each customizer file, so five numbered files are included:
- 0 - Full Assembly Preview: Start here. It shows the complete frame so you can check the size and proportions. This file is for preview only. Do not print it. - 1 - Photo Mat: Generates the Photo Mat. - 2 - Photo Backing Panel: Generates the Photo Backing Panel. - 3 - Outer Frame: Generates the Outer Frame. - 4 - Tabletop Stand: Generates the optional stand. How to customize
- Open 0 - Full Assembly Preview . - Enter your photo, mat, and frame values. - Check the full preview. Adjust the values until it looks right. - Save a screenshot or write down every value. - Open files 1, 2, and 3. Enter the exact same values in each file. - Open file 4 and enter the same values if you want the stand. - Generate and download files 1, 2, and 3, plus file 4 if wanted. Do not download or print file 0. All parts must use the same values or they may not fit together. Do not resize individual parts in the slicer.
The Tabletop Stand uses a 15° viewing angle. If you would like an adjustable stand angle in the customizer, leave a comment with the angle or range you want.
Styling ideas
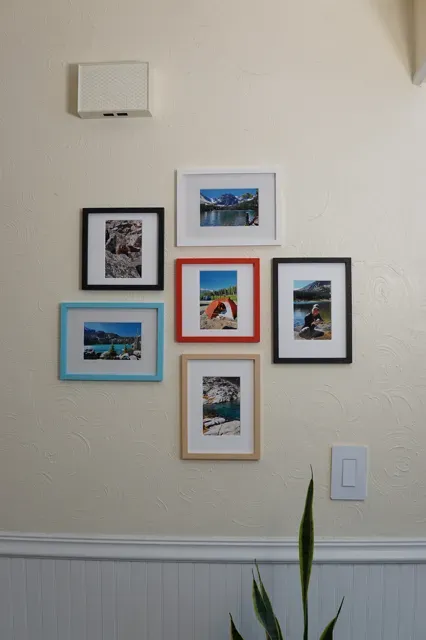
Choose photos that echo the frame color without matching it exactly:
- White or black: monochrome, architecture, or muted landscapes - Maple: beige, terracotta, olive, or other warm natural tones - Sky blue: coastal blues, sand, cream, or a small coral accent - Red: neutral artwork with a restrained red accent For a cohesive gallery wall, keep the white mats consistent, use no more than two frame colors, mix square and rectangular layouts, and leave about 25-50 mm (1-2 in) between frames. Arrange everything on the floor or with paper templates before mounting.
Share your result and ideas
The photo and filament colors completely change the look of this frame, so I would love to see yours. Please upload a Make , and leave a comment with feedback or features you would like me to add.
Boost Me If you like this model, please consider giving it a Boost. It supports future frame styles, more presets, and updates to the customizer.
4x6 Rectangular Gallery Frame - 0.2mm, No Supports Prepared for a standard 4x6 photo with a rectangular gallery-style mat.
The project contains four named plates:
- Photo Mat - Photo Backing Panel - Outer Frame (6% infill) - Optional Tabletop Stand. The mat, backing panel, and stand use white PLA.
The Outer Frame is assigned to maple/brown PLA. Each plate prints in one color, so an AMS is not required. Supports are disabled.
Print Plates 1-3 for a wall-mounted frame.
Add Plate 4 for tabletop display. The stand supports portrait and landscape orientation at a 15° viewing angle.
The three main pieces use approximately 107.3 g in this profile. The lightweight open-frame stand adds approximately 7.3 g, bringing the complete set to approximately 114.6 g.
4x6 Square Gallery Frame - 0.2mm, No Supports Prepared for a standard 4x6 photo inside a square gallery-style frame. The project contains four named plates:
- Photo Mat - Photo Backing Panel - Outer Frame (6% infill) - Optional Tabletop Stand. The mat, backing panel, and stand use white PLA.
The Outer Frame is assigned to maple/brown PLA. Each plate prints in one color, so an AMS is not required. Supports are disabled.
Print Plates 1-3 for a wall-mounted frame. Add Plate 4 for tabletop display. The stand supports portrait and landscape orientation at a 15° viewing angle.
The material-efficient three-piece wall version uses approximately 94.6 g in this profile. The lightweight open-frame stand adds approximately 7.2 g, bringing the complete set to approximately 101.8 g.



Names are used only to indicate the source of a result. Polyzon is not affiliated with the listed sites.