
Free 
RackMod 1U Module: Waveshare CM5-DUAL-ETH Carrier
MakerWorld
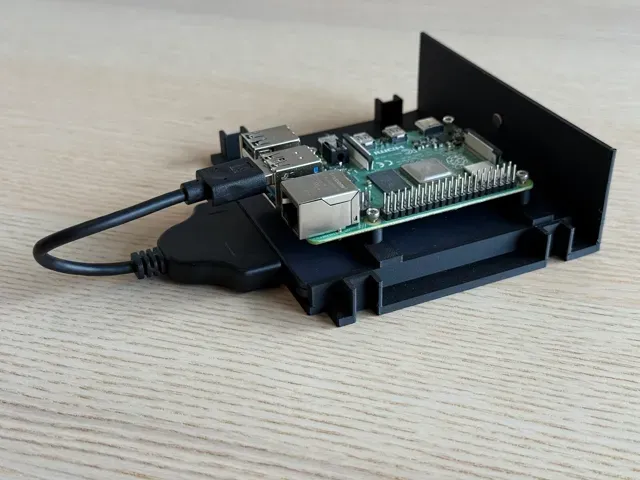
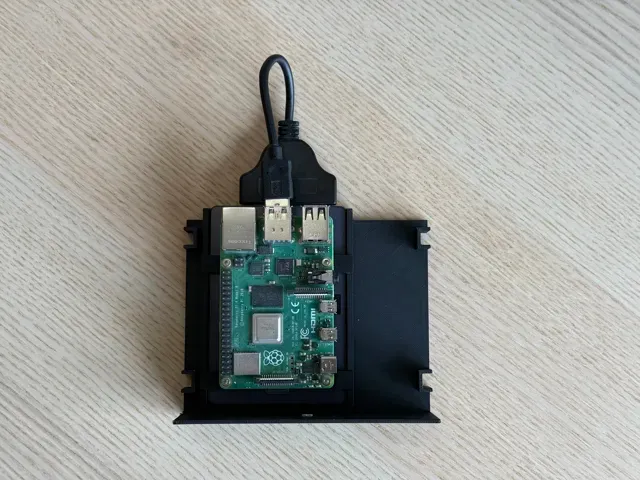
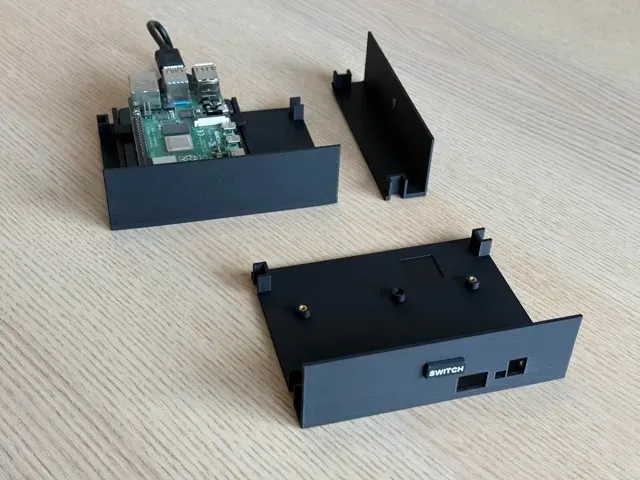

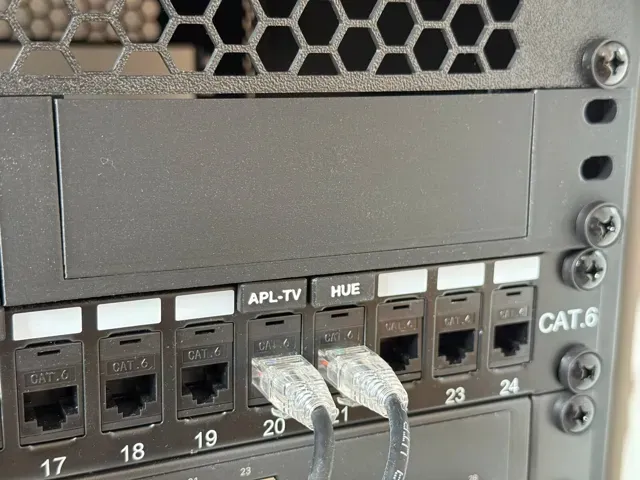
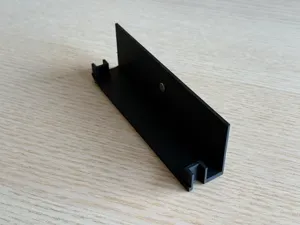
Mounts that drop into the RackMod 1U modular server rack : a 19" row takes three bases and one 125 x 100 x 39 mm mount per base, dropped in from above on four corner tabs. Every mount here starts from the designer's own blank module , so the faceplate, floor and tabs are the original ones and the mounts sit in the rack exactly like the rest of the system.
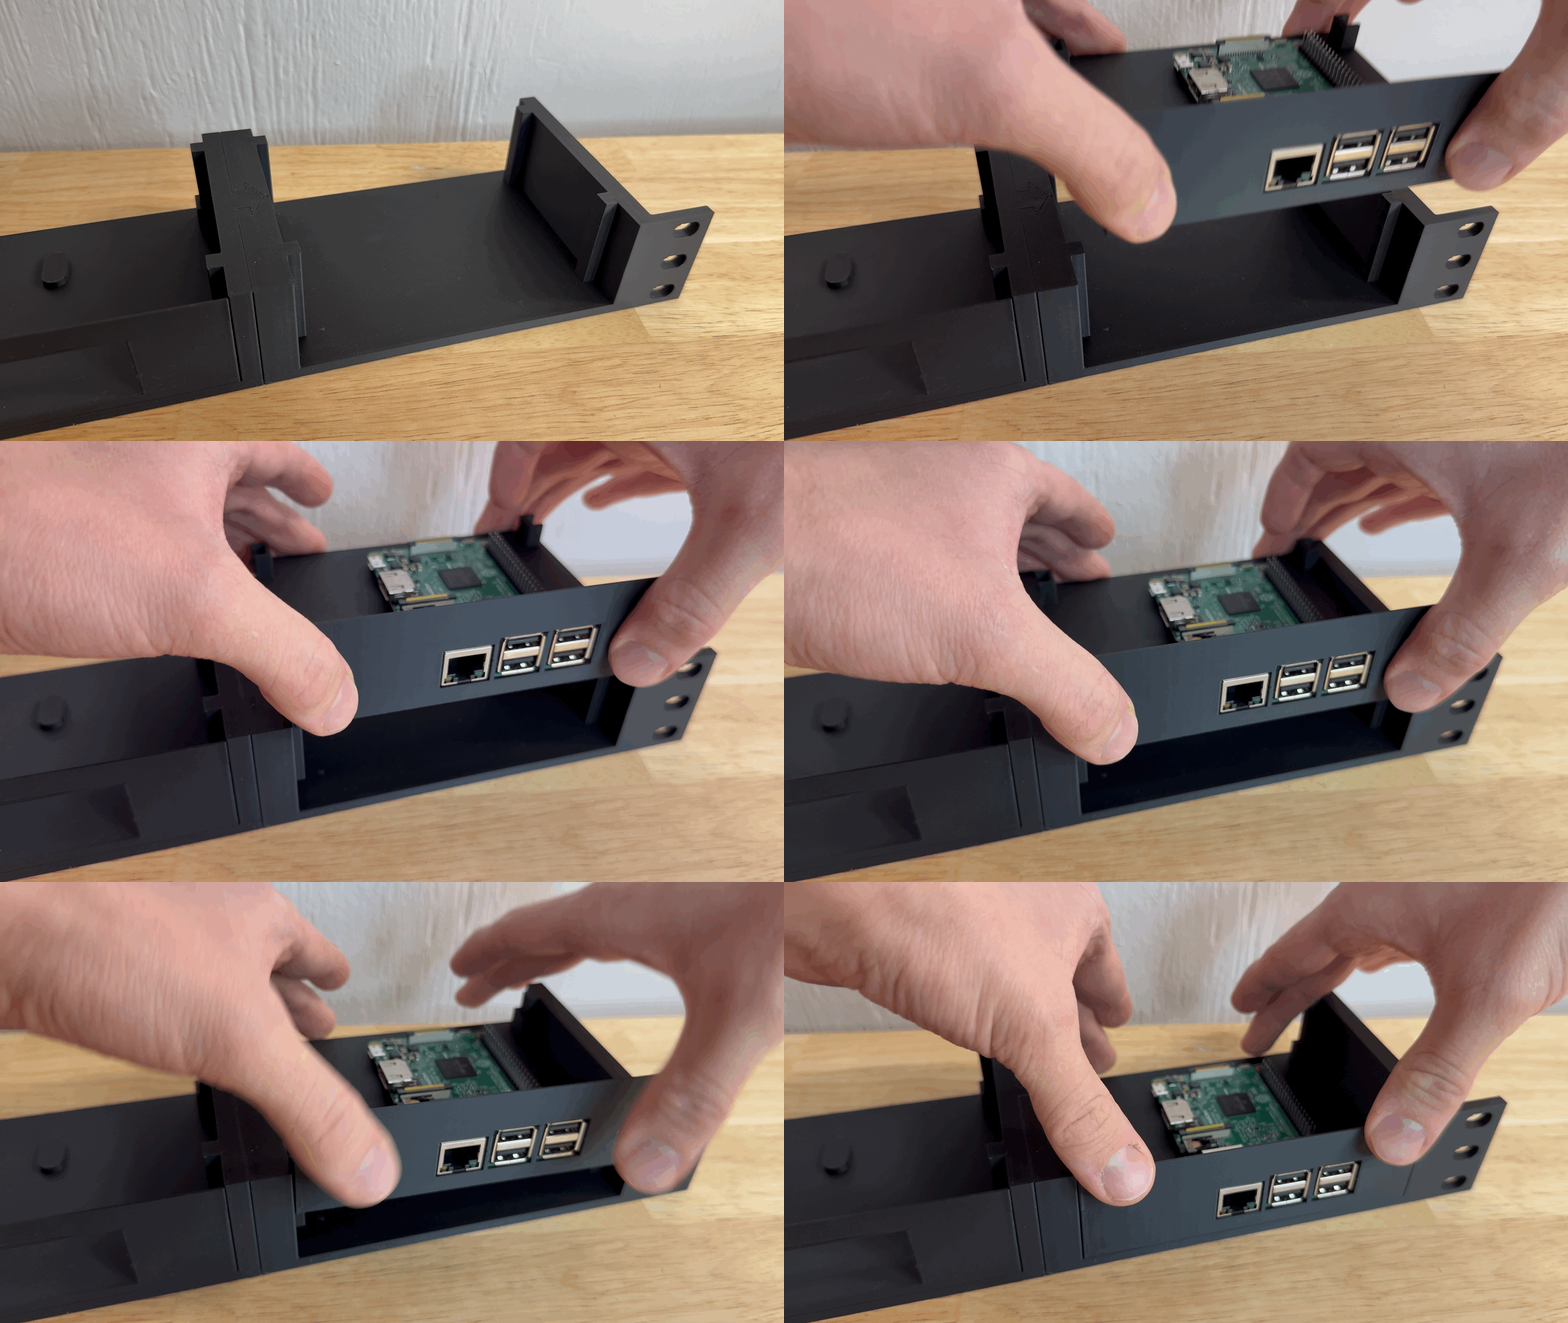
What it holds: a 2.5" SATA drive (100 x 69.85 x 7 mm) flat on the floor in a cradle, with a Raspberry Pi 4 on a deck above it. Both have their ports to the rear, and the drive slides in from the back, held down by the two bridges of the deck. The tray sits off centre so the Pi's USB-C power plug keeps the open side. Tested with a Samsung 870 QVO .
Brass inserts, not self-tapping screws. Every board screws onto M2.5 brass heat-set inserts, so you can unscrew and reseat a board as often as you like without chewing up the plastic. Set them in with a soldering iron before mounting the board. Tested with these M2.5 inserts (4 mm outer diameter, 2.9 mm long) and M2.5 x 6 screws.
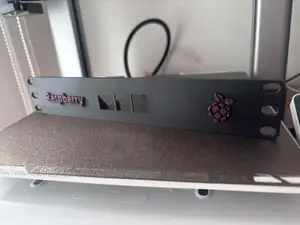
Name tags. Inside each faceplate there is a pocket for a 6 x 2 mm disc magnet. Glue one in and a magnetic label snaps onto the front of the module, and can be swapped whenever the machine behind it changes. The tags are here: Magnetic Labels for Patch Panels & Racks . The pocket is cut from the inside and leaves the outer wall intact, so a mount without a magnet looks like one with it. Print it as it comes, glue the magnet in later or never.
Make it yours, the quick way: click Customize and change what you need: the drive size, how far off centre the tray sits, the magnet pocket on or off, where it sits and what size magnet, the insert size. Then generate. It comes without the print settings below, so pick a 0.20 mm Standard process and switch supports on.
Make it yours, the thorough way: attached under accessories is rackmod-1u-ai-instructions.txt, holding the OpenSCAD sources, the build scripts and the tested print profile, with instructions. Give it to your favourite AI assistant with a prompt like:
Follow the attached instructions to build this module for a Raspberry Pi 5, with a vent under the board and the magnet pocket sized for an 8 x 2 mm magnet.
You get back the same kind of files as the print profile here, with your change in them. It needs Python 3.10+ and an OpenSCAD snapshot on the machine the assistant runs on.
Open source. Everything that holds the board is yours to change, sources attached. What makes it a RackMod module, the notched corner tabs that drop it into the base, is tomtechie 's.
Tested settings: Bambu Lab A1, stock 0.4 nozzle, 0.20 mm Standard, Bambu PLA Matte on a textured PEI plate, nothing changed from stock. Everything prints floor down. Only the Raspberry Pi + SSD mount needs supports, its deck bridges 70 mm between the cradle walls, and the print profile here has them switched on already.
Raspberry Pi + SSD - 0.4 nozzle, supports on Sliced for the Bambu Lab A1 with the stock 0.4 nozzle: 0.20 mm Standard, Bambu PLA Matte, textured PEI plate, stock settings otherwise. Prints floor down with supports on, as the deck that carries the Pi bridges 70 mm between the cradle walls.
Takes a 2.5" SATA drive (100 x 69.85 x 7 mm, tested with a Samsung 870 QVO ) and a Raspberry Pi 4. The drive slides in from the rear and is held down by the two deck bridges; the Pi screws to four M2.5 brass heat-set inserts on top of them.
Before the board goes in: set four M2.5 inserts (4 mm outer diameter, 2.9 mm long) into the standoffs with a soldering iron, then screw the Pi down with M2.5 x 6 screws. Inside the faceplate there is a pocket for a 6 x 2 mm magnet if you want a magnetic name tag on the front.

Names are used only to indicate the source of a result. Polyzon is not affiliated with the listed sites.