
Free 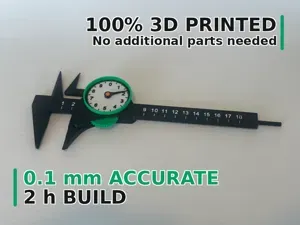
Dial Caliper 4.0 - Inside Jaws & Depth Probe
MakerWorld
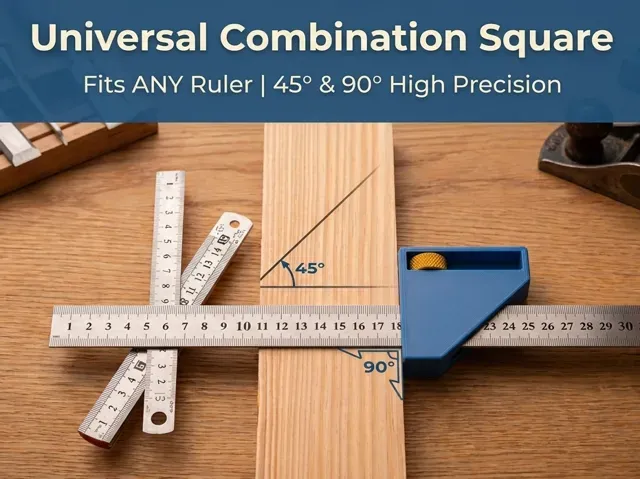
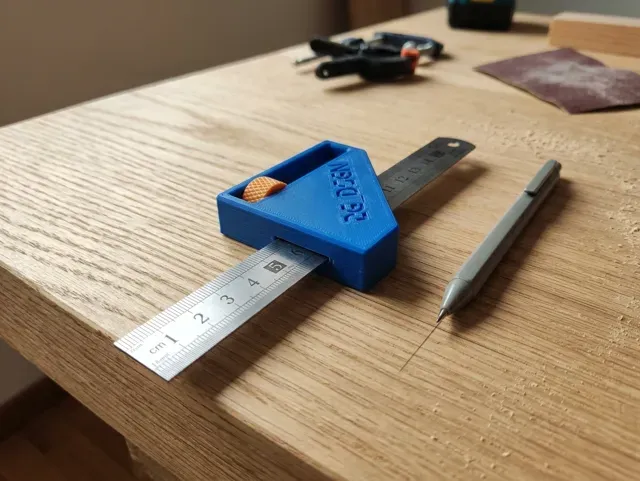
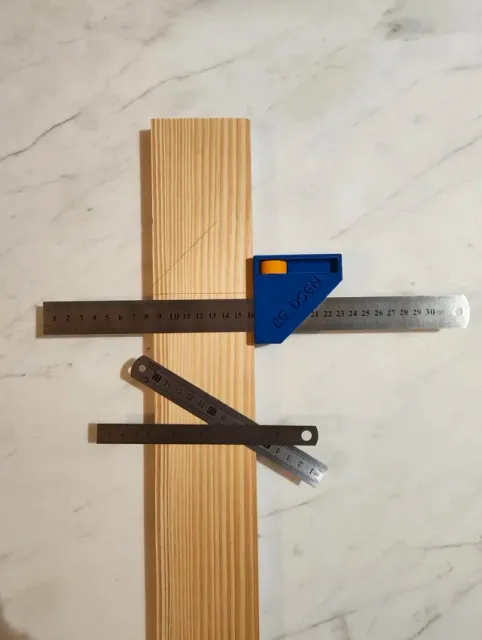
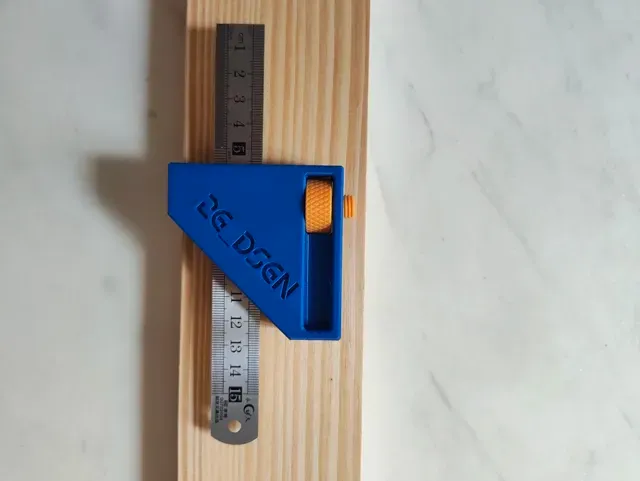
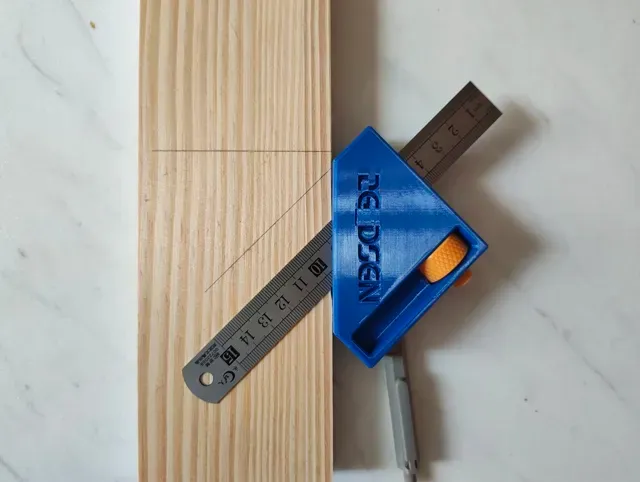
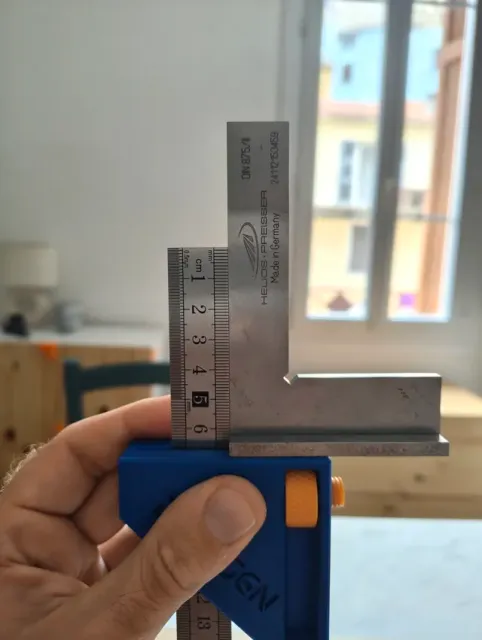
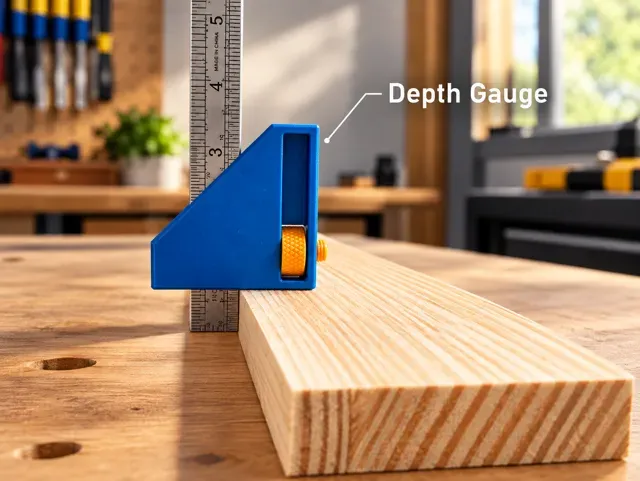
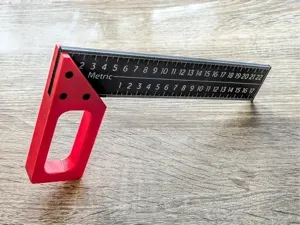
Boost Me if you like this project 📐 High-Precision Universal Combination Square (No Hardware Required!)
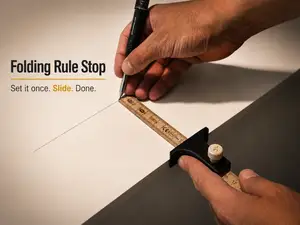
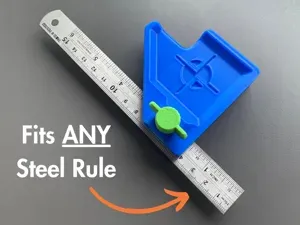
Turn almost any steel ruler into a reliable, high-precision combination square for woodworking, DIY, and layout tasks!
Designed to fit metal rulers with a thickness from 0 to 2.2 mm and a width/height from 0 to 31 mm —meaning it works with virtually every standard steel ruler on the market up to 50 cm.
Best of all: 100% 3D Printable. No extra screws, nuts, or metal hardware required!
💡 Why This Design?
Let’s be real: this won't replace a $100 Starrett square in terms of ultimate precision and lifetime shop durability. However, if you need a fast, accurate way to mark 45° and 90° angles , scribe parallel lines at fixed depths, or perform layout work—and you don't have time to wait for a high-end tool to ship or don't want to waste money on a sloppy, inaccurate one from a local shop—this project is for you.
In just a couple of hours of print time, you’ll have a solid, highly precise combination square ready to work.
🖨️ Material & Print Recommendations
- PLA: Works great! The original prototype was printed in PLA and performed surprisingly well. - PETG (Recommended): Highly recommended if you plan to bring this tool to job sites, use it outdoors, or want smoother sliding and longer durability against wear. 🛠️ Assembly Instructions
- Assemble the Threaded Pin: - Insert the slotted part into the cavity of the threaded pin up to half its length. - Add a single drop of super glue (CA glue) into the joint. - Push it all the way in until fully seated (you can do this by hand, or gently use a vise or clamp). - Note: Joining these two parts printed in different orientations dramatically increases the tensile strength of the assembly! - Install the Knob & Threaded Shaft: - Place the knurled knob into its dedicated slot inside the square body. - Insert the glued threaded component (slotted end first) into the round top hole, passing completely through the knob. - Once it reaches the bottom, start turning the knob to engage the threads and pull the pin further down into place. - Insert the Ruler: - Slide your steel ruler through the side channel of the square body. - Ensure it passes directly through the internal slotted loop element. - Locking & Self-Centering Setup: - Rotating the knob pulls the internal slotted element upward, clamping the ruler tightly against the reference surface. - IMPORTANT (First-Time Use): The ruler slot is self-centering. The very first time you lock your ruler, make sure it is centered in the V-groove track and not tilted or crooked, or accuracy will be compromised. - Once properly aligned, simply loosen the knob slightly to slide the ruler smoothly without losing centering or squareness (PETG slides much smoother and wears less than PLA). - Tip: Tighten gently—no need to force it, remember it's still 3D printed plastic! 🌟 Final Note
Without false modesty: as of today, this is the best, most functional printable combination square available online. Download, print, and enjoy precise layout work!
Membership Want to support my work or sell prints of my designs? As a subscriber, you will: 🛠️Help me create more free, high-quality models. ✨Unlock exclusive perks. 💼Acquire commercial rights.
0.16mm layer, 3 walls, 8% infill


Names are used only to indicate the source of a result. Polyzon is not affiliated with the listed sites.
Comments