
Free 
TOYO STEEL T-190 Toolbox Organizer Trays
MakerWorld
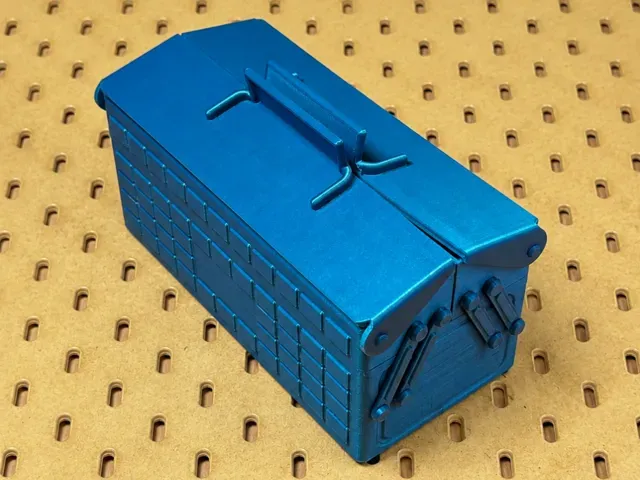
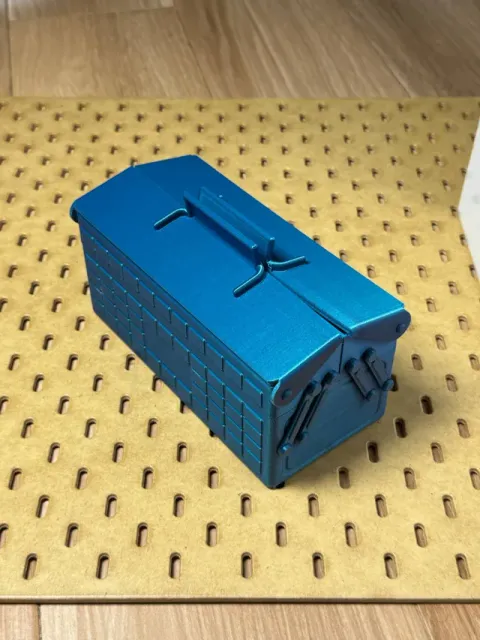
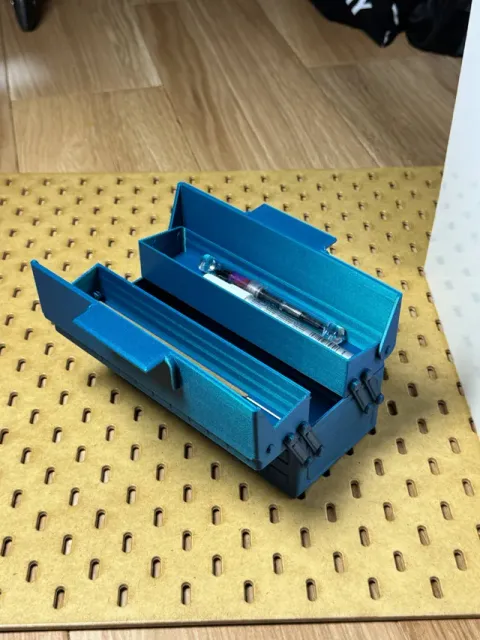
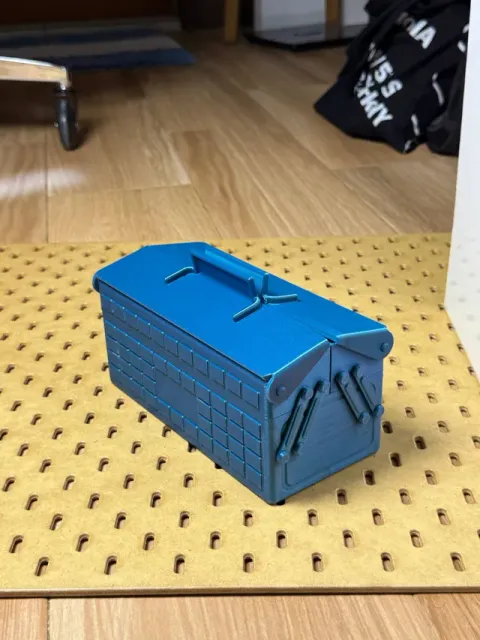
Mini ST-350 Cantilever Toolbox
A small toolbox for the things you use every day.
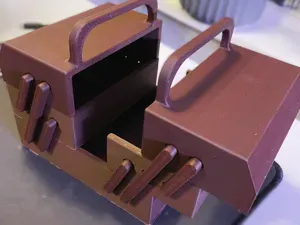
This model is a homage to the iconic TOYO STEEL ST-350 , reinterpreted as a 3D-printable organizer for the desk, workshop, or wherever you keep the things you use most.
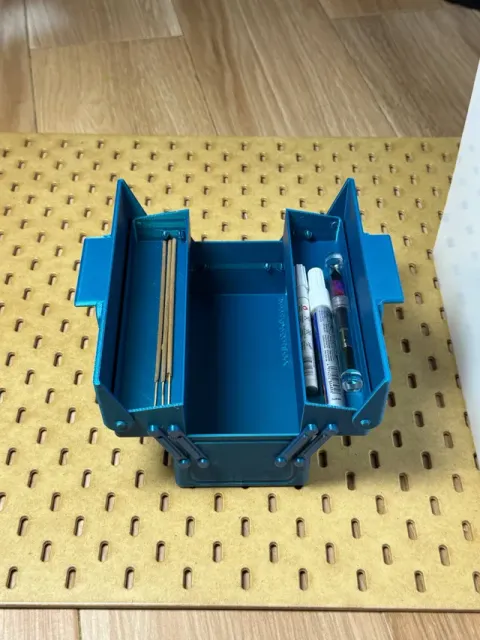
The familiar cantilever form opens into several compartments, keeping everyday items visible and within reach while remaining compact when closed.
It is sized to hold standard pens, markers, and passport-sized notebooks , along with other small tools and everyday objects. Use it for stationery, drawing supplies, hobby tools, or simply the things that tend to gather around your workspace.
Approximate assembled size: 21 × 10 × 10 cm
Simple in form, useful in everyday life, and open to whatever you choose to put inside.
Features
- Inspired by the classic TOYO ST-350 - Functional cantilever opening - Compact size with multiple storage compartments - Fits standard pens and markers - Fits passport-sized notebooks - Suitable for stationery, small tools, and hobby supplies - Designed for 3D printing - Approximately 21 × 10 × 10 cm when assembled Assembly Instructions
Check to make sure you have printed the following:
- 16 Rivets - 8 Arms - 2 Top Boxes - 2 Top Box Covers - 1 Bottom Box
1. Install the top box covers Install the covers onto both top boxes first. The covers are designed to be press-fit and should snap securely into place.
2. Position the arms Place the cantilever arms between the boxes. Each arm has two holes . Position the arms with the flat side facing the main body of the toolbox.
3. Attach the arms to the bottom box Start with the bottom box . Align one arm hole at a time with the corresponding hole on the bottom box, then press a press-fit rivet into place. Repeat this for each arm until all arms are securely attached to the bottom box.
4. Attach the top box Once all the arms are attached to the bottom box, position the top box in place. Align each remaining arm hole with the corresponding hole on the top box, press-fitting a rivet into each arm, one at a time, until all arms are secured.
No additional hardware is required for assembly.
0.2mm layer, 2 walls, 15% infill 0.2 mm layer height
Print with supports enabled for small overhangs





Names are used only to indicate the source of a result. Polyzon is not affiliated with the listed sites.