
Free 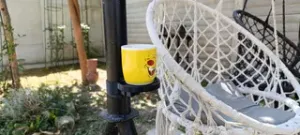
Swing Cup Holder for 56-60 mm Tube - Two-Part Mount
Printables
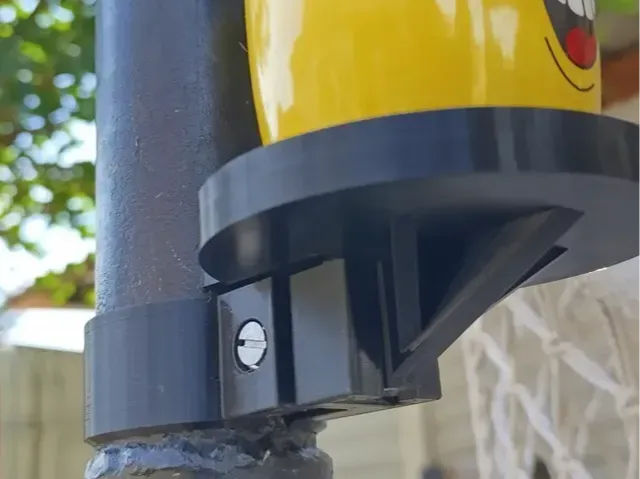
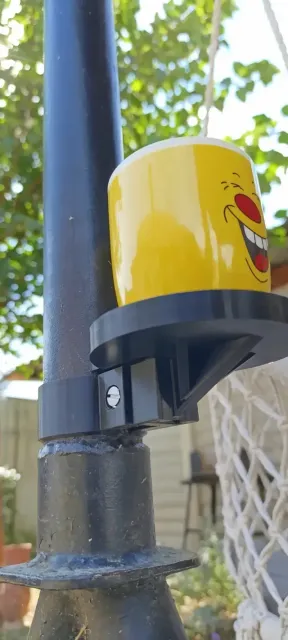
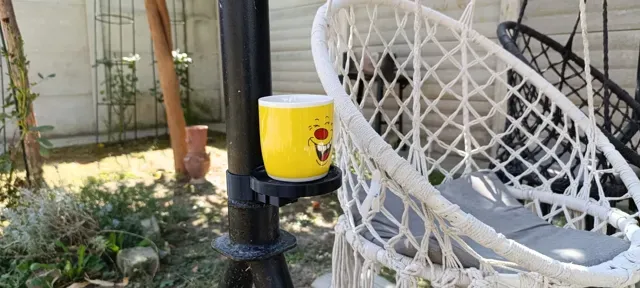
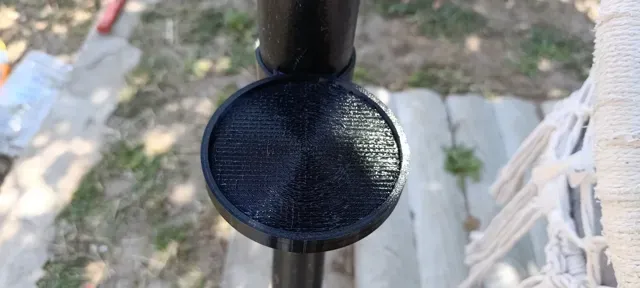
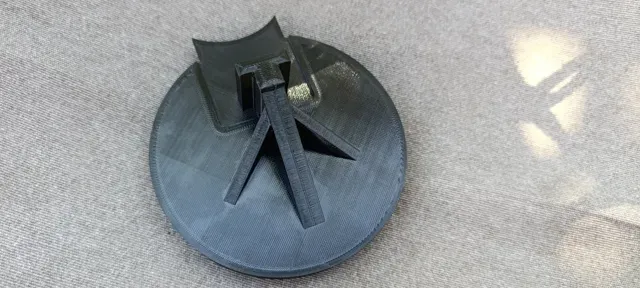
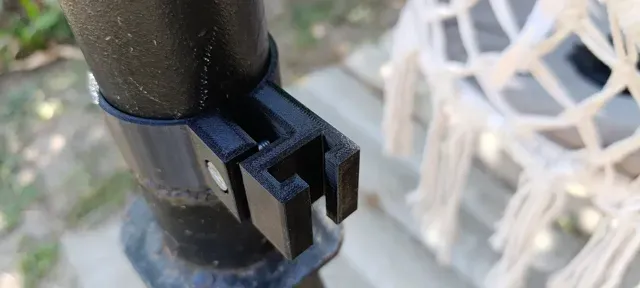
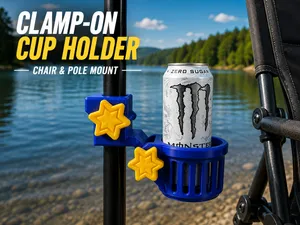
My wife and I were relaxing on the terrace, gently swinging and enjoying our coffee, when I realized we had nowhere convenient to put our cups. It did not take me long to come up with a practical solution for our little corner.
I designed this cup holder specifically for my garden swing, which has a round frame tube with an outer diameter of 60 mm.
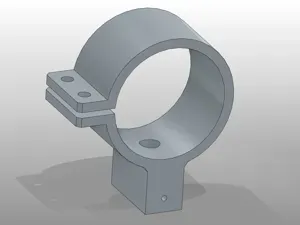
The model consists of two separate parts:
- A clamp mount that attaches to the tube from 56 to 60 mm. - A removable cup holder tray that slides into the clamp mount. The two-part design makes installation easier and allows the cup holder to be removed without taking the clamp off the swing. It also makes it possible to redesign or replace only the cup holder section while keeping the same tube mount.
The holder is suitable for coffee mugs, cups, cans, small bottles and similar items that fit safely on the round tray. The raised outer edge helps prevent the cup from sliding off while the swing is moving.
I printed and tested the complete holder using PETG. With the print settings listed below, it successfully carried a static load of up to 5 kg, so the weight of a regular coffee mug is not a problem.
Please note that this is a practical 3D printed accessory, not a handle, step or safety component. Do not pull on it, stand on it or use it to support a person.
Compatibility
The clamp is designed for round tubes with an outer diameter of:
- 56 to 60 mm Before printing, measure the actual outer diameter of your tube. Painted or powder-coated tubes may be slightly thicker than their nominal size.
The fit may be slightly looser on a 56 mm tube, but the clamp can be tightened securely during installation.
Recommended material
PETG is strongly recommended because the clamp needs to flex slightly during installation. A good-quality PETG should provide enough flexibility to spread the clamp around the tube without cracking.
PLA is not recommended for this model. It is more brittle, does not tolerate repeated flexing as well as PETG and can soften or deform when exposed to direct summer sunlight.
ASA or ABS may also work for outdoor use, but I have personally printed and tested this model with PETG.
Important installation note
The clamp must spread slightly while being installed around the tube.
With good-quality PETG, it should flex enough for installation. However, depending on the filament, printer calibration and outdoor temperature, you may need to warm the clamp slightly before mounting it.
Use warm air carefully and heat the clamp gradually. It only needs to become slightly more flexible. Do not overheat it, melt it or force it open while it is cold.
After attaching the clamp to the tube, install the fastener and tighten it only enough to keep the mount stable. Excessive tightening may damage the printed part.
Once the clamp mount is secure, slide the cup holder into its matching connector until it is fully seated.
Print settings
I used the following settings:
- Layer height: 0.20 mm - Wall perimeters: 6 - Top layers: 8 - Bottom layers: 8 - Infill: 20% - Material: PETG - Supports: Only where needed Use supports only below the areas that cannot be printed cleanly as bridges or overhangs. There is no need to generate support across the entire model.
For the best strength, keep the supplied print orientation shown in the included model images. Good layer adhesion is especially important around the clamp, connector and supporting ribs.
Load capacity
The printed assembly was tested with a static load of up to 5 kg using PETG and the listed print settings.
Actual strength may vary depending on:
- Filament quality - Printing temperature - Layer adhesion - Number of walls - Print orientation - Outdoor temperature - Correct installation Always inspect the clamp and connector for cracks before placing a hot drink in the holder. Replace the part if you notice layer separation, deformation or damage.
This model solved a simple problem on my own garden swing: having a stable place for my coffee without needing a nearby table.


Names are used only to indicate the source of a result. Polyzon is not affiliated with the listed sites.