
Free 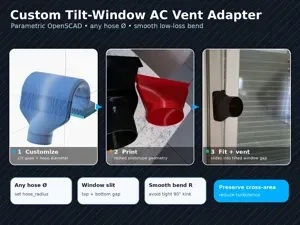
Parametric Tilt Window AC Vent Adapter / gekippt
MakerWorld
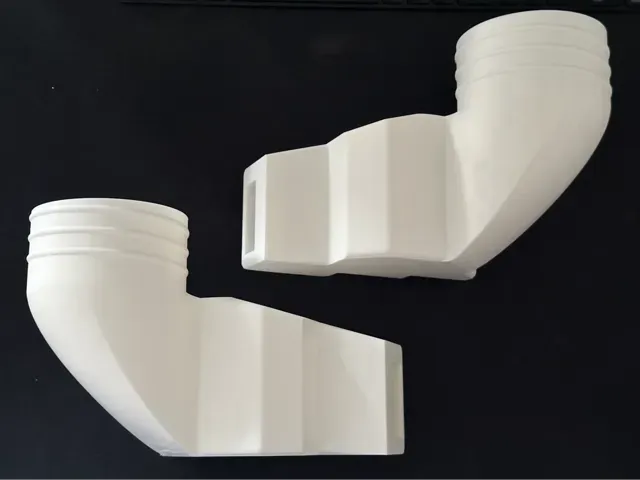
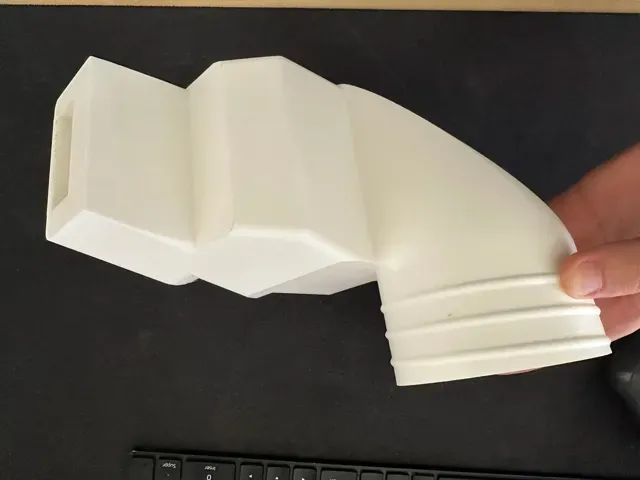
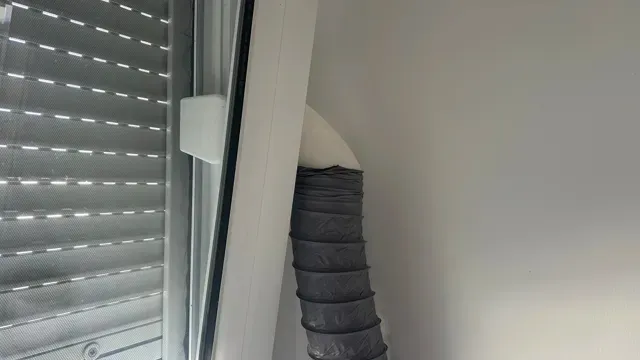
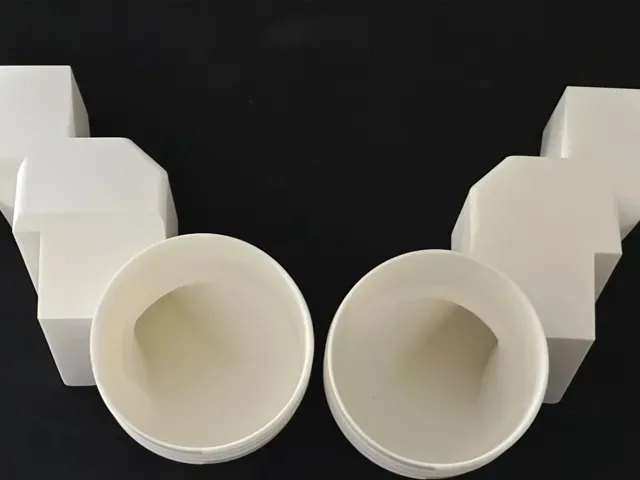
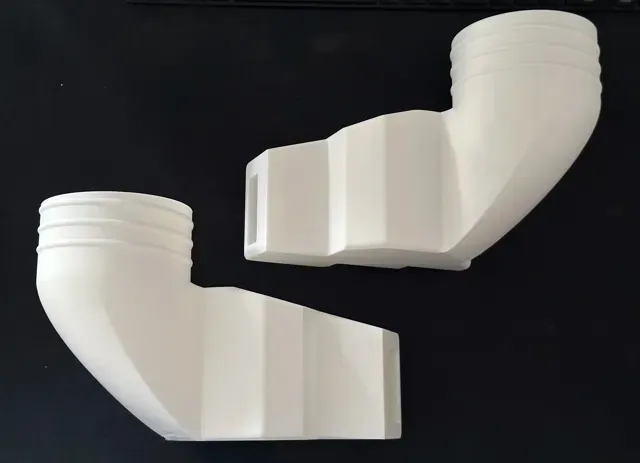
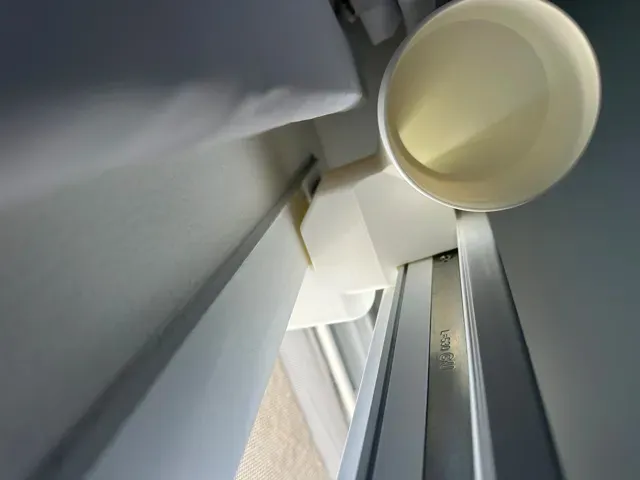
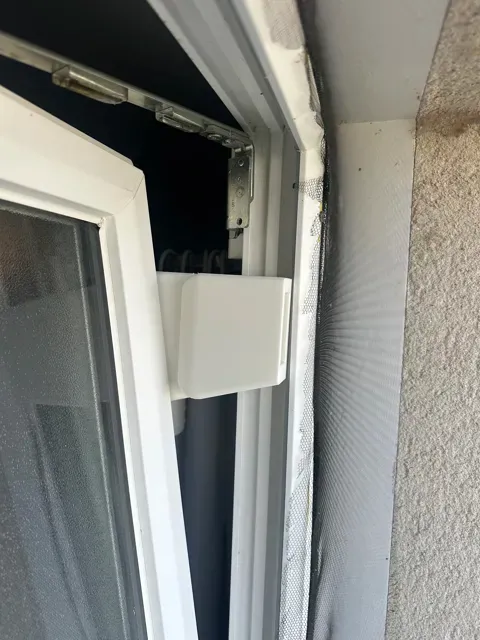
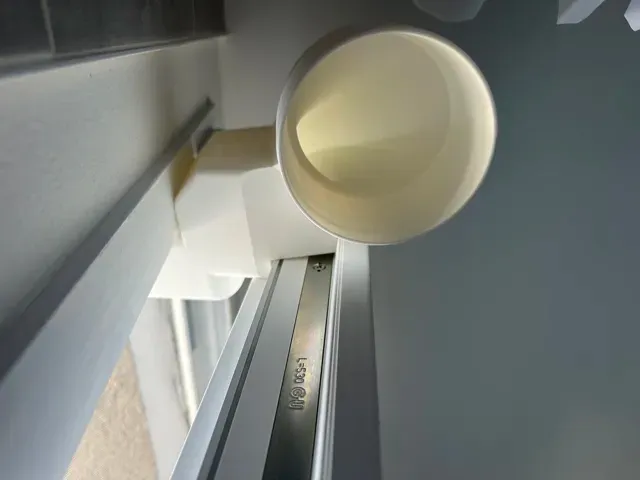
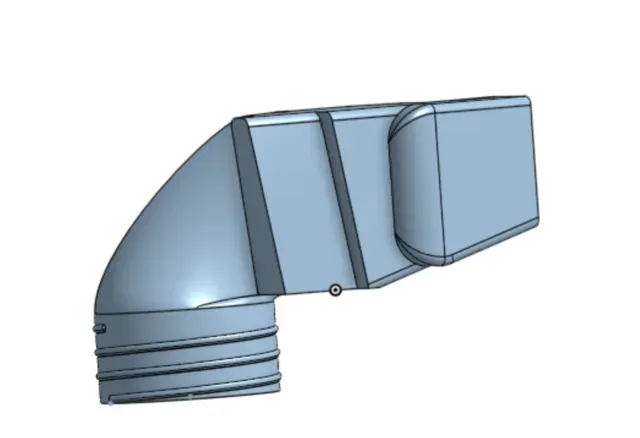
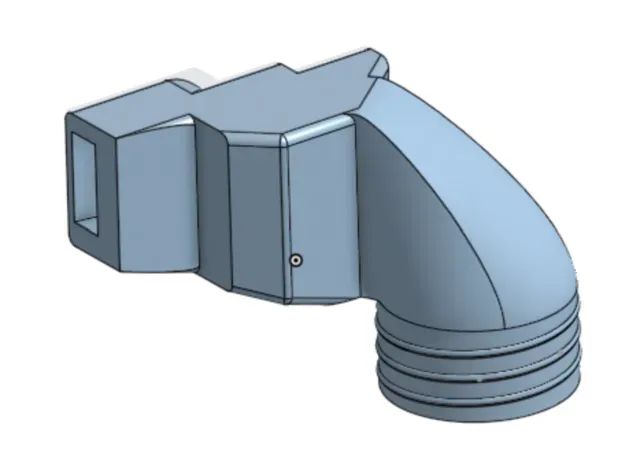
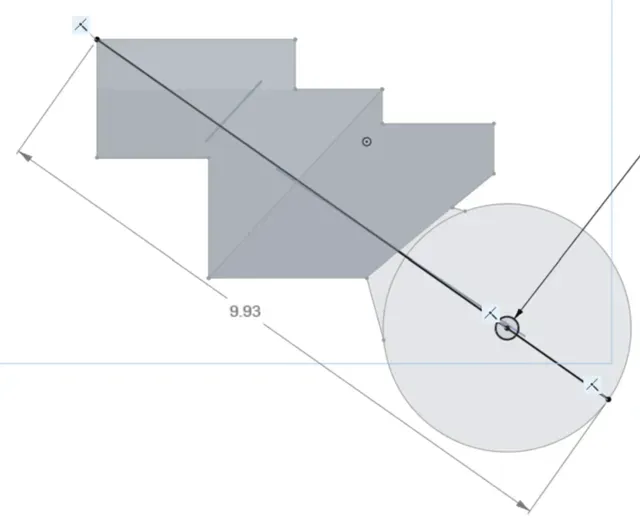
🌬️ One part, two uses: air extraction for your 3D printer and exhaust for your portable air conditioner!
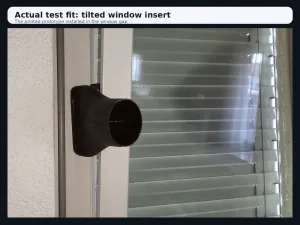
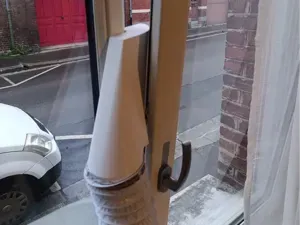
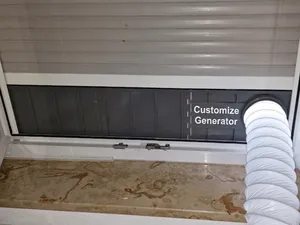
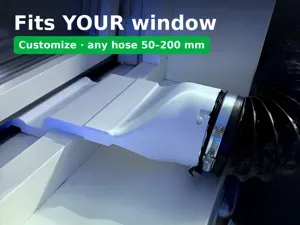
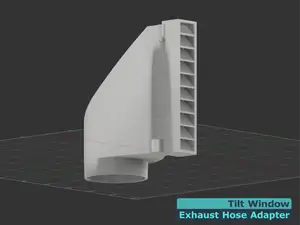
This adapter fits into the side opening of a window in tilt position. It takes a 100 mm (4 inch) hose to vent air outside, while keeping your window almost closed.
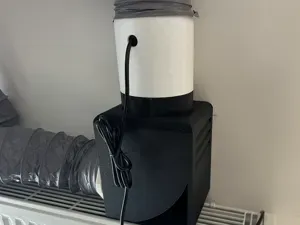
🖨️ For your 3D printer Vent fumes, odors and particles from your printer or enclosure straight outside. Your workshop air stays clean, especially with smelly filaments like ABS or ASA.
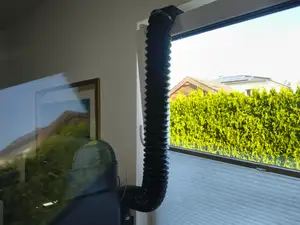
❄️ For your portable air conditioner Connect your AC exhaust hose to push hot air outside. No need to leave the window wide open or install a fabric window kit: the heat goes out, the cool air stays in.
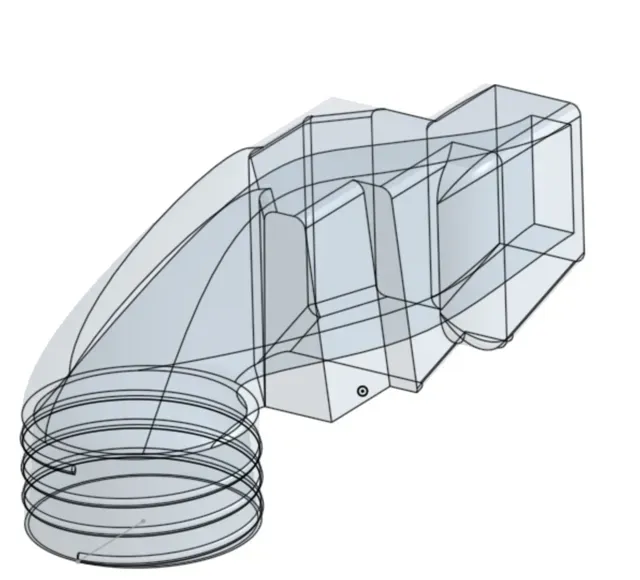
🚀 Designed to push the air far away The 100 mm / 4" diameter gradually narrows inside the part . This reduction speeds up the airflow at the outlet, so the air is projected farther from the window. Even with a bit of wind, hot air from the AC or microplastic-laden air from the printer is carried away instead of coming back toward your window.
📦 What's included
The file contains both versions of the part, each on its own plate:
- Plate 1 : exhaust on the left side of the window - Plate 2 : exhaust on the right side of the window (Left or right as seen from inside the room, facing your window.)
👉 Delete the plate you don't need before printing, so you only print the version that matches your setup.
⚠️ Check compatibility before printing!
- Print the 2D template first (included in the project). It's a quick flat print that uses very little filament. - Test it by sliding it flat into the gap on the side of the glass, with the window in tilt position. - Check the tilt angle : the part is designed for windows with a tilt of about 9% (± 1%) when opened. - Check the space : you need at least 10 cm (4") between the wall and the window frame for the part to fit properly. - For an air conditioner , make sure your exhaust hose can connect to a 100 mm / 4" fitting. If the template fits, you can print the full part with confidence.
🧵 Filament choice
- PLA : perfect for plastic or light-colored window frames. - PETG : recommended if your window frame is black aluminum . In summer, a black frame gets very hot in the sun and PLA may warp. PETG is also recommended for air conditioner use, as the hot exhaust air can soften PLA over time. 🖨️ Print settings
- Infill: only 8%. The part stays strong while using little filament. - Supports: tree supports only. Don't use normal supports or "on build plate only" tree supports, as the part needs supports on the inside. - 👉 If you use my file, everything is already set up! 🔧 After printing, must read!
- Let the part cool down for at least 1 hour before removing the supports. Otherwise, you may damage it while pulling off the trees. - Have needle-nose pliers ready to remove the supports inside and in the middle of the part. - If you prefer to play it safe , you can cut the part in two in your slicer using connectors. Support removal will be much easier. 🌀 Tip for Bambu Lab users
Enable air extraction at the end of the print using your printer's rear fan. Particles and microplastics are then pushed outside through the hose, instead of circulating in a closed loop through the internal filter.
- for exemple in H2 series : go to Settings → Print Options → Air purification after printing → Exhaust ✅ Features
- Hose connection: 100 mm / 4" - Narrowed internal section to speed up the airflow and push it far away, even in windy conditions - Dual use: 3D printer exhaust and portable air conditioner exhaust - Designed for tilt windows (tilt of about 9% ± 1%) - Available in left (plate 1) and right (plate 2) versions - Low infill (8%) to save filament 💡 Tips
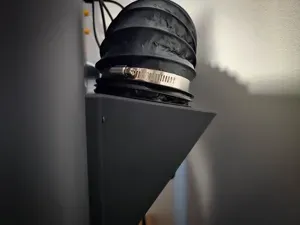
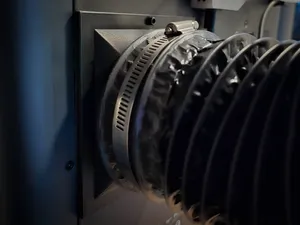
- Secure the hose with a hose clamp for a better seal. - 3D printer : an inline fan (100 mm duct fan) greatly improves extraction. - Bambu Lab 3D printer : enable air extraction at the end of the print (see tip above). - Air conditioner : keep the hose as short and straight as possible for better efficiency. Feel free to leave a comment or a photo of your setup, whether it's for your printer or your air conditioner! 😊
0.2mm layer, 2 walls, 8% infill
Names are used only to indicate the source of a result. Polyzon is not affiliated with the listed sites.
Comments