
Free 
Wax Slug Making Kit 12 Gauge
Printables
Summary
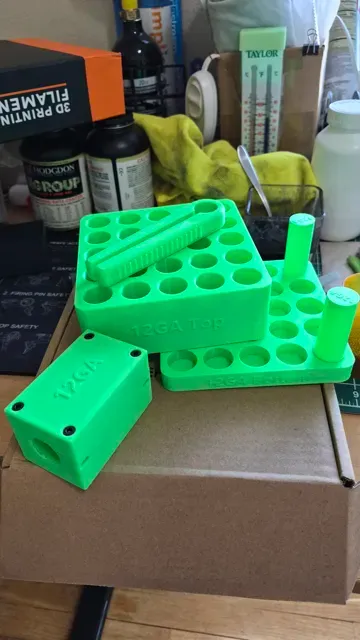
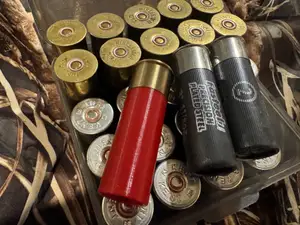
Kit for making 12 gauge wax slugs. You provide the melted wax and the hardware. Turn shot shells into slugs. Look it up on YouTube.
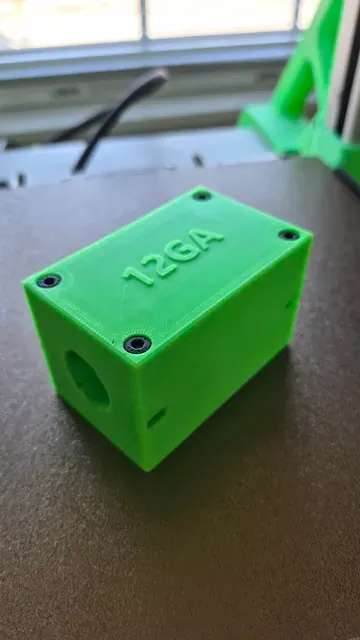
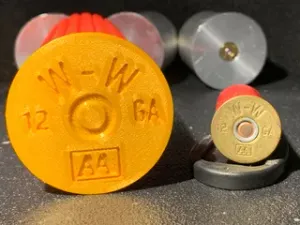
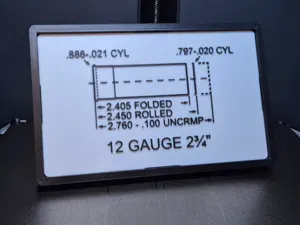
The cutting block uses 1 standard utility knife blade, 4 socket head 4mm bolts 25mm to 30mm in length, and 4 standard 4mm nuts. I printed everything in Elegoo PLA+ with 6 walls and 10 to 25 percent Gyroid infill depending on the piece. Altogether, it was less than 800 grams of filament.
Place the utility blade in the inset in the lower block half, add the nuts into the capture slots on the sides and secure the upper half to the lower half with the bolts.
- Add a drop of superglue to the center of the crimp. This will hold the crimp together after it's cut from the shell and let you use it to cap off the slug.
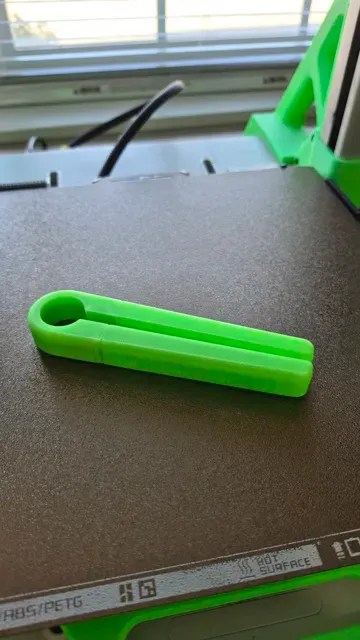
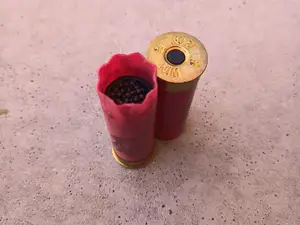
- Use the clamp to hold the shell. Slide it into the cutting block as you rotate the block. Spin the block as you press the shell in for the cleanest cut.
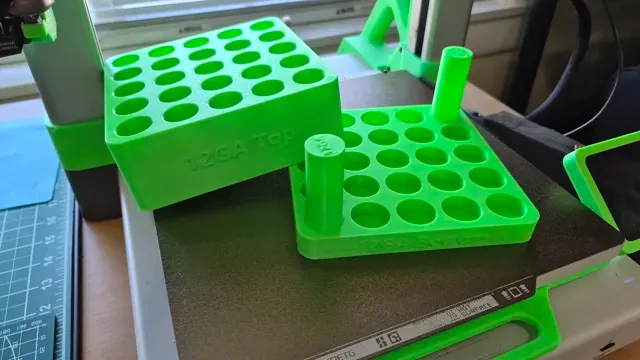
- Empty the shot into a container and place the opened shell into the frame.
- Mix the shot with your choice of melted wax. I use crayons. They melt at about 100 deg F and set up pretty hard.
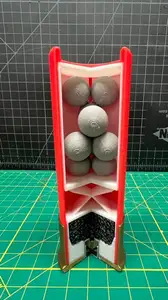
- Fill the opened shell to the level of the bottom of the remaining roll crimp.
- Place the removed portion of the shell back on top of the shell and press it into the hot wax.
- Once it's cooled off, I add a couple dabs of gel superglue to the edges to ensure the cap stays in place. "I" designed this kit with the extensive use of Claude and FreeCAD. I told it what I wanted in as specific terms as I could and Claude gave me the python scripts to run as macros in FreeCAD. There was a surprisingly minimal amount of back and forth. My descriptions were based on what I saw after watching every YouTube video on wax slugs that I could find. The 20GA bushing and loading block was an after thought. I don't have any real 20GA shells to test it so I used a dummy round from Thingiverse. Use At Your Own Risk. The step file for the bushing was Claude's design. I found it went in around the blade tip easier if I just lopped of the top part so that's the .stl file. If you try it, let me know.




Names are used only to indicate the source of a result. Polyzon is not affiliated with the listed sites.