
Free 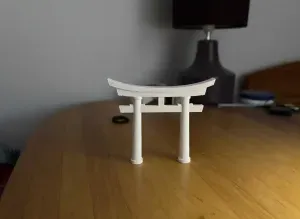
Miniature Japanese Torii Gate
Creality Cloud
Model
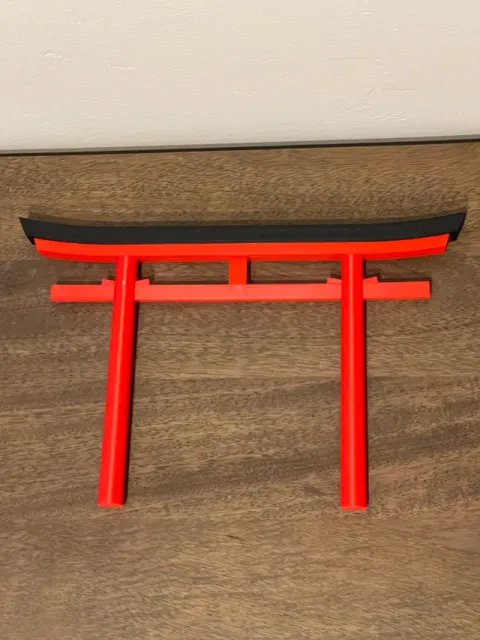
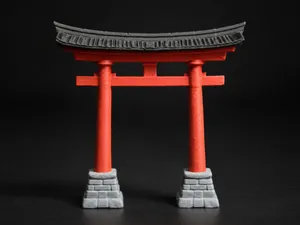
This is my model of a traditional Myojin style Torii Gate. They are found all over Japan (and other countries) at Shinto shrines and represent a gate between the mundane and the sacred.
Profiles
I have print profiles for torii gates with 75, 100, 125, and 150mm openings. These come out to roughly 4, 5.5, 7, and 8.5 inches tall with the largest one almost maxing out the print bed. On the larger two prints, the hashira are printed on separate plates as they tend to have artifacts at the layers where the other parts are being finished. They can definitely be printed together but printing them separate gives the cleanest results.
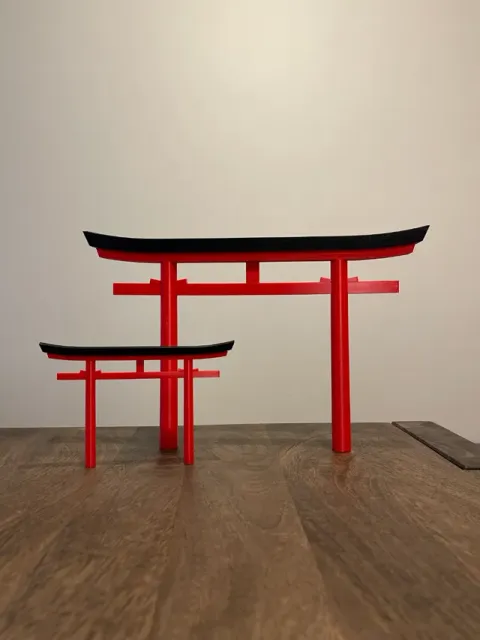
The cover photo is of the smalles and largest profiles.
Assembly
This model is intended to showcase the traditional Japanese joinery used to to assemble the gates without and adhesives or fasteners.
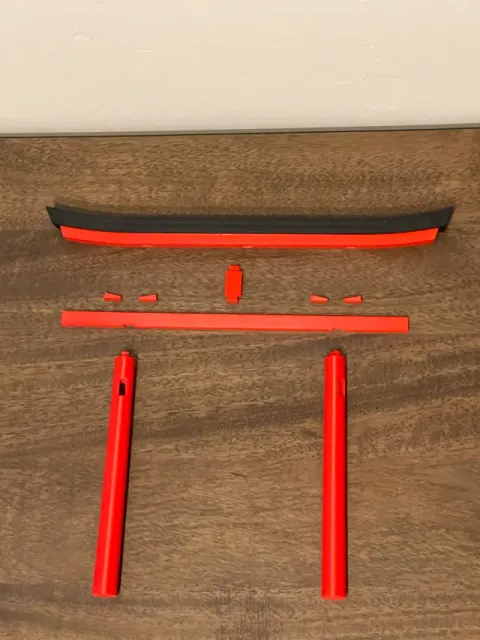
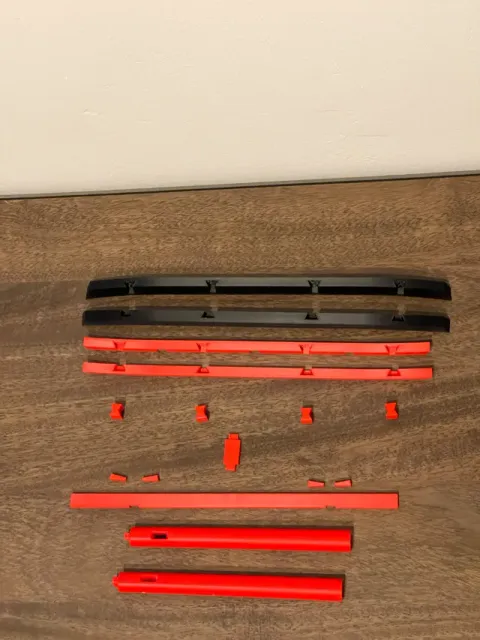
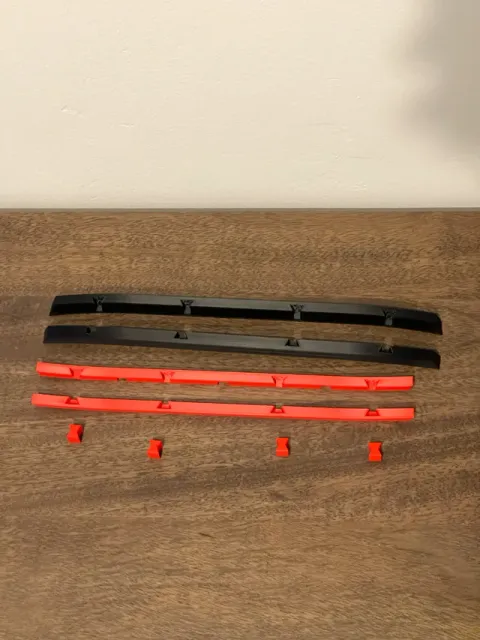
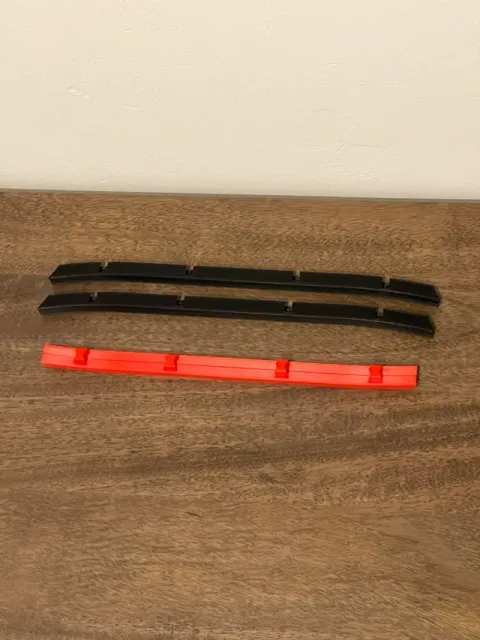
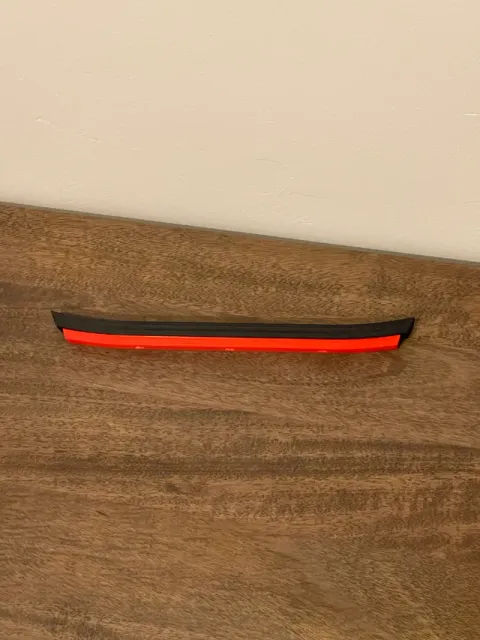
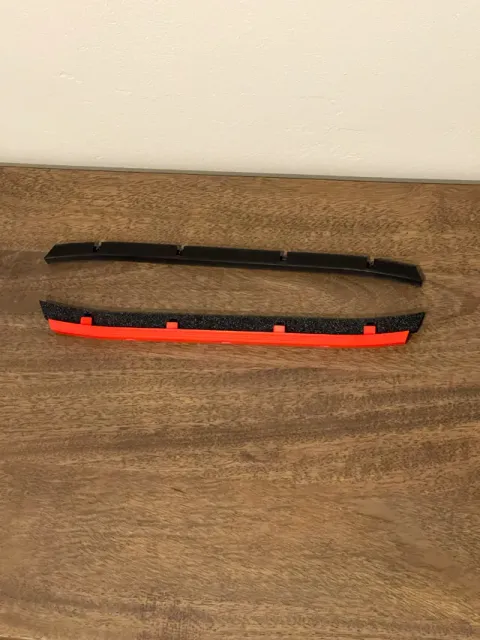
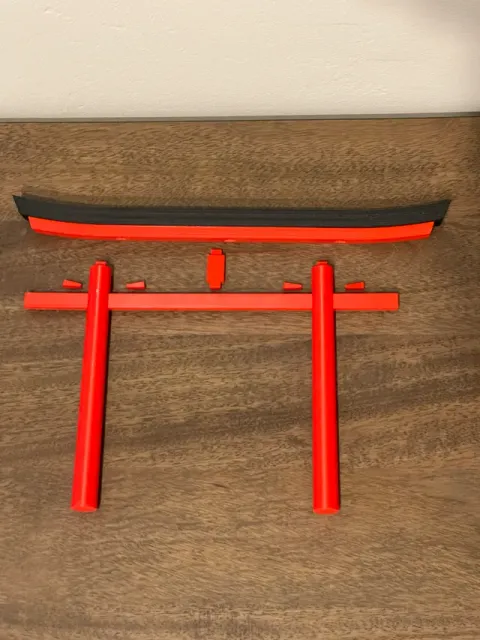
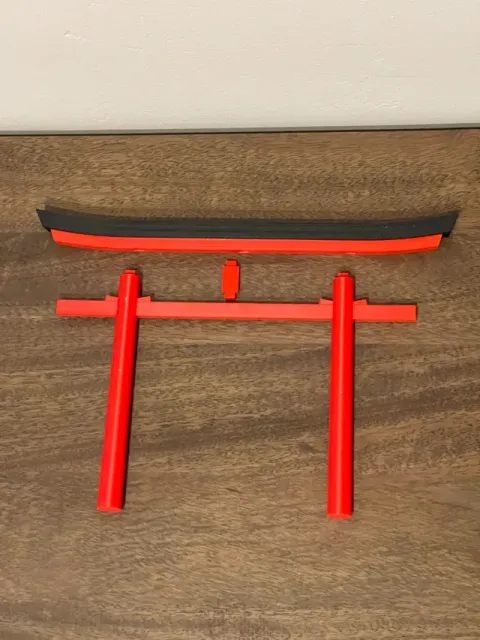
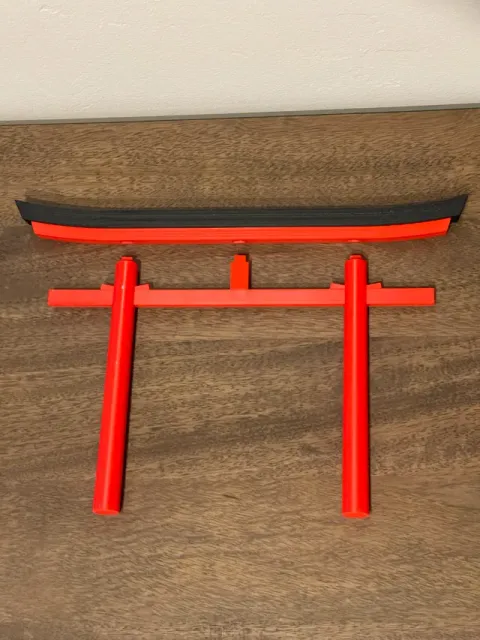
The upper part of a torii gate is made of the kasagi (black) and shimaki (red). These are printed separately and are each split in half and joined afterwards for the best quality print. The easiest way to assemble the top part is to put the two shimaki pieces by placing the faces that were on the print bed together. Then you can push the bowties into each of the slots. They can take a little wiggling but should snap in nicely. Then you can push the two kasagi pieces on top one at a time.
The next step is to join the 2 hashira (red posts) and the nuki (red rectangular cross piece). Gotcha : The hashira are not symmetrical and need to be oriented properly. They each have one side that is vertical and the other side is slightly angled in creating the subtle taper. The right angle should be towards the inside. When fully assembled, the center area between the nuki, the ground and the two hashira is a perfect square. If either of the hashira are angled in, you just need to slide it off, rotate it 180 degrees and slide it back on. In the gap of the hashira, there is a notch that lines up with the cutout in the nuki. Once aligned, the nuki can be pressed down opening up a gap above the nuki for the kusabi (wedges) to lock it all together.
The nuki can be a little tricky to wedge in and a pair of pliers or something hard can help to push them in. The kusabi should be oriented as they were printed with the face that was on the print bed on top of the nuki. The edge of the kusabi creates a nice angle with the nuki. If they are upside down, this will be a right angle.
The gakuzuka can simple be pressed into the top of the nuki. A little bit of cleanup may be needed from the supports. And you don't need to force it all the way in as it is much easier to press together once the top is on.
Finally the top and the bottom parts can be pressed together by aligning the mortise and tenons. If they do not line up, you might have one or both of the hashira backwards. The wedges can be pretty easilly removed just by wiggling back and forth. And as a testament to the effectiveness of the Japanese joinery, the torii gate is surprisingly rigid.
Challenge
Print hundreds and create a fushimi inari !
torii gate small Small torii gate with 100mm opening standing about 5.5 inches tall. The two torii gates in the picture are 75mm (4.25 in) and 150 (8.5 in).
Supports are not needed for the long parts as there is clearance for any inconsistencies with bridging and supports really didn't seem to make a difference.
The two hashira (vertical posts) can be moved to a separate plate for better results but its not as noticable on the smaller torii gates.
A small layer height is used (necessary) because of the shallow angles of the top parts as well as the wedges. Bigger layers are very obvious and make the wedges much harder to insert.
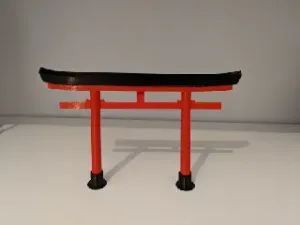
torii gate mini Mini torii gate with 75mm opening standing about 4.25 inches tall. This is the smaller of the torii gates in the picture.
Supports are not needed for the long parts as there is clearance for any inconsistencies with bridging and supports really didn't seem to make a difference.
The two hashira (vertical posts) can be moved to a separate plate for a better finish but its not as noticable on the smaller torii gates.
A small layer height is used (necessary, especially on the tiny one) because of the shallow angles of the top parts as well as the wedges. Bigger layers are very obvious and make the wedges much harder to insert.
torii gate medium Medium torii gate with 125mm opening standing about 7 inches tall. The two torii gates in the picture are 75mm (4.25 in) and 150 (8.5 in).
Supports are not needed for the long parts as there is clearance for any inconsistencies with bridging and supports really didn't seem to make a difference.
The two hashira (vertical posts) are on a separate plate for a better finish but its not as noticable on the smaller torii gates.
A small layer height is used (necessary) because of the shallow angles of the top parts as well as the wedges. Bigger layers are very obvious especially on the upper parts and make the wedges much harder to insert.
torii gate large Large torii gate with 150mm opening standing about 8.5 inches tall. This is the larger of the two torii gates in the picture and is about as big as you can print.
You will need to print the 3rd plate twice. You can technically fit two on there but its a bit too close for my comfort and it prints on top of the waste line.
Supports are not needed for the long parts as there is clearance for any inconsistencies with bridging and supports really didn't seem to make a difference.
The two hashira (vertical posts) are on a separate plate for better a more consistent finish but its not as noticable on the smaller torii gates.
A small layer height is used (necessary) because of the shallow angles of the top parts as well as the wedges. Bigger layers are very obvious on the top parts and make the wedges much harder to insert.
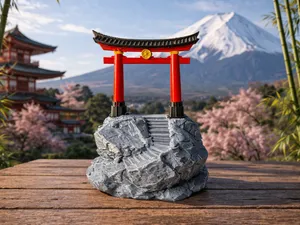
Simple base for the "small" version of the torii gate 0.16mm layer, 2 walls, 15% infill
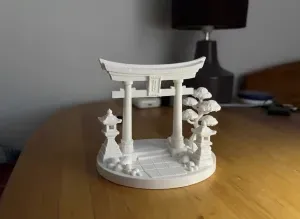
This is my second base made for the “Small” version of the Torii gate.
It's an improved version of my first one since it features a stone texture on the base, with a small path running in between, and a bit tighter tolerances on the holes.
Hope you like it!
Simple base for the "mini" version of the torii gate 0.16mm layer, 2 walls, 15% infill
Colorized the base with Concrete Gray and added a bit of fuzzy skin to both the base and the black supports that improve the look and feel.
This is my first upload, so I hope the tolerances in the holes are good.
I printed it twice in an A1 and the fit was just right.




Names are used only to indicate the source of a result. Polyzon is not affiliated with the listed sites.