
Free 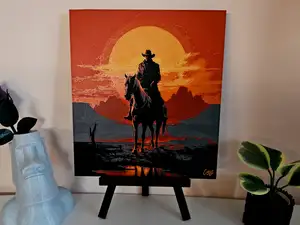
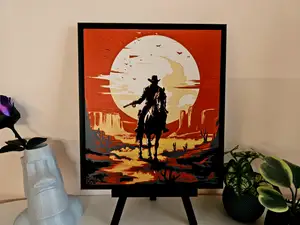
Red Dead Redemption - HueForge
MakerWorld
If you want to sell prints of this model, as well as all of my models - future and past Subscribe to My Patreon :
Or Subscribe for a commercial License Directly in Maker World:
Membership C3D Commercial Membership - Authorized Merchant
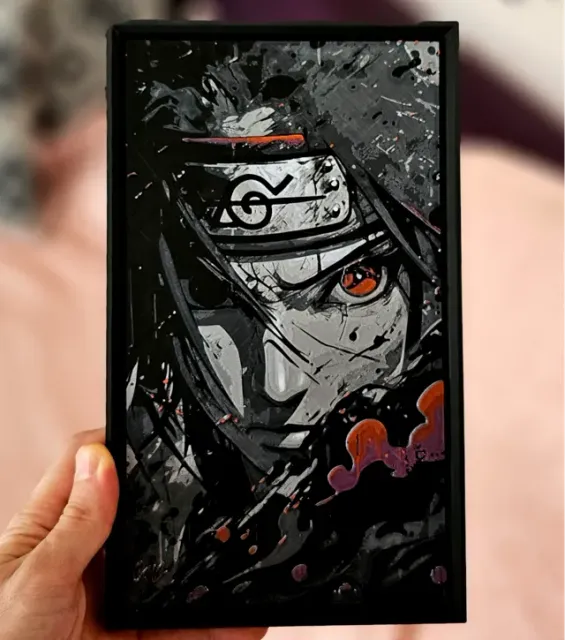
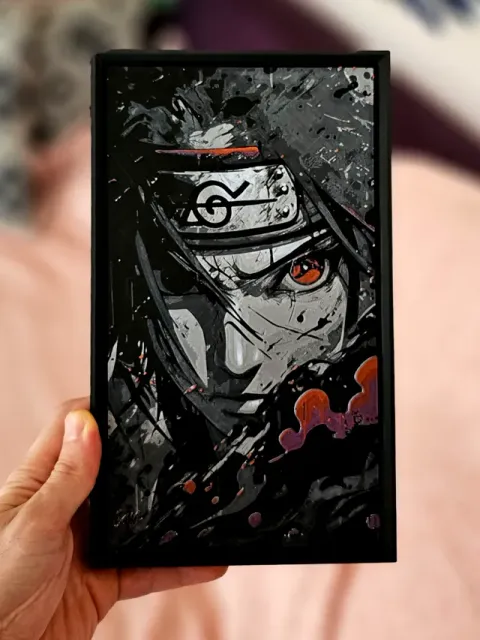
A Filament Paiting on Itachi Uchiha from Naruto
Print at 100% infill with a layer height of 0.08mm with a base layer of 0.16mm Filaments Used:
- PLA KINGROON Black Transmission Distance: 0.4 - PLA Jayo Gray Transmission Distance: 3.5 - PLA KINGROON Silver Transmission Distance: 2.5 - PLA KINGROON White Transmission Distance: 5 - PLA+ EryOne Magenta Transmission Distance: 2 - PLA KINGROON Red Transmission Distance: 4 Swap Instructions: Start with Black At layer #13 (1.12mm) swap to Dark Gray At layer #15 (1.28mm) swap to Silver/Gray At layer #19 (1.6mm) swap to White At layer #24 (2mm) swap to Black At layer #29 (2.4mm) swap to Magenta At layer #30 (2.48mm) swap to Red for the rest.
How to do more than 4 colors on a single AMS?
To use more than 4 colors with a single AMS is pretty simple when it comes to HueForges.
Always start the print from either Bambu Studio or Bambu Handy App - This will allow you to map the rolls of filaments to a certain slot in the AMS :
Now map the first 4 colors (which should already be inserted in the AMS to Slots 1 - 2 - 3 - 4 Once thats done move to maping colors 5 - 6 - 7 - 8 to respectively AMS Slots 1 - 2 - 3 - 4 again!
This will allow you to Change the rolls of filament once the printer is done with that color. For example, in the picture above once we are done with the Black color ( Which is usually first) we are going to remove the black roll (you can do that while printing) with White , then once Charcoal Black is done we are going to change that to Red , Dark Gray to Yellow and we are done. ~ You can do that with as many colors as you need!
AMS, A1MINI, 0.08mm layer, 2 walls, 100% infill A1MINI
Standard AMS Profile - use 1 ams unit and map color 5-6-7-8(If applicable) to slots 1-2-3-4 again. Switch rolls after each color is finished - Be mindful some colors might be used twice!
AMS, 0.08mm layer, 2 walls, 100% infill Standard AMS Profile - use 1 ams unit and map color 5-6-7-8(If applicable) to slots 1-2-3-4 again. Switch rolls after each color is finished - Be mindful some colors might be used twice!
You can also use Multiple AMS units with this one!
NO AMS, A1MINI, 0.08mm layer, 2 walls, 100% infill A1MINI
Profile for those without AMS - There is a pause for each color change.
The Colors and their sequence is in the description.
NO AMS, 0.08mm layer, 2 walls, 100% infill Profile for those without AMS - There is a pause for each color change.
The Colors and their sequence is in the description.


Names are used only to indicate the source of a result. Polyzon is not affiliated with the listed sites.
Comments