
Free 
Bambu Labs X1 & P1 Spare Parts Case (Version 4.0)
MakerWorld
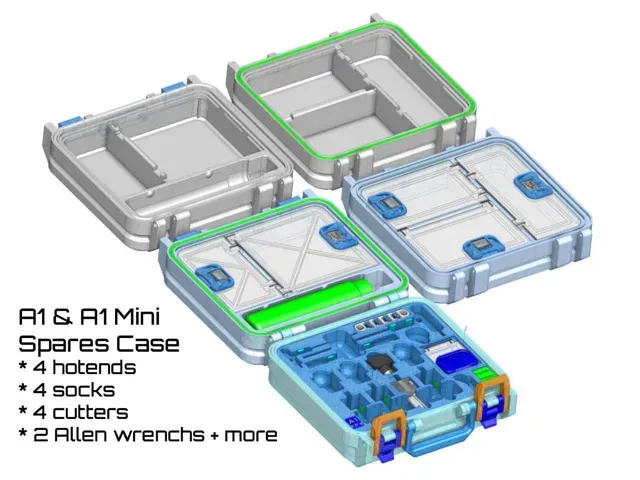
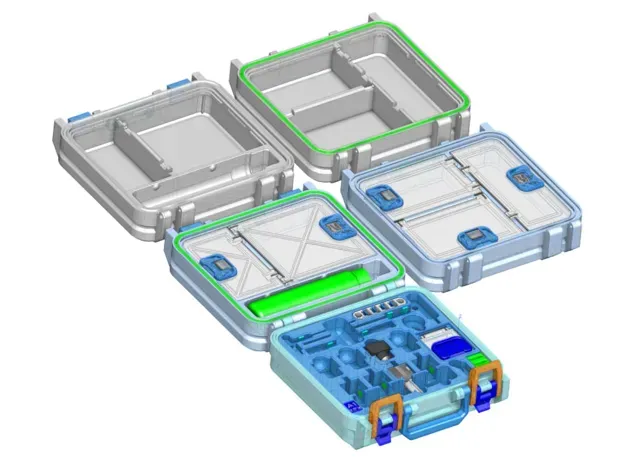
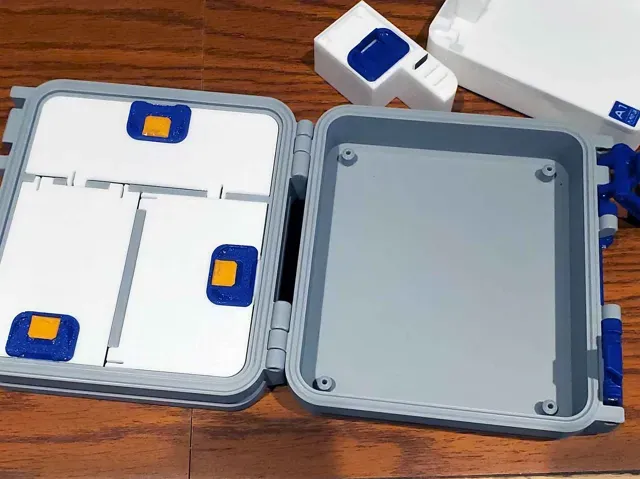
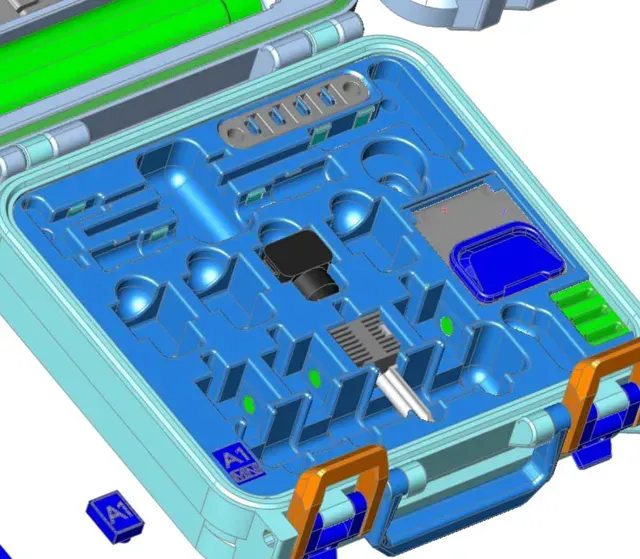
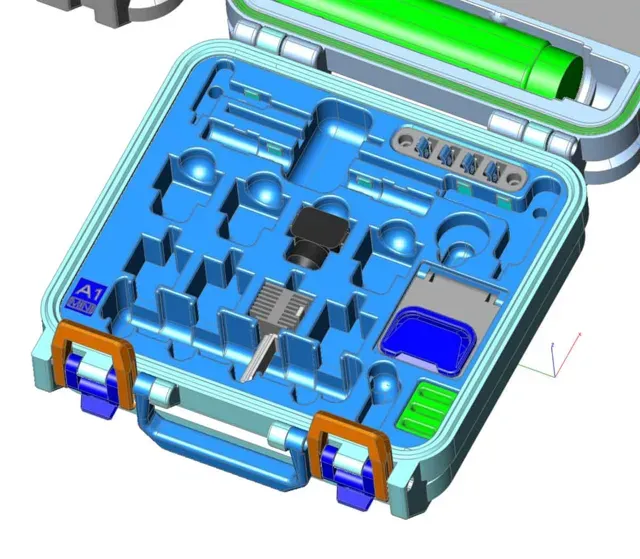
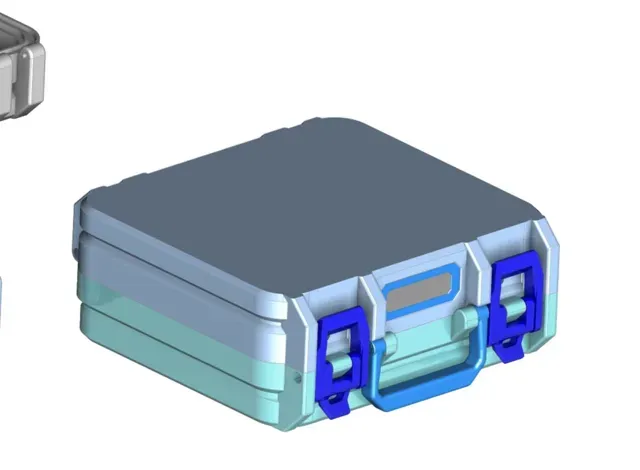
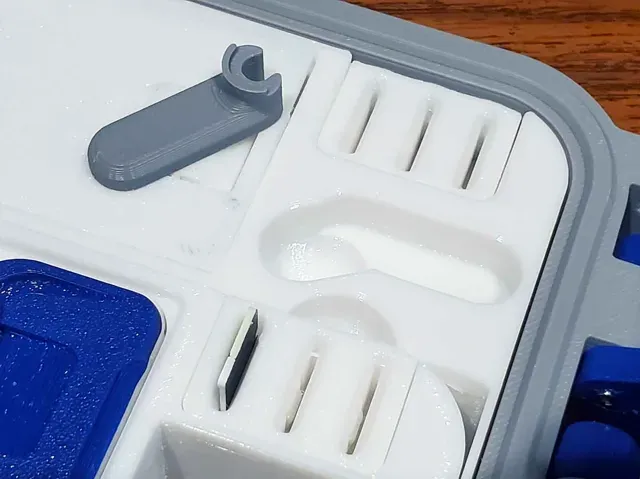
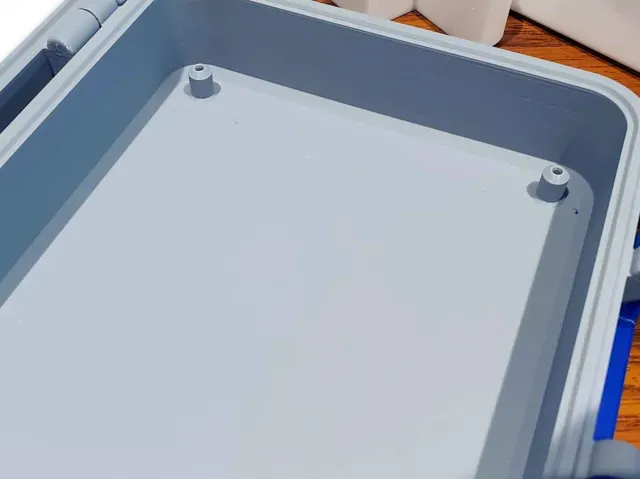
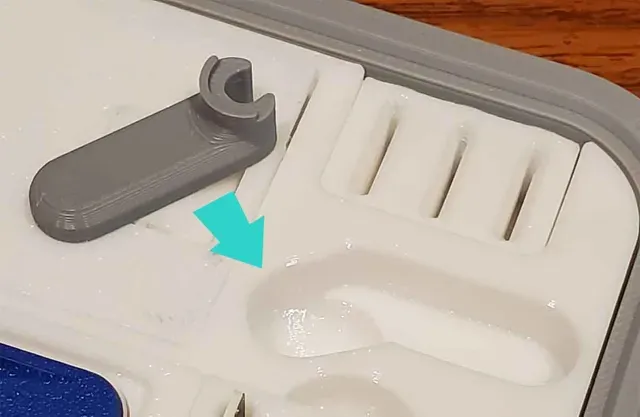
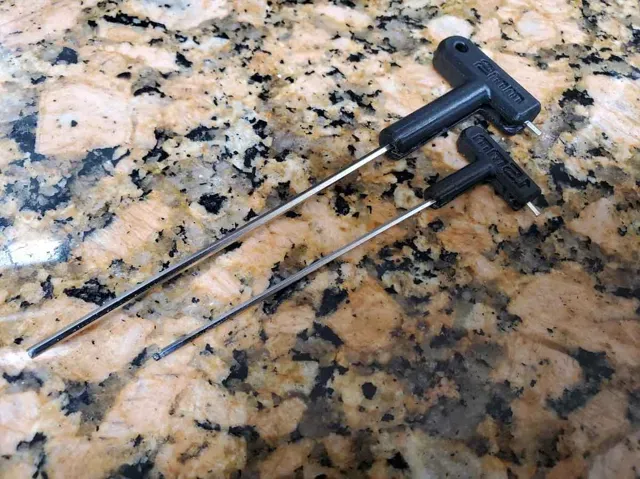
Update 4/30/2025: I've heard that Bambu changed the Allen keys, which they send with the spares for the A1 and A1 mini (the new type are just plain Allen keys without the gray molded plastic handles). To help folks with the newer A1/A1 mini spares kits (which have basic Allen keys), I've added some handles for standard 1.5mm and 2mm Allen keys (shown in green in the pic below). The new handles are fully backwards compatible with all versions of this case.
The new (optional) Allen key handles are available on the current v1.6 profile ( a1_spares_case_Ver1-6_rev9G.3mf ). The Allen key handles are on separate plates with a 2 color option.
Description:
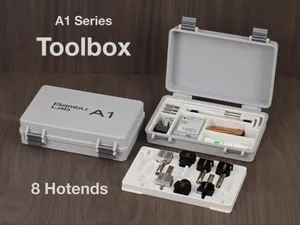
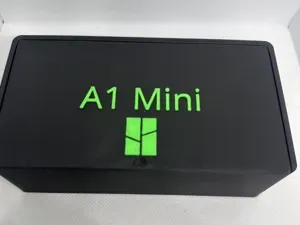
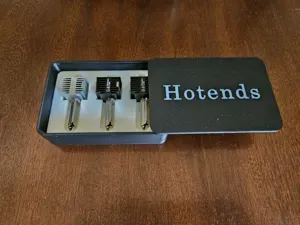
This is a remix of my Mini Box For Stuff (basic) , and is designed to hold the spare parts and a few hot ends for a Bambu A1 or A1 Mini printer. Much of this design is based on my X1C/P1P/P1S spares case , and uses a few elements from that design.
Thanks especially to the following awesome users here, who helped to test the tool holders for me, and provided great feedback to improve the design:
- Mici for helping to test some of the first prototype holders, and providing detailed feedback. - Net7 who posted the first make of the first iteration of the tool holder module and provided great feedback. - Momor who posted a make, and very helpful feedback, including accurate dimensions which were key to getting some of the parts holders dialed in. - Also thanks to PewPew1374, who offered to help with testing the prototype holders.
Please note that I don't own an A1 or A1 Mini, so I do not have any of the spares this case is designed to hold. To design this case, I grabbed dimensions from other A1 parts holders (credited below), and also received some feedback from the community on prototypes for the holders. Additionally, I test printed the the parts for the case, and several of the holders, which I could test (some of these test parts are shown in the pics). The design has also been successfully printed several times by users here and over at Printables (with just a few small changes since then), so this design has been proven to work. Thanks again to the great feedback here and on Printables, I feel this design is completed (but feedback is welcome).
This case is designed to fit on a Bambu A1 MINI or Prusa Mini size printer with a 180x180mm bed. I don't own an A1 Mini, but I did confirm that this design slices correctly using an A1 Mini profile, which is included. There have been prints of this case from A1 Mini users as well - see the comments.
To help with assembly, I have some instructions on my website which are not specific to this basic case, but the instructions still cover important parts of the assembly, such as how to assemble the latches and hinges.
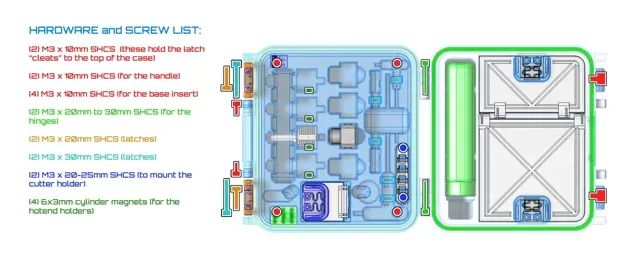
The Bill Of Materials needed to assemble this is below:
(2) M3 x 10mm SHCS (these hold the latch “cleats” to the top of the case) (2) M3 x 10mm SHCS (for the handle) (4) M3 x 10mm SHCS (for the base insert) (2) M3 x 20mm to 30mm SHCS (for the hinges) (2) M3 x 20mm SHCS (latches) (2) M3 x 30mm SHCS (latches) (2) M3 x 20-25mm SHCS (to mount the wiper holder) (4) 6x3mm cylinder magnets (for the hot end holders) SHCS = Socket Head Cap Screws
A larger version of the pic above can be found on my blog .
Printing:
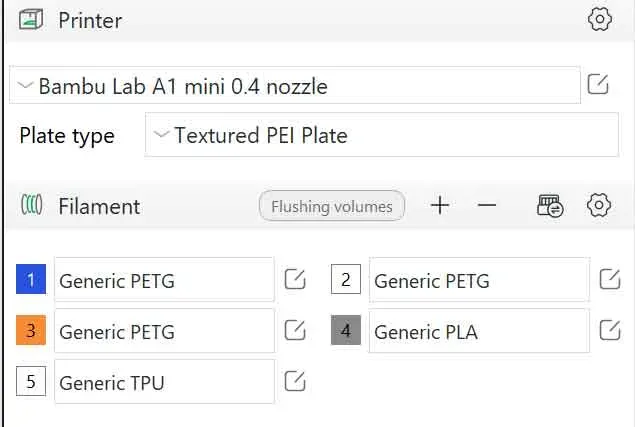
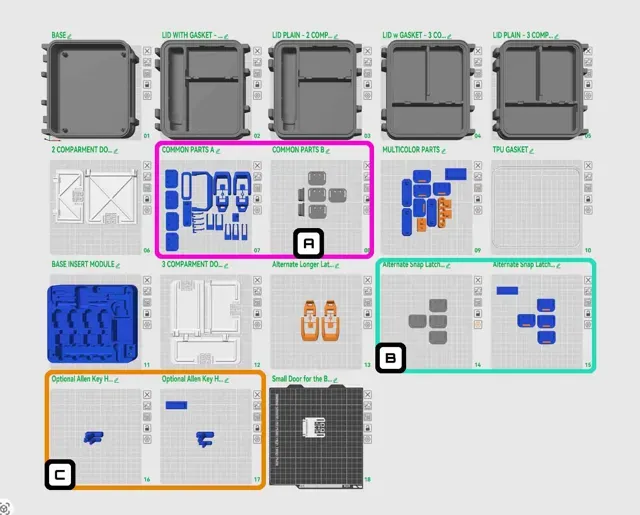
These models are designed to print without any supports. Instead of the individual STL's, I have included 12 plate 3MF, which was created using Bambu Studio and is set up for a Bambu A1 Mini with a textured PEI plate and 0.4mm nozzle, with the following settings:
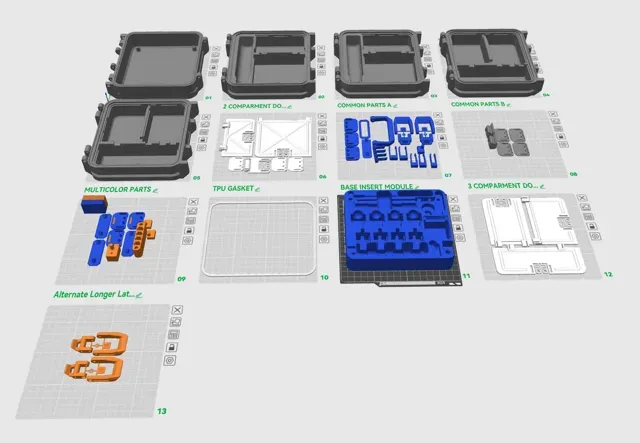
- 3 walls - Arachne Wall Generator - 15% rectilinear infill on most parts (latch parts have 100% infill) - Brims on the large case parts only In the above image of the 3mf profile, the following should be noted:
- The pink box with the letter “A” circles the “common parts”. If you want to use multicolor parts, the alternative latches with tabs that snap closed, the multcolor latches, or the tighter U shaped latch parts, then many of the parts on the “common parts” plates which are circled in pink, will be duplicated. So if you intend to use any of the alternate parts, remove them from the common parts plates so you don't end up with more parts than is required.
- The light blue box with the letter “B” circles the alternate latches with a snap closed tab. There is a single color and multicolor plate option, but both function the same way. These latches have a catch which holds the tabs closed, so they don't flop around when inverted. They are a bit stiffer however, so they are optional. If you use them, be sure to remove the duplicated parts from the common parts plates circled in pink (with the letter “A”).
- The orange box with the letter “C” circles the optional Allen Key handles. These are designed for basic Allen keys which do not have handles, and seem to be shipped in newer kits. These are a bit difficult to install, since they need to be tight (see the build instructions below for more info). There is a single color and a multicolor plate available for these handles.
- Plate 18 (the last plate) has the small door which is needed for the base insert module of the kit, so this plate is required.
- Depending on which lid option you use, you will need either 3 or 4 total bin latches. The plates are set up for 4 bin latches, so if you print the lid which has only 2 bins (and the glue bottle holder), you can remove one of the bin latches (since you only need 3 total).
The profile is set up with the following materials and colors (I'm sure the colors could be better, I used what I had on hand):
If you want to change the profile for a different printer, you can change the printer and nozzle size here:
The profile includes a multicolor plate and a TPU gasket plate. If using the TPU plate, I recommend using a smooth plate if possible, with some glue as a release agent, since TPU can really stick to PEI textured plates. Remove any parts from the included profile, which you do not intend to use.
Just a note on the TPU “gasket”. It is not going to be water tight, there are too many variables that can affect that. The gasket can be installed using the end of a regular size sharpie to press it into place.
A couple of A1 and A1 Mini labels are included, as well as a blank label, which you can customize in the slicer (on the Multicolor plate). It is possible to use a 0.4mm nozzle to print the labels, however (and especially if making the A1 MINI label for the inside of the case), a 0.2mm nozzle should yield a better result. The pic below shows the inner case “A1 MINI” label, printed with a 0.4mm nozzle, which is readable, but a 0.2mm nozzle should be clearer.
There is less of an issue with the labels if printing the “A1” labels, since those features are larger, and will print better with a 0.4mm nozzle.
Also included is a label designed to be used with 12mm Brother P-Touch Labels (for the outside of the case).
Assembly info:
I recommend wearing eye protection to assemble this, since there are some parts (such as the doors) need to snap in place.
The latches, labels and other case parts go together similar to the case described here . The latches are left and right side specific, and for this model, they are arranged on printed sprues with a “R” and “L” to help keep things in order. Use a side cutter to remove the sprues from the parts before assembly. The latches use a 20mm and 30mm SHCS. The 20mm screw is installed last, and there is an access hole in the side of the base of the case to assist with installing the 20mm screw. A longer latch (bambu_a1_toolbox_8e_taller_latches-l-r.stl) is included on plate 13, in case the original latch is too tight. The longer latch is also included in the 3mf profile. If the latches seem too tight and you are concerned they may break the case, please stop and post a comment, and I will assist. Please do not force the latches shut.
The cleats which the latches pull on, are located on the lid. These parts are identical, and two are needed. The cleats slide into position and are then held with M3x10mm SHCS screws. If you find that the cleats are too tight to slide into position, you can sand the ears which ride in the dovetail grooves on the lid. Do not force the cleats into the slot, and if you have a problem with the latch cleats, please post in the comments.
The hinges for this case can use (2) 20-30mm SHCS screws, which simply install from the outside of the case, and go towards the center.
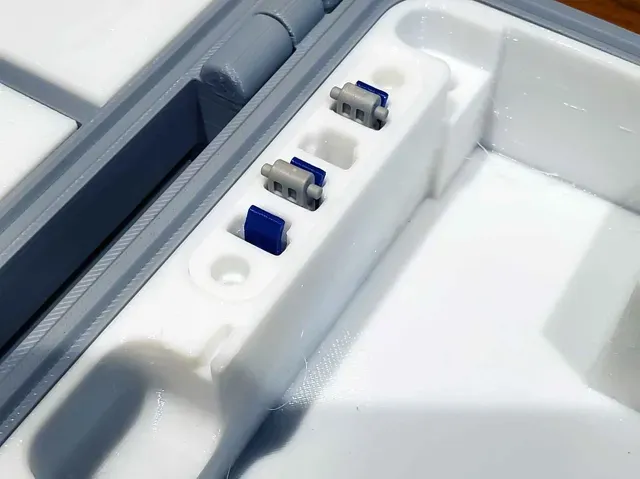
There are several clips, which install into the parts holder module. These clips are marked with dots which correspond to their location in the parts holder module:
- 1 dot for the small hex wrench clip (1) - 2 dots for the large hex wrench clip (2) - 3 dots for the needle tube clip (2) The clips don't need any particular orientation, or glue, but they do need to go in the right places. You can match up the dots on the clips with the dots on the underside of the tools insert to see which holes they go into:
The dots may be hard to see when using a textured plate, but they should be easily visible on the bases of the clips:
Finally. before installing the parts holder module, the four 6x3 cylinder magnets should be installed. These are optional, and should help to hold the hotends in place. Polarity needs to be observed on these magnets , since they need to connect with the spare hotends to help hold them in place. The magnets install in the side of the hotend holders, using some superglue.
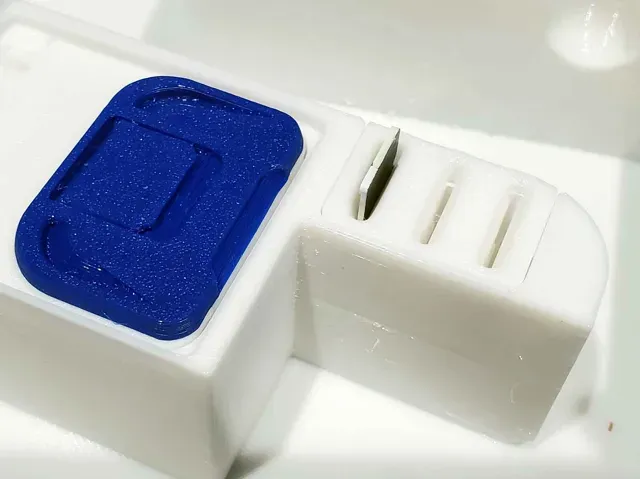
The parts insert for this design installs into the base of the case with (4) M3x10mm SHCS screws. There are covers for the lower left and lower right screws, which install after the insert is mounted. The lower left screw cover is either a blank block with a post, or one with a label which says “A1” or “A1 MINI”. The lower right screw cover is the MicroSD card holder. Both covers simply press in place, no glue should be needed (they are a friction fit). If they do not go in, you can lightly sand the posts to help with installation.
The cutter holder installs with (2) M3x20-25mm SHCS screws (see step 5 here for more info). Prior to installing the cutter holder, make sure to install the 4 plastic tabs, which will only install one way. These tabs keep the cutters from falling out.
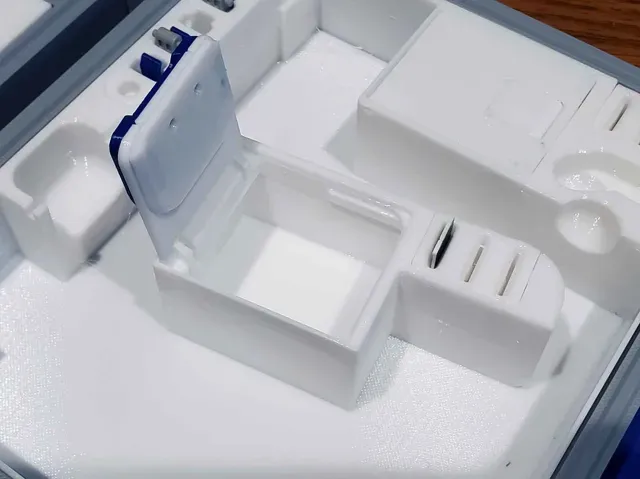
The doors in the case will also need to be installed. The doors have a top and bottom latch, which sandwich over the door. The top latch has a tab, and can either be printed in one color or two colors, but in both cases, the tabs are printed in place. Pop the tab loose prior to installing the latches using a spudger tool, or thin screwdriver. There is an alternate snap (tab) latch available in the 3mf profile if you find the stock tabs are too loose. The latches snap together without any additional hardware needed (see pic)
Once the latches are installed on the doors, check that they operate smoothly. To install the doors, set one side in, then at a low angle (almost closed), push the remaining side in place. A small flat head screwdriver may help to get the tabs seated, but use care (especially if the doors were not printed in PETG).
0.2mm layer, 3 walls, 15% infill This a 18 plate profile set up for an A1 Mini, using a 0.4mm nozzle, and has the following slicer settings:
- 3 walls with 15% rectilinear infill (with infill combination) - Arachne wall generator - No supports - Optional TPU gasket - make sure to use the correct lid which has the proper groove for the gasket - Two lid options (and each option has a gasket option). - Please print the latches in PETG. - There is an a lternative latch clasp on a separate plate (13), which can be used if the stock latch is too tight. If you run into issues with the latch please post in the comments and don't force it to latch. - The latch parts which previously required M3x6mm screws have been replaced with snap together latches which require no additional hardware. Changelog:
11/2/2024: Uploaded profile.
11/10/2024: Updated to ver 1.4 with the following fixes to the base insert “BFS-MINI_A1_toolbox_9E_modular.stl”:
- Repaired small defect in the PTFE tube tool pocket. - Added a fillet to the inside wall of the small compartment to strengthen a weak point in the wall. 12/3/2024: Updated to version 1.5. I added an alternate snap (tab) latch for the doors in the lid of the case. These latches have a very small catch for the tabs, which ads some resistance so the tabs should not flop down (which was a problem mentioned by some makers on another version of a similar case). There is a single color version of the new snap latches, and a mult-color version. Both are included in the included Bambu Studio 3MF profile named “a1_spares_case_Ver1-5_rev9E_w_new_Latch.3mf”. No other models were changed, aside from the new alternate snap tab latches (which are on 2 individual plates for single or two color printing).
04/30/2025: Updated to ver 1.6 with new printable handles for plain Allen keys (new spares kits appear to be using plain Allen keys, without plastic handles). The handles are on their own plate, with a 2 color option.
9/28/2025: Fixed text orientation on the 1.5mm Allen Key on plates 16 and 17 (it was reversed in the prior revision). Current version is a1_spares_case_Ver1-6_rev9H.3mf.
6/7/2026: Reoganized the profile to avoid confusion on which parts are needed for some of the options, and replaced the latch parts with snap together parts (which no longer require the M3x6mm screws).
Updated Snap together slide latches These are new snap together slide latches, which require no extra hardware.
There are two versions of these slide latches. One has a snap closed tab and the other has a tab which does not snap closed.
They can be printed with PLA, PETG or a combination of each. I recommend using PETG for the base, and PLA for the tabs, if using the snap tab version.


Names are used only to indicate the source of a result. Polyzon is not affiliated with the listed sites.