
Free 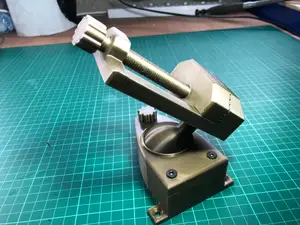
Handy Swivel Vice
MakerWorld
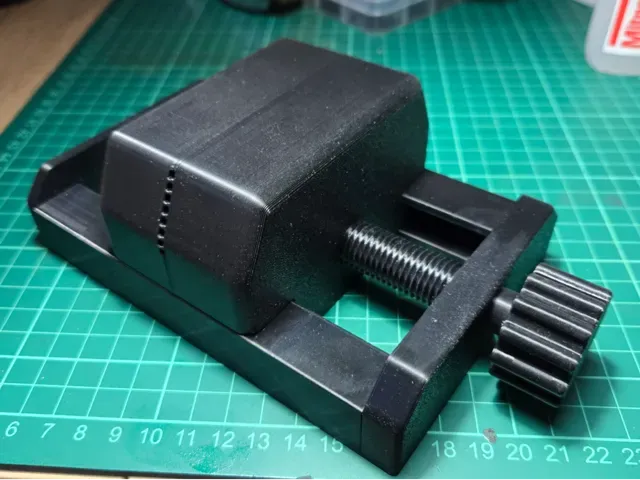
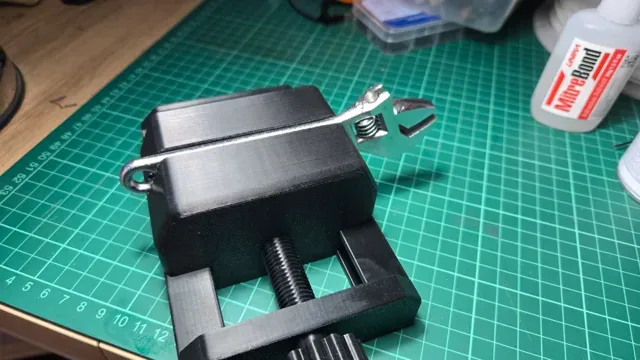
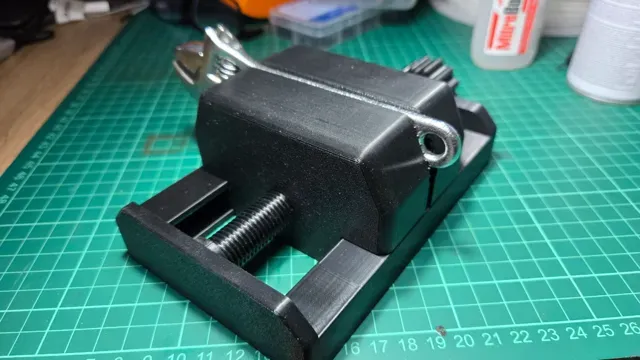
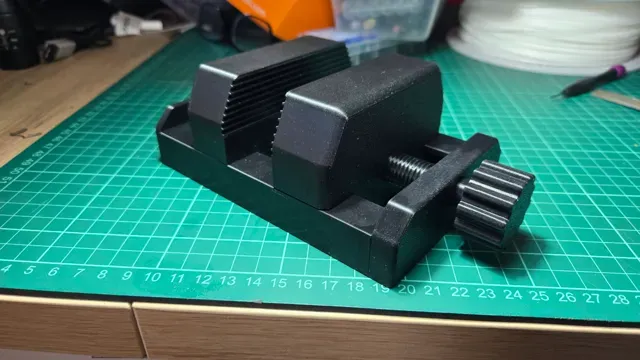
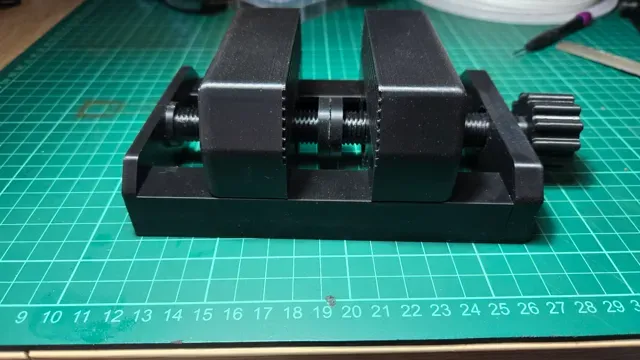
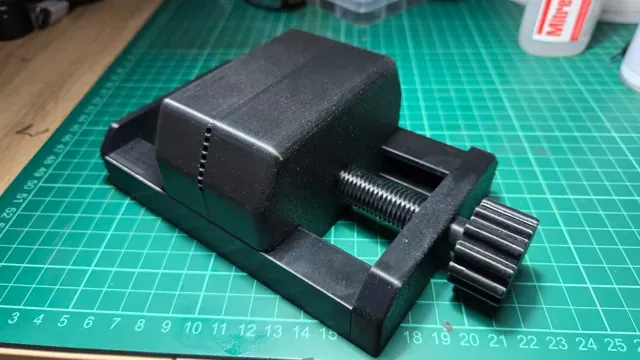
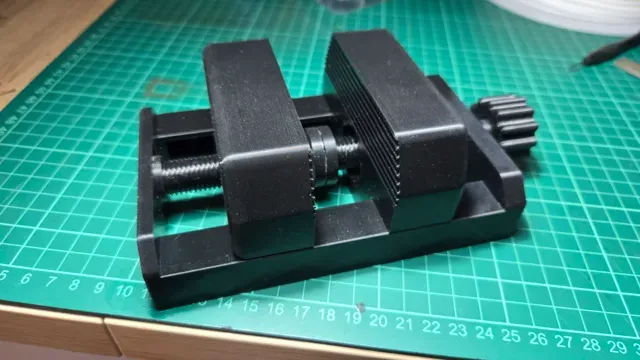
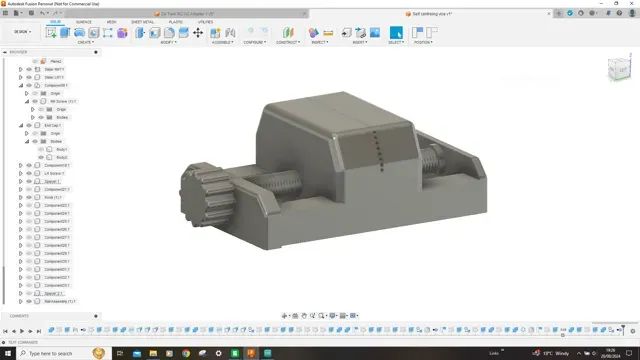
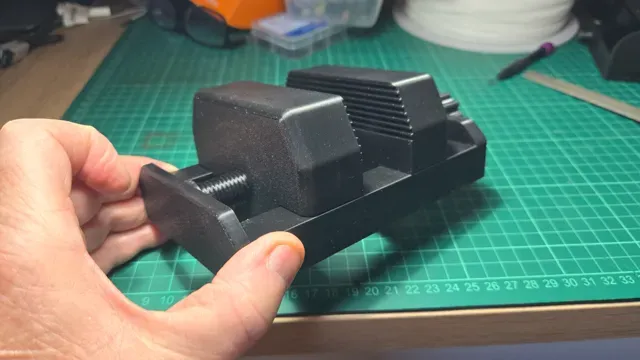
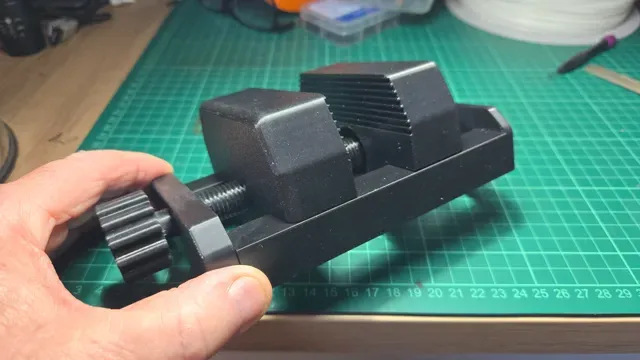
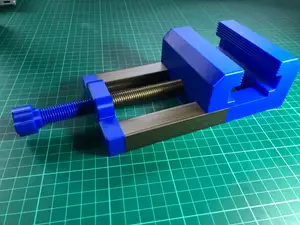
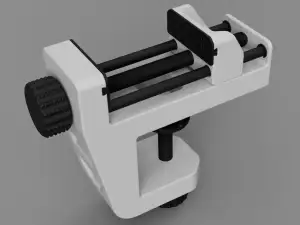
My first attempt at a Self Centering Vise/Vice, I had seen one of these type Vices online and thought it would make an interesting tool to design and make.
It was a bit of a head scratch to start off with, but with some perseverance and will power I got there in the end, the 2 sliders and screws, one side is left handed and so is the thread, the facing slider is the left hand thread and as you turn it anti clockwise it opens the jaws.
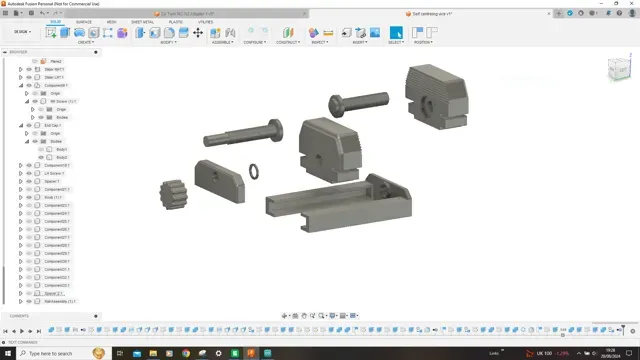
Assembly is as follows, ensure the 2 screw threads joints are clean, file them if necessary, screw each screw into the corresponding slider, the end of the screw fits into the recess on each slider, apply some CA Glue or 2 Part resin to the centers, be careful not to get any glue on the outer edges, with both screws screwed in as far as they can go, push the 2 sliders together and wrap an elastic band around the slider until the glue has dried.
The next part is to push the sliders onto the rails, the threaded screw will fit nicely in the end cap recess, you will have a round 3mm or so spacer, slide this onto the blank side of the facing screw thread and glue this in place where it meets the threads, the next part is to glue the front end cap onto the rails and hold the sides and face plate together until the glue dries.
The final part is to apply some CA Glue to the inner of the turn knob and push it firmly onto the screw shaft.
I used CA Glue to glue everything together and used Activator where I could, 2 part resin glue would be stronger but takes longer to dry.
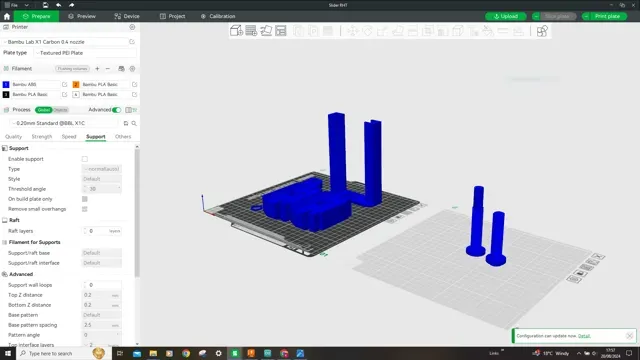
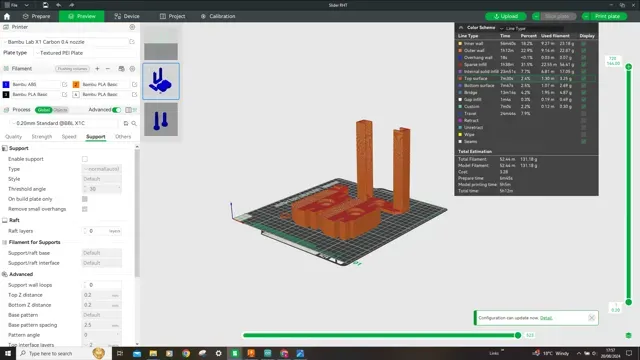
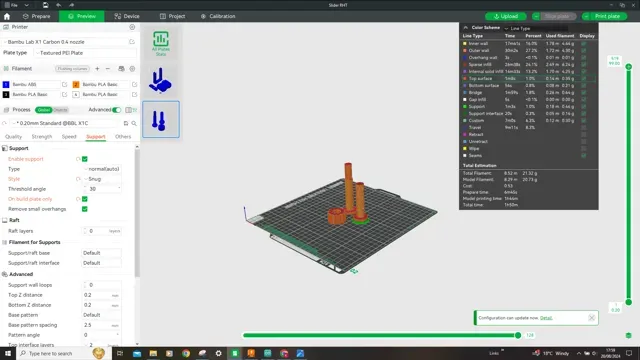
The 2 screw threads need support, I selected the snug option, see the screen shot for part orientation.
I printed with ABS Filament just for the additional strength factor.
A very interesting project to design, certainly gets you thinking.
Thanks for Looking.
0.2mm layer, 2 walls, 15% infill The screw threads need support, I opted for the snug support from build plate up only, I printed these separate to the main components
%2Fhttps%3A%2F%2Ffbi.cults3d.com%2Fuploaders%2F13625460%2Fillustration-file%2F49b83955-9008-4191-b8d5-d7a0850bc8c4%2FoldieViceBanner.png&w=300)
Names are used only to indicate the source of a result. Polyzon is not affiliated with the listed sites.