
Free 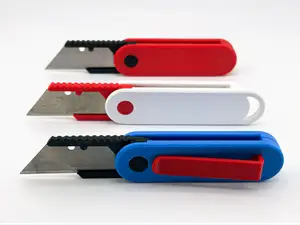
Folding Utility Blade (Version 4.0)
MakerWorld
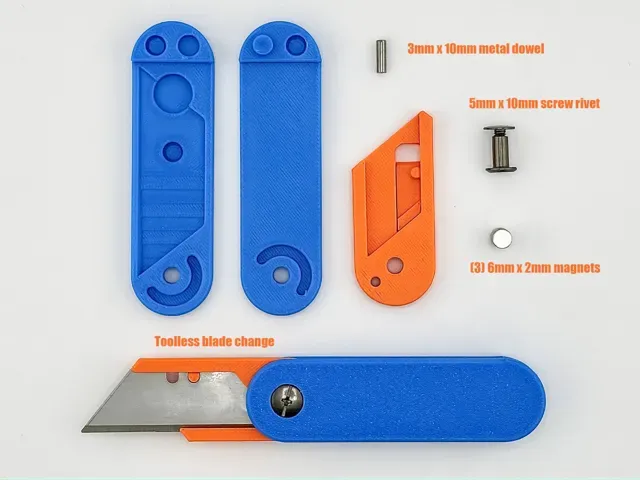
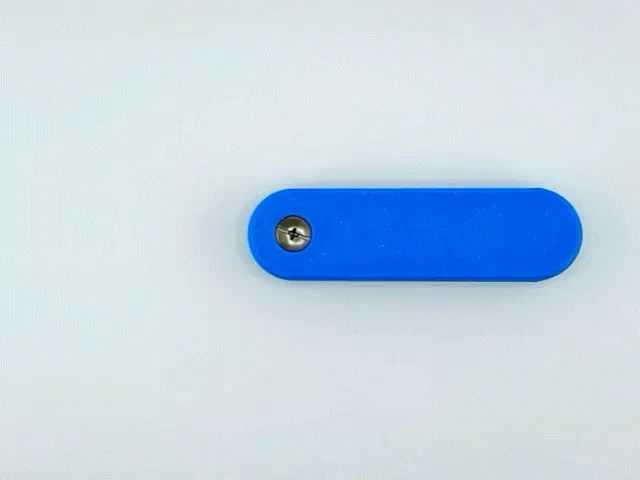
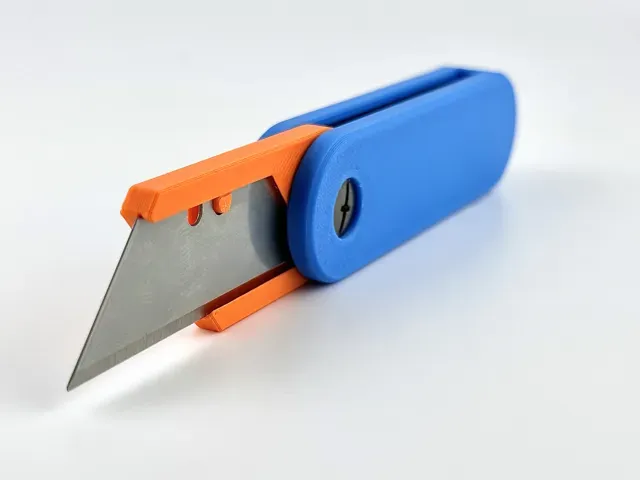
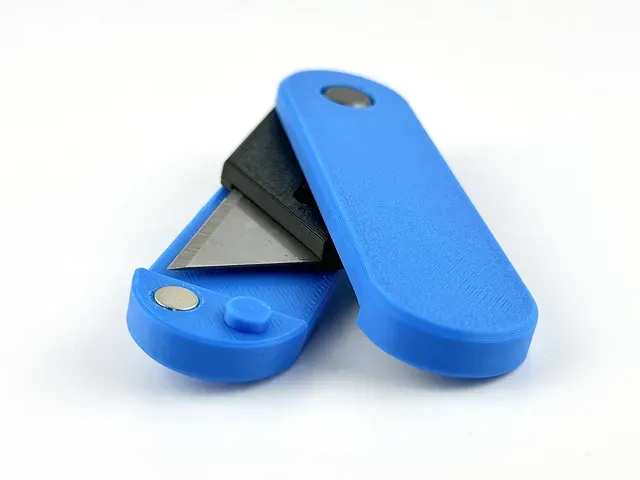
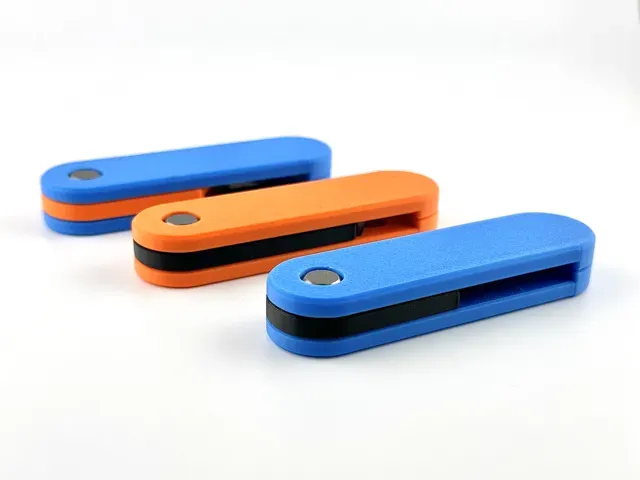
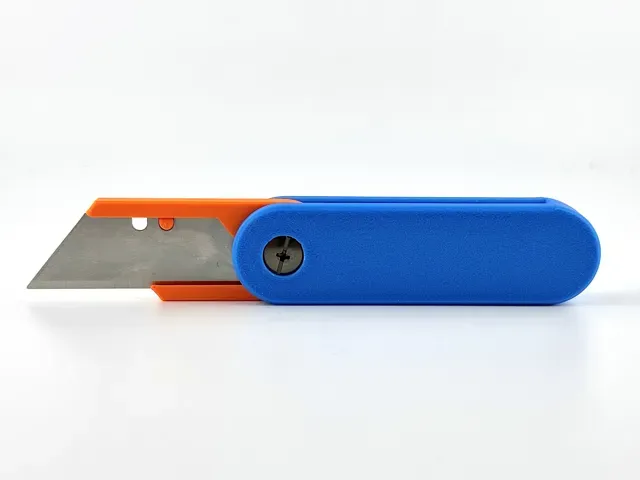
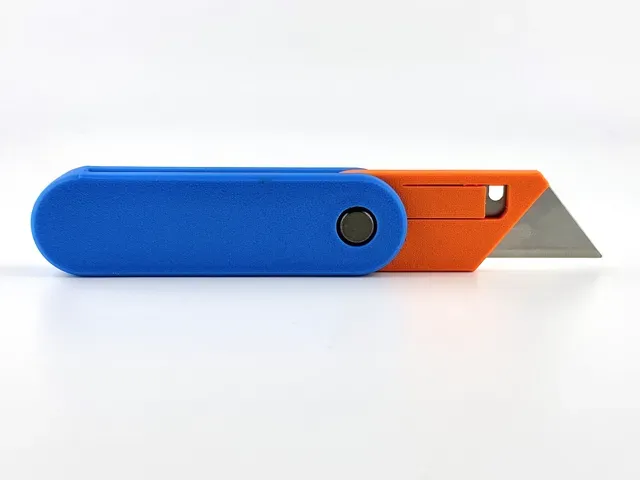
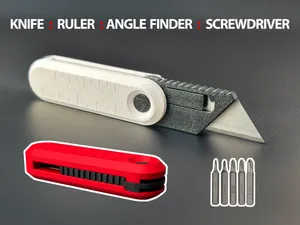
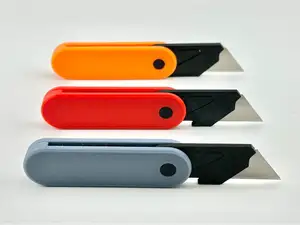
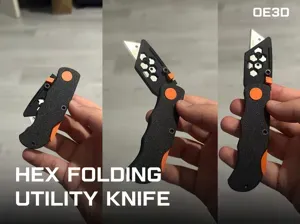
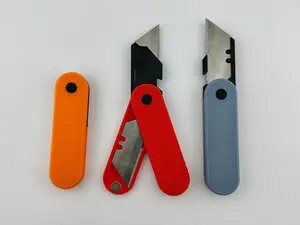
I've had tons of people messaging me hoping for a safer version (with metal parts). Well here it is! This new (and most likely) the last version I will create, has a metal pivot and a metal pin for the 180 degree rotation mechanism. This adds a TON of strength compared to the previous versions. Even though it is much stronger than previous versions, still use for light duty work only - it is still just a plastic, 3d-printed knife after all. Links to the hardware I used below.
I have also eliminated one of the magnets and replaced it with a “locking knob.” The knob locks into a hole, that locks the knife in the closed and open position. The main benefit to this is that when it's closed (and possibly in your pocket), it can't open unless you intensionally pull apart the wings. (see assembly and operational video at the end of the description).
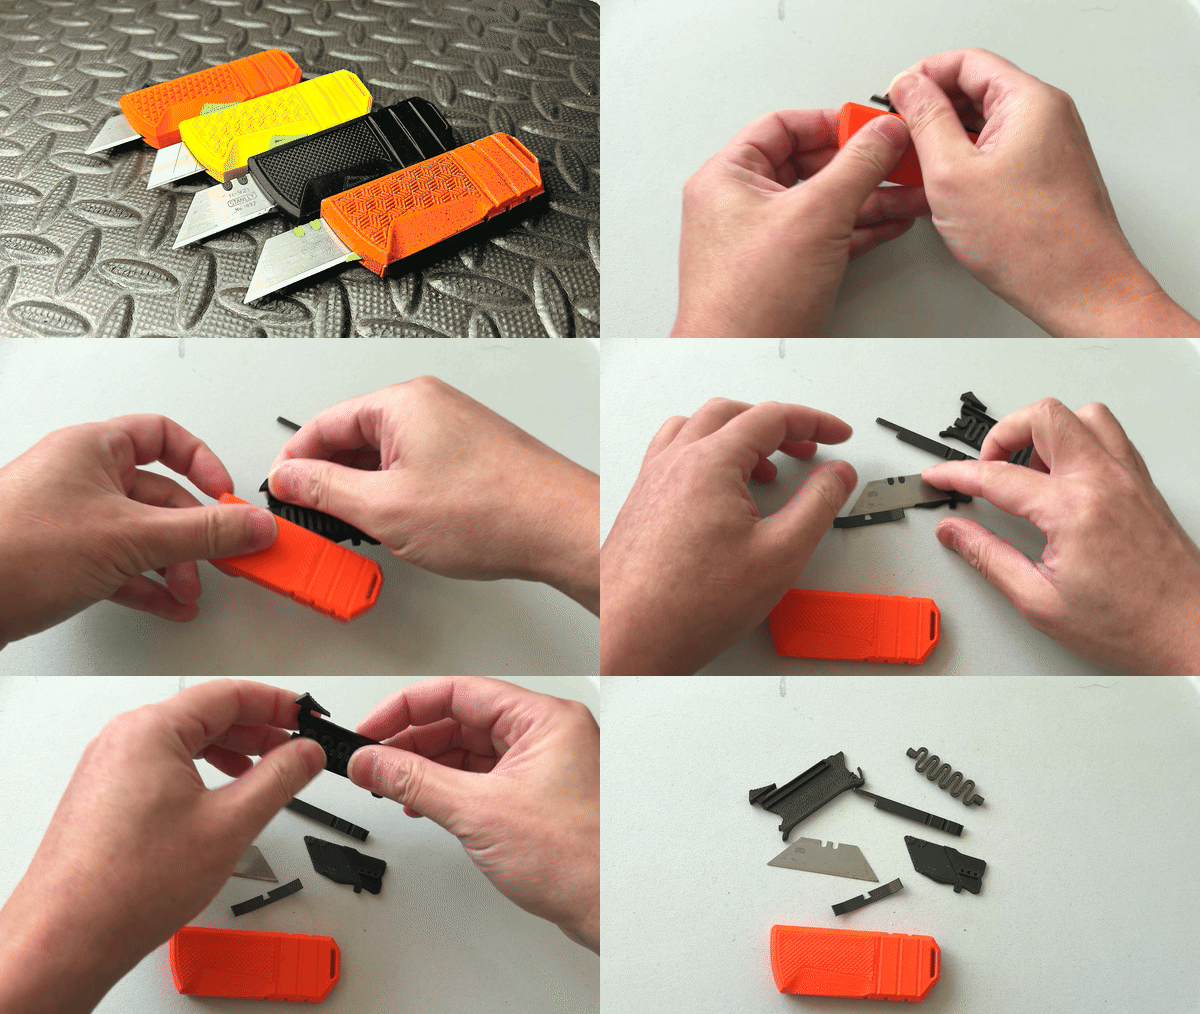
The blade holder has also been updated and improved! You can now easily remove the blade with no tools. (see video)
I have also recorded an entire (2hr long) 2 part Youtube video showing you how to design this knife from start to finish. This will allow you to make your own version of it, and make any changes you might need (like tolerances, or changes to hardware)
Print Settings
I printed mine with Bambulabs PETG-HF (regular PETG would be fine). This work well for the blade holder, as it gives the spring a little more “springiness.” PLA may be too stiff for this part.
If printing with your own settings make sure you print at 100% infill - Since this is a knife, you want this to be as strong as possible. Use Classic Wall Generator (Don't use Arachne, as it leaves a rougher surface on this model). 38 degree Infill Direction works well to keep the top surface as smooth as possible. The two wings will need supports on the recess around the pivot hole.
Hardware I used:
- 3 - 6mmx2mm magnets - Amazon Link - 1 - 5mmx10mm rivet screw - Amazon Link - 1 - 3mmx10mm metal dowel - Amazon Link Here is PART ONE of the youtube tutorial. You can find PART TWO on my channel as well…
Assembly and Operational video….
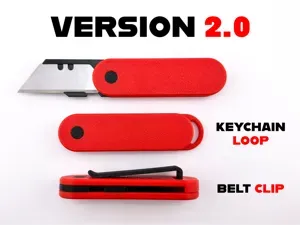
0.2mm layer, 3 walls, 100% infill Pick which plate you want to print. I have also added a plate that has a keychain holder.
If just printing the “Wings” plate, you'll need to delete the wing you don't need (keychain or no keychain), otherwise you'll be printing an extra.
Names are used only to indicate the source of a result. Polyzon is not affiliated with the listed sites.