
Free 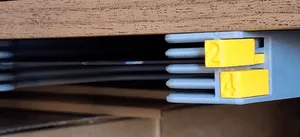
Bambu A1 Mini Build Plates holder with button NG
MakerWorld
Update 11.1.2025
The new design has just been released. Try it out here: https://makerworld.com/en/models/978238#profileId-951442
If you are looking for X1/P1/A1 version, click here: https://makerworld.com/en/models/654755#profileId-581713
This is remix my original X1C model with all improvments:
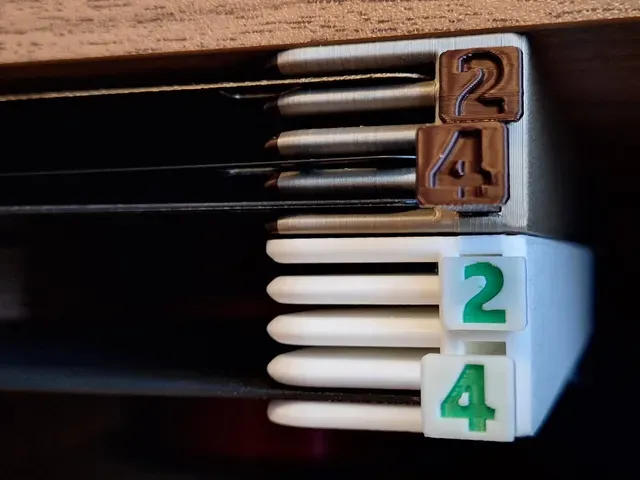
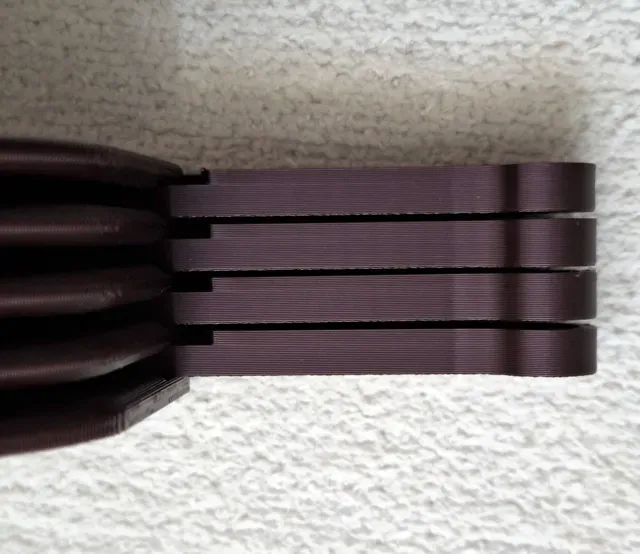
- Teeth of the button have been modified for easier printing - Added Arrow button (orientation should be easier than a number) - No text buttons added - you can add text via embossing funcion in you slicer - Print profile improvments - Added Drill-Mounting guide1:1 A3.pdf - Based on user reviews, high of the button bar has been modified to slide more easily.
Clean with build plate with soap / IPA / use 3Dlac to prevent the model from lifting from the base during printing.
The risk of the model lifting is when printing on a small printer, such as A1 Mini, because the model is long and is from corner to corner of the base. In addition, A1 and A1 Mini is a type of printer where the base moves, which creates drafts and increases the risk of the model lifting. The risk of lifting is further increased if the room where you are printing is drafty - just have an open window and you're already in trouble.
I am working on a solution to print without problems on the A1 Mini. Until then, I do not recommend printing this model on an A1 Mini printer.
Hi,
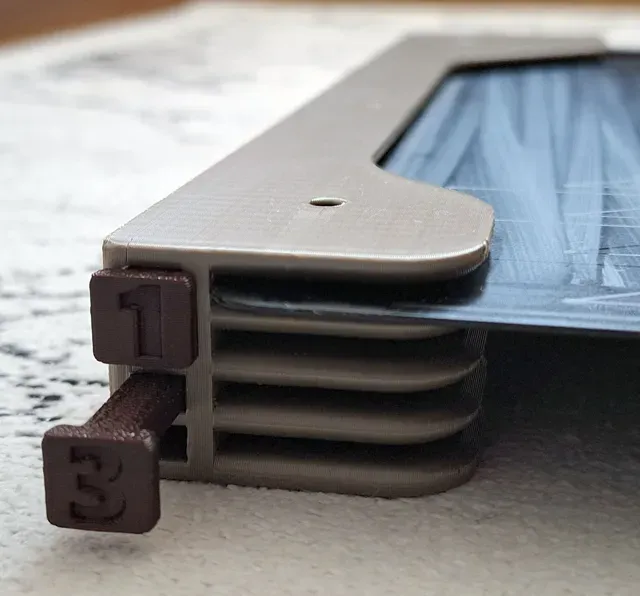
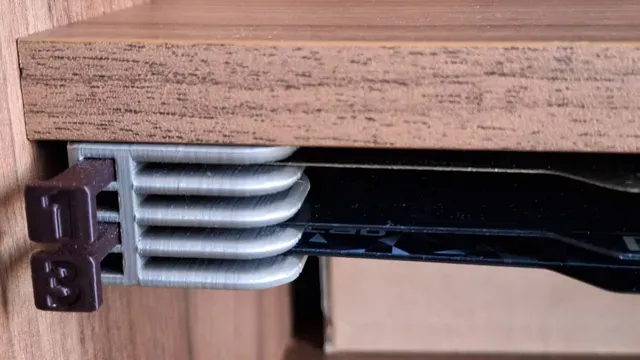
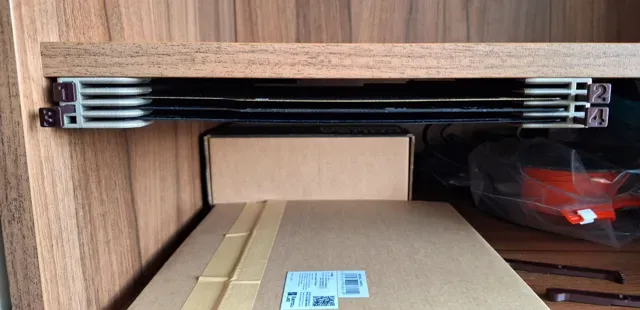
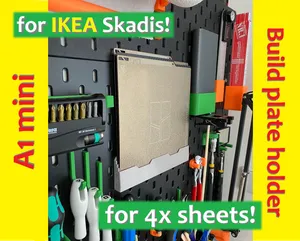
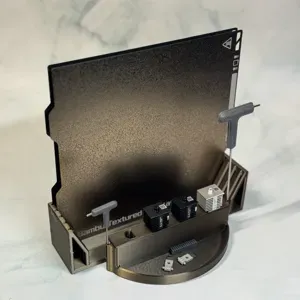
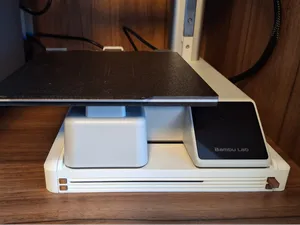
I have many build plates for both Prusa and Bambu printers and very limited space for storage. So I decided to create plates holder with eject button for easy insertion and removal.
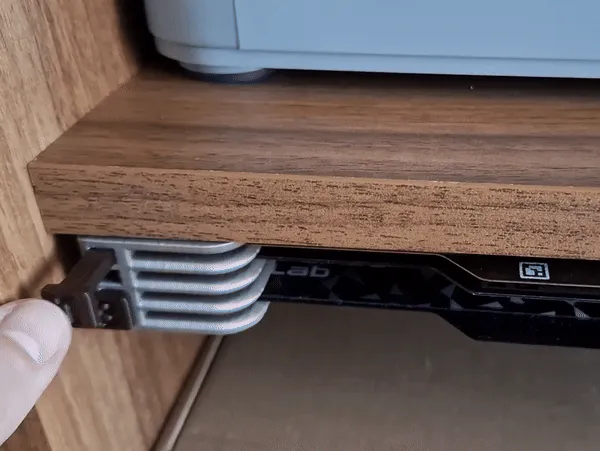

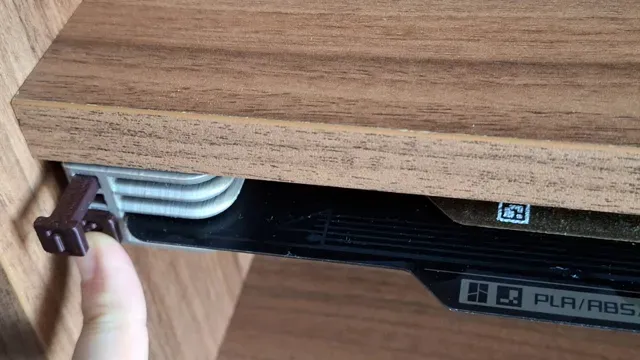
It is without complicated extraction. There is no danger of the printing surface getting dirty from greasy fingers :-)

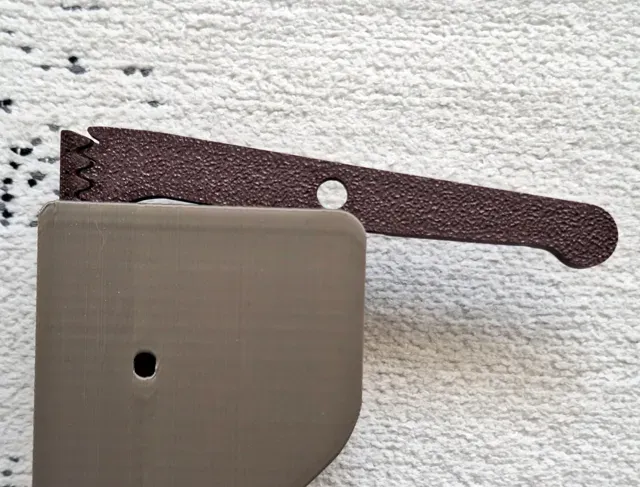
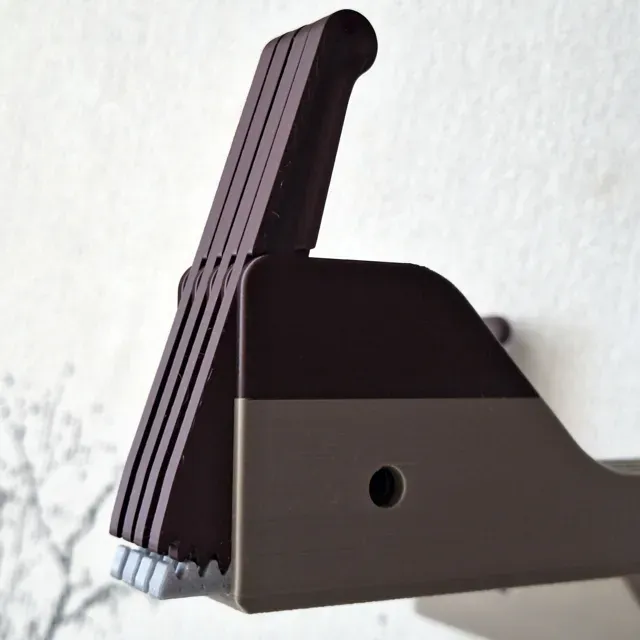
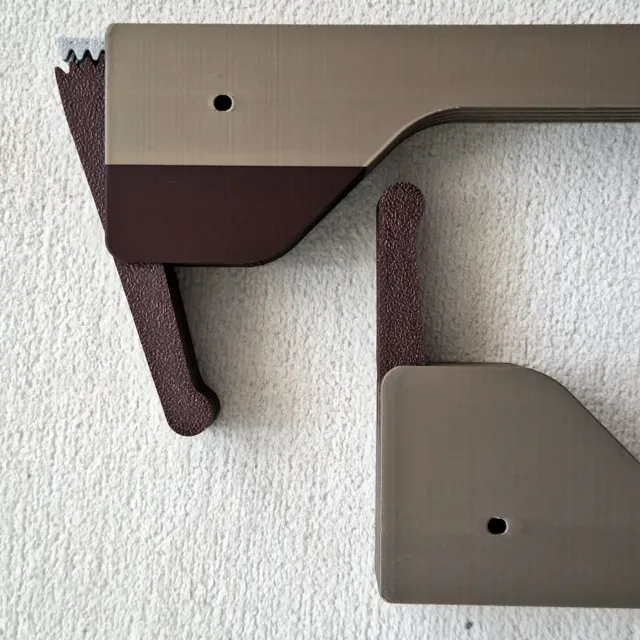
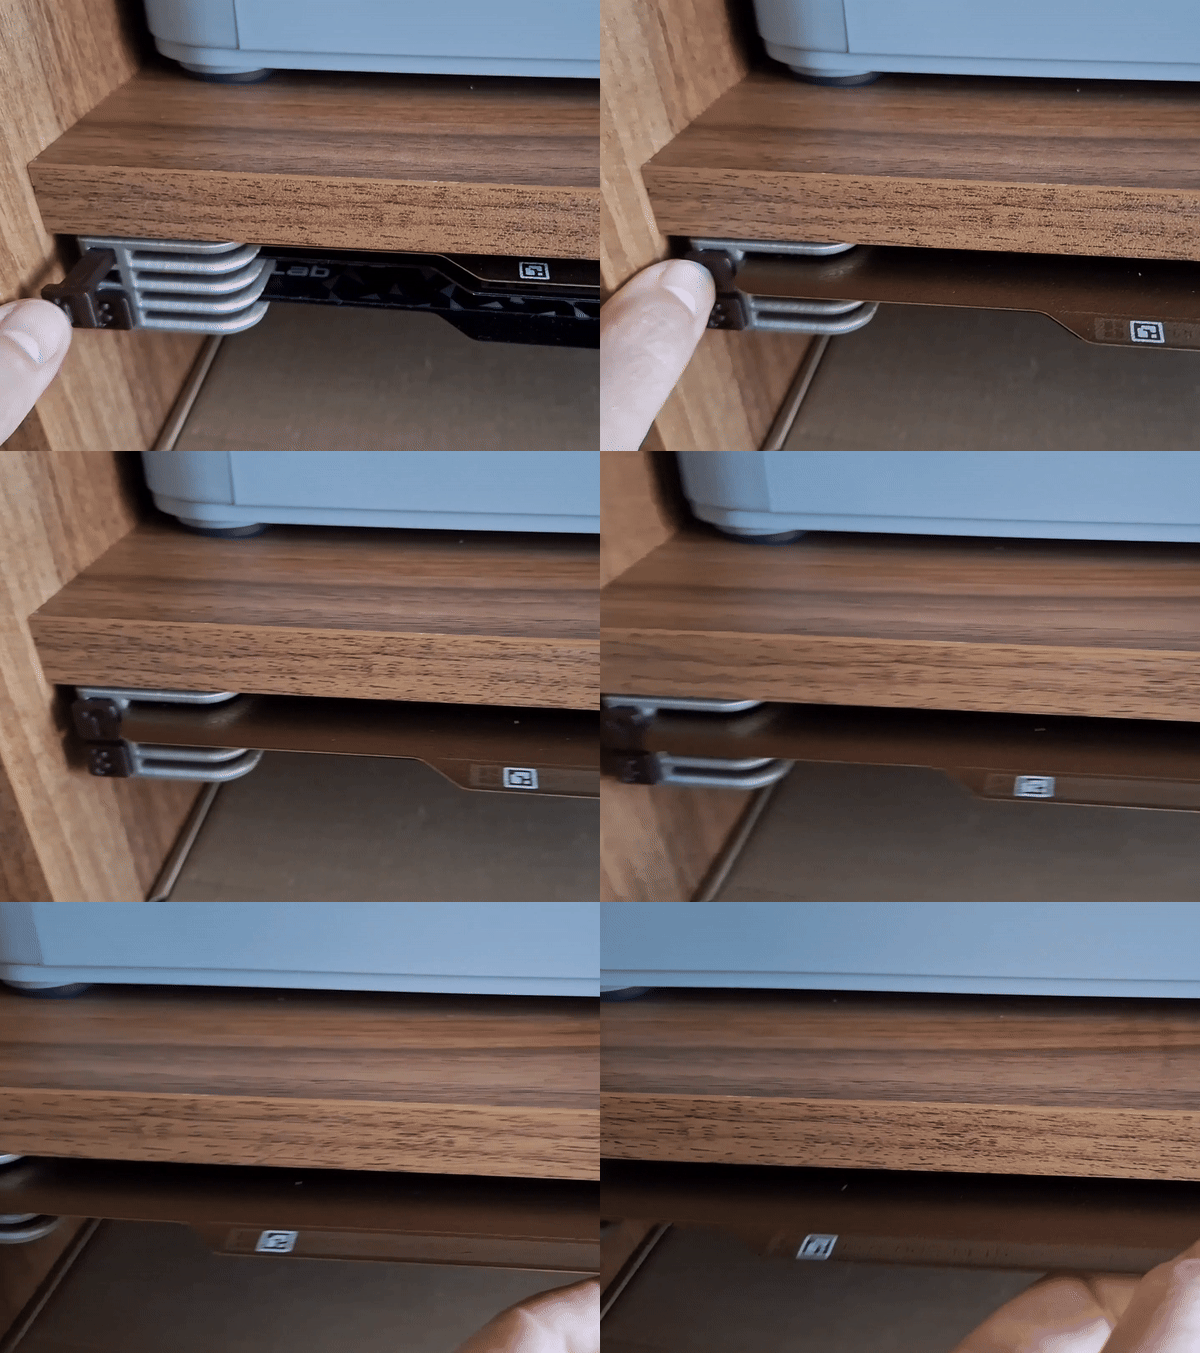
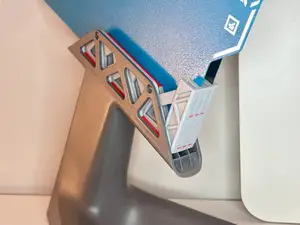
By pressing the button, the build plate ejects approximately 2 cm. By inserting the build plate, the button will pop out easily.
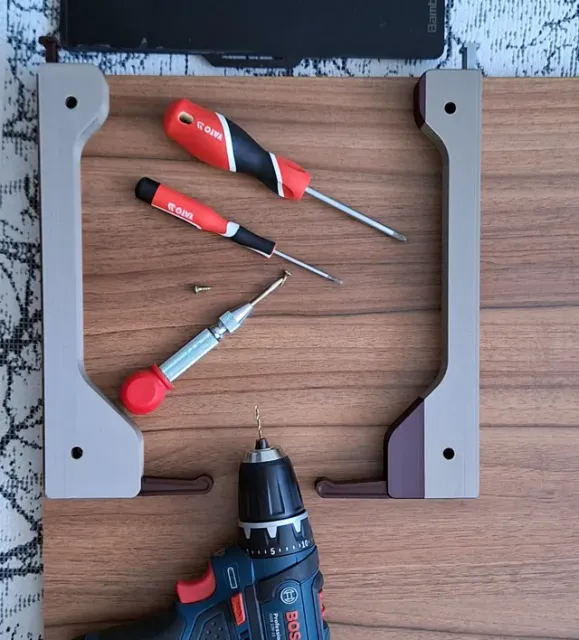
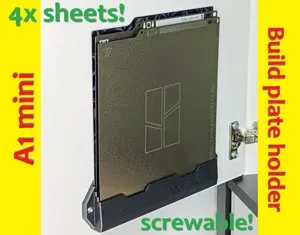
Use 4 pcs of 3-4mm in diameter countersink head screws to fix the holder.
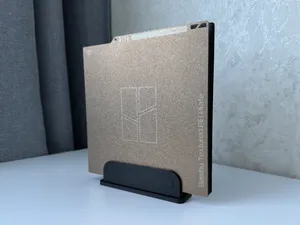
Vertical orientation is also working correctly
You can choose from several options from my profile:
- for Bambu A1 Mini compativle build plates If you are looking for X1/P1/A1 version, click here: https://makerworld.com/en/models/654755#profileId-581713
Size:
- for 1 build plate (will be added soon) - for 2 build plates - for 4 build plates - for 6 build plates
Buttons:
- Print profile integrated buttons with numbers for easy printing and orientation - Print profile for arrows button - Print profile for No text buttons
Assembly:
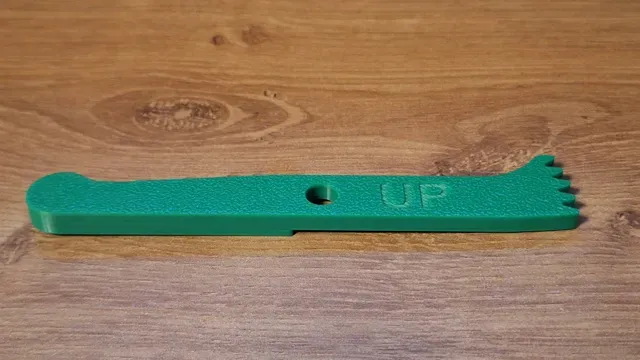
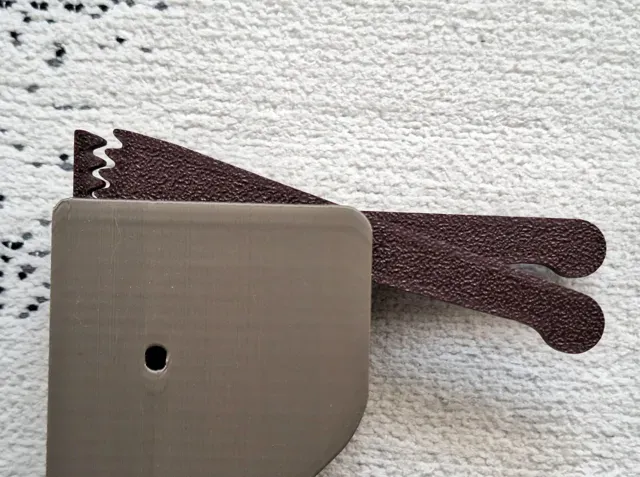
- Print Holder body (Left+Right), buttons and arms of selected version - Insert button to the holder. Slide in / out several times to clean slot and button bar from printing imperfections - Rotate Holder body and arm to see UP / This side UP - Push the arm into the holder firmly. Align the teeth according to the picture. UP text on arm helps you with orientation - Mount holder using 3mm/4mm screws. Strong double-sided mounting tape based on foam/gel is also OK Insert button to the holder. Slide in / out several times to clean slot and button bar from printing imperfections Push the arm into the holder firmly. Align the teeth according to the picture. If you need to remove the arm, simply extend the slot and remove it. Note: The images and videos may show different versions of the X1 / A1Mini / Prusa mount. This is to illustrate the functionality.
Printing instructions:
PLA / PETG is OK
layer 0.2
3 perimeters, 20 % infill, no supports
The worst result i got with silk filament. I do not recommend this type.
Body print orientation:
Optional part - Spacer
Two makers told me that sometimes the back arm falls out when inserting the plate.
The most common reason why this happens is that some printing materials like PETG are more flexible than PLA and the individual floors of the holder will stretch slightly. If this happens to you, use a simple adjustment - 6xSpacer .
I created this simple fix. Just print it on a 3D printer and snap it into the gap between the arms at the cutout for easier insertion. The model weighs 3 grams and contains 6 pieces (for up to 6 plates holder).
A1Mini_4 Plates Holder_0.2mm layer, 3 walls, 15% infill A1Mini_4 Plates Holder_0.2mm layer, 3 walls, 15% infill
White and Red objects are standard as you can see on the photo.
If you wanted to have arrow buttons, or NoText buttons for Slicer embossing, select also some yellow parts.
A1Mini_2 Plates Holder_0.2mm layer, 3 walls, 15% infill A1Mini_2 Plates Holder_0.2mm layer, 3 walls, 15% infill
White and Red objects are standard as you can see on the photo.
If you wanted to have arrow buttons, or NoText buttons for Slicer embossing, select also some yellow parts.
A1Mini_6 Plates Holder_0.2mm layer, 3 walls, 25% infill A1Mini_6 Plates Holder_0.2mm layer, 3 walls, 25% infill
White and Red objects are standard as you can see on the photo.
If you wanted to have arrow buttons, or NoText buttons for Slicer embossing, select also some yellow parts.
Optional part - Spacer Optional part - Spacer
Two makers told me that sometimes the back arm falls out when inserting the plate.
The most common reason why this happens is that some printing materials like PETG are more flexible than PLA and the individual floors of the holder will stretch slightly. If this happens to you, use a simple adjustment - 6xSpacer .
I created this simple fix. Just print it on a 3D printer and snap it into the gap between the arms at the cutout for easier insertion. The model weighs 3 grams and contains 6 pieces (for up to 6 plates holder).
Names are used only to indicate the source of a result. Polyzon is not affiliated with the listed sites.
Comments