
Free 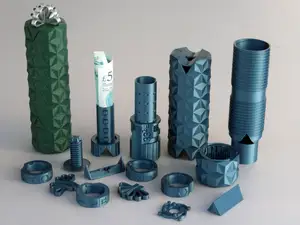
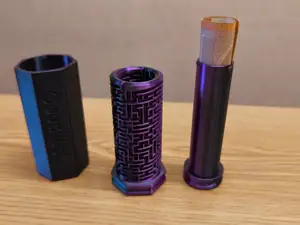
Puzzle Tube for gifting cash
MakerWorld
Update 2025-11-21 New version released:
New model - click to check it out! If you enjoyed this model, you'll love the the next version which has now been released with more parts and a trickier solution Click here
Update 2024-12-05:
A few users have reported slightly too tight tolerances for 2 parts. This can vary by filament used, especially if calibrations are not spot on.
If you have this issue I have uploaded a separate profile with 2 new versions of each piece with increased tolerances. Depending on how tight the originally printed pieces are, use your best judgment as to whether you need to print the "loose" or “looser” versions. They are approximately an additional 0.05mm and 0.1mm tolerance.
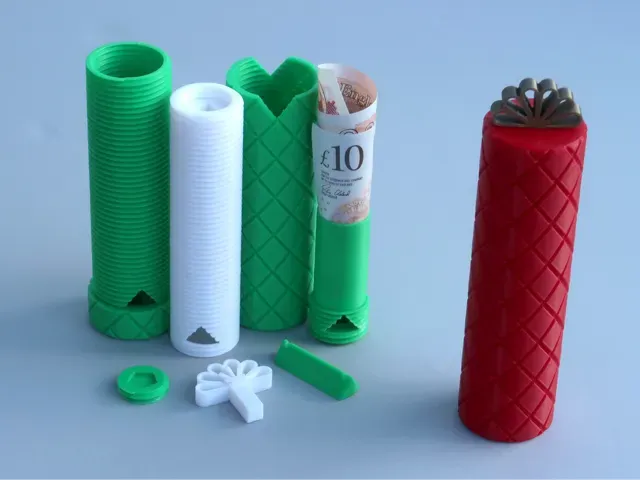
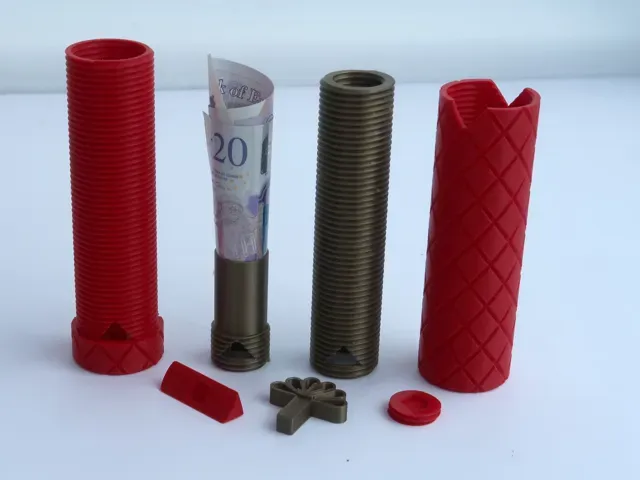
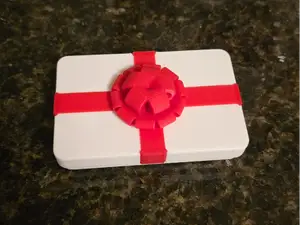
If you're giving cash or a voucher to a loved one this Christmas don't just hand it to them in a boring envelope, make them work for it by solving this locking gift box puzzle! Or why not use this puzzle as part of a reveal for a bigger present, e.g a note saying “check the garage” where the new bike/car/next clue can be found etc.
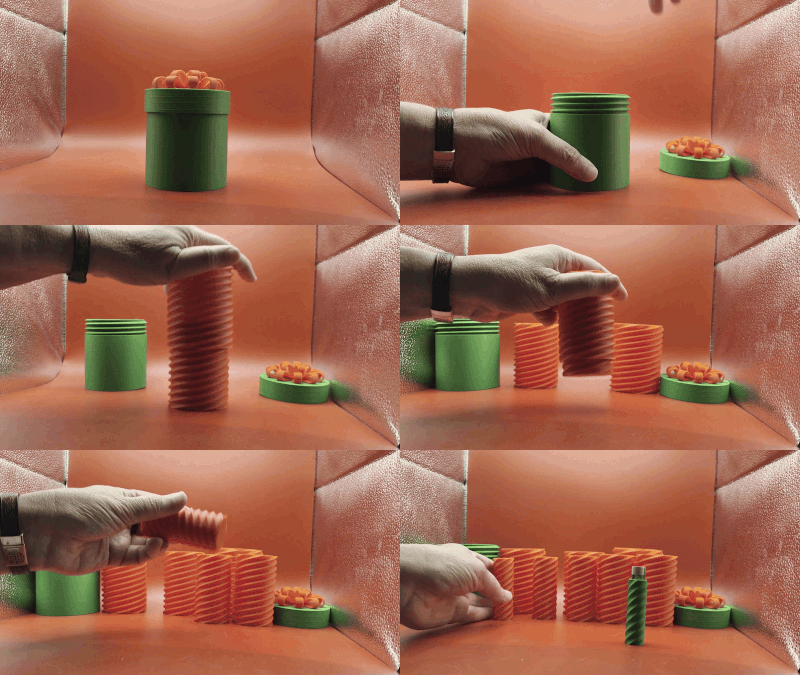
It may not look like much, but this puzzle hides secrets requiring 6 steps to unlock and reveal the gift inside!
The container comes in 2 sizes to suit whichever note/bill size(s) you wish to gift, see table below.
The internal storage capacity for all versions is a cylinder approximately 73/82mm tall with a diameter of 17mm.
Note dimensions are from Wikipedia, but please double check your currency before printing as I've only tested GBP. https://en.wikipedia.org/wiki/United_States_one-dollar_bill#Small_size_notes
https://en.wikipedia.org/wiki/Banknotes_of_the_pound_sterling#Historical_figures
https://en.wikipedia.org/wiki/Euro_banknotes#First_series
https://en.wikipedia.org/wiki/Australian_dollar#Second_polymer_series
https://en.wikipedia.org/wiki/Fifth_series_of_the_renminbi#Third_(2015,_2019,_2020)_edition
Printing
- No supports required, but some parts have auto brims enabled, especially on the A1 printers. - Print parts in the orientation in the profile (using auto alignment in Bambu Studio will orient some parts incorrectly resulting in failed prints) - If using dual/tri colour filaments the profiles are orientated correctly for parts/colours to align when assembled. But this is untested as I don't have any to test with. (please comment below if this is not the case) - Tolerances are very important for this model to allow all parts to fit together smoothly so please make sure filament is dry and calibrated.
Assembly / setting the puzzle
**When assembling, do not force or over tighten any parts as they all need to be removable. If parts are tight, see tips below.**
Check the triangular hole is aligned after screwing in each part otherwise you'll have to undo it all to readjust it.
Solving the puzzle
Post Processing Tips
After printing remove any stringing and deburr any elephant foot and brims from parts.
The cleaner the threads, the smoother it will fit together. It doesn't need to be 100% perfect as fitting the parts will clean up any minor blemishes/seam spots if needed.
When fitting parts, do not force anything as to solve the puzzle all parts need to be removable .
Start with the ribbon, partially insert it and remove several times, rotate to try all 4 orientations until it loosens up and is easy to insert and remove.
With all threaded pieces insert them into their matching part and start twisting them slowly. Back them out if you feel any resistance and then try again.
Medium - 73mm
Large - 82mm
Ribbon & pentagon only with increased tolerance If you found the ribbon or pentagon piece to be a bit tight I have included 2 new versions of each piece with increasing tolerances to find the best fit for your filament.
Moyen - 2 couleurs Même modèle mais juste avec 2 couleurs changeable directement et sur deux plaque pour facilité ceux sans AMS
0.2mm layer, 2 walls, 10% infill Se han ajustado las tolerancias, ya que, al menos en mi caso, no se enroscaba de forma correcta. Ahora lo hace mucho más fácil.
Extra annoying transparent cash sarcophagus When they finally get to the money, it's encased in a sarcophagus that must be opened with brute force!
I added a pause so you can put the money in, then resume to seal it in.
The generic petg has been modified to work ok with petg transparent, it's not perfect but you can see the money enough to torture your victim.



Names are used only to indicate the source of a result. Polyzon is not affiliated with the listed sites.
Comments