
Free 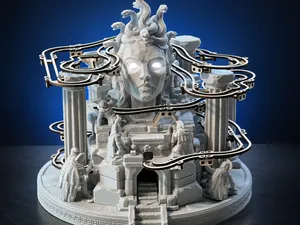
Medusa’s Temple – Marble Run
MakerWorld
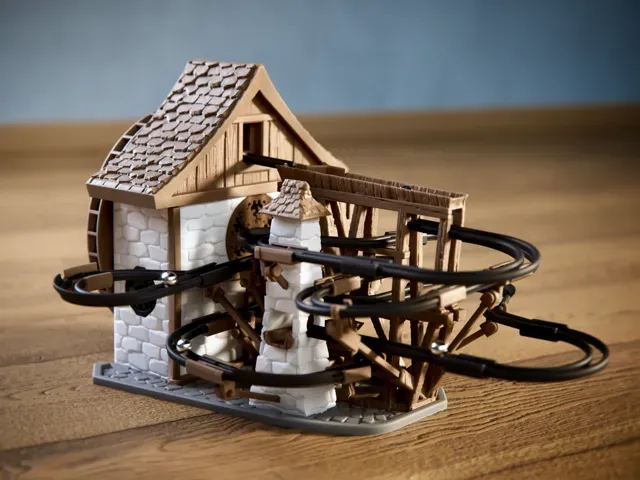
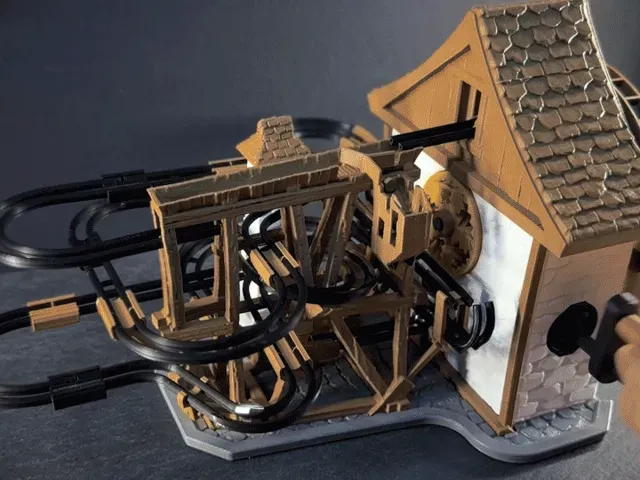
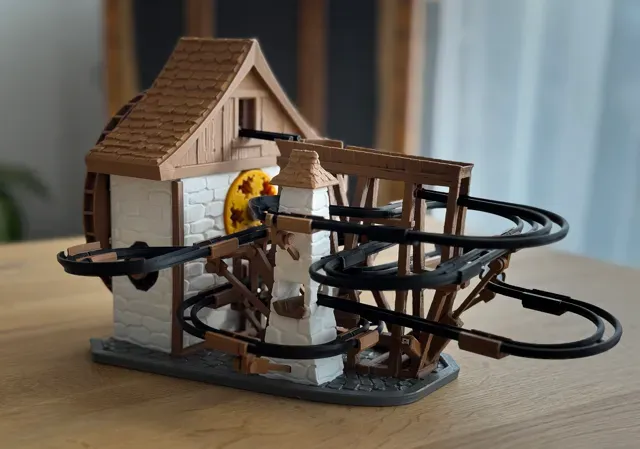
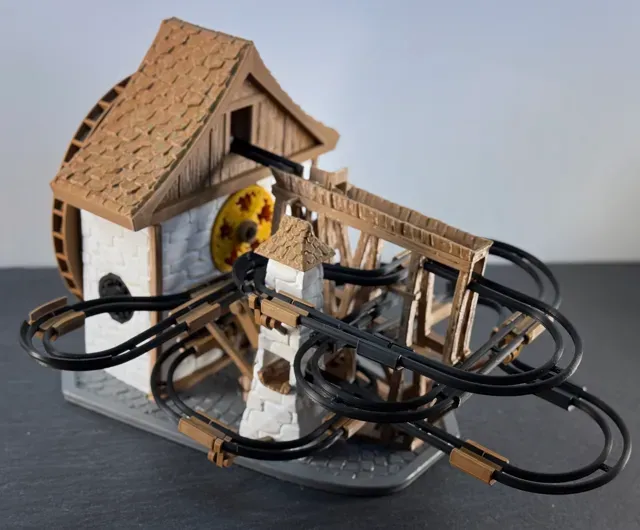
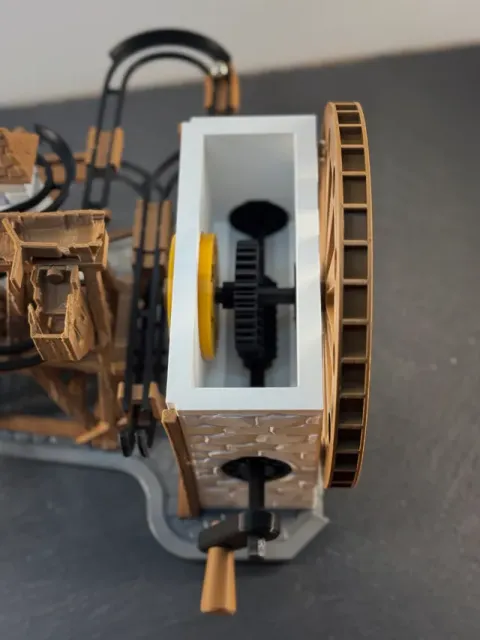
Water Mill Marble Run – Rollercoaster-Inspired Fun
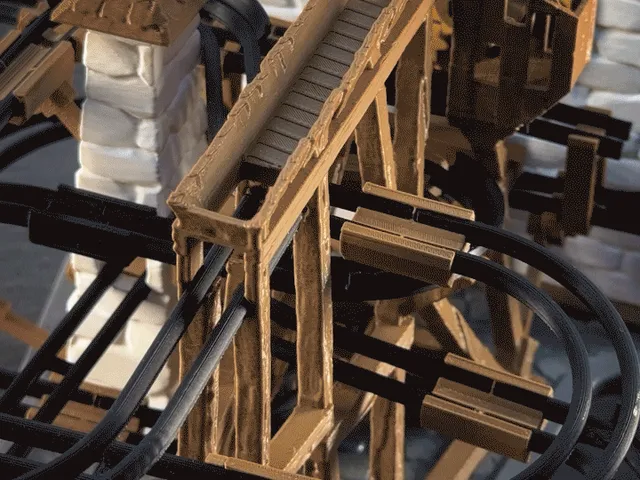
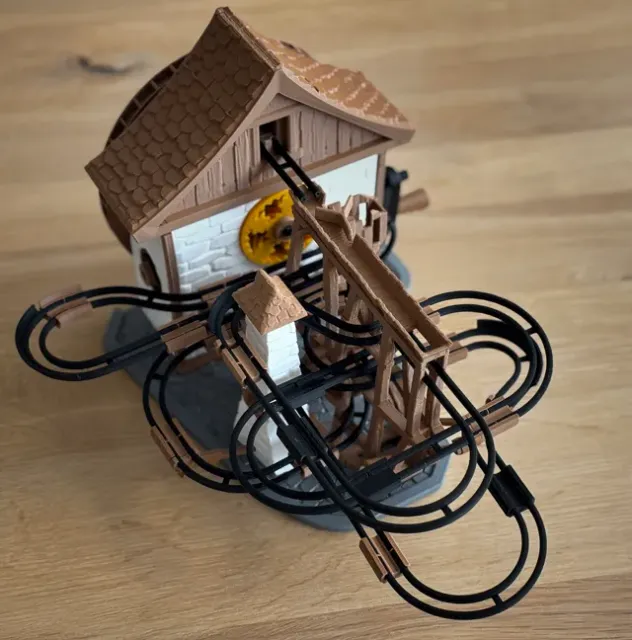
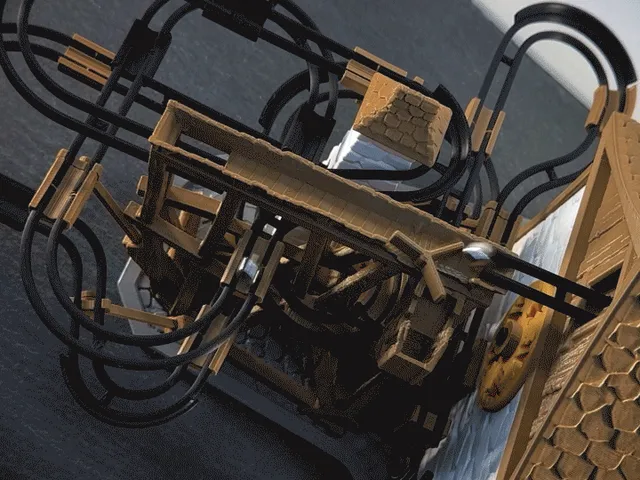
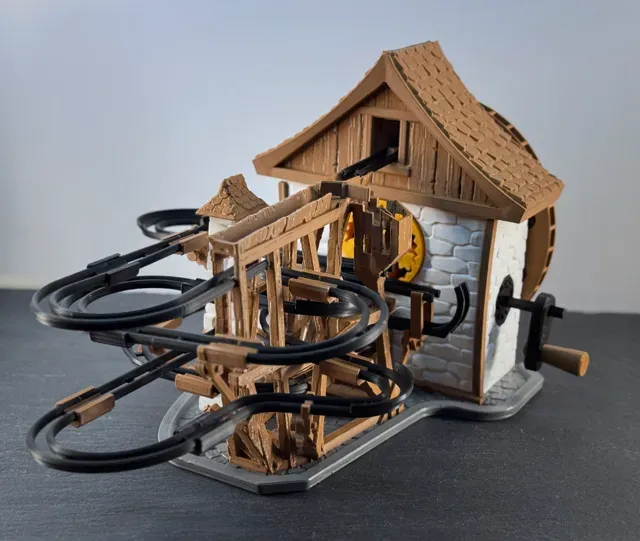
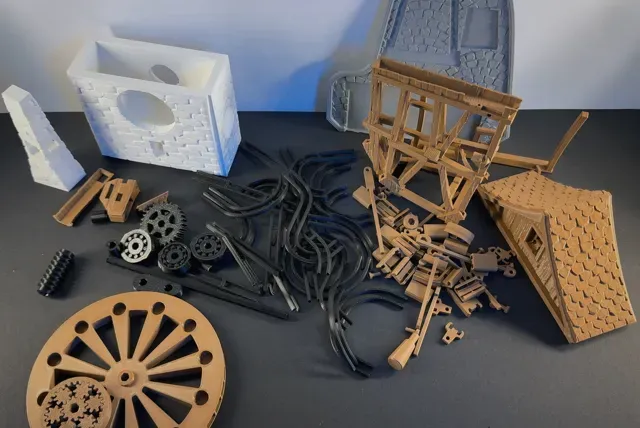
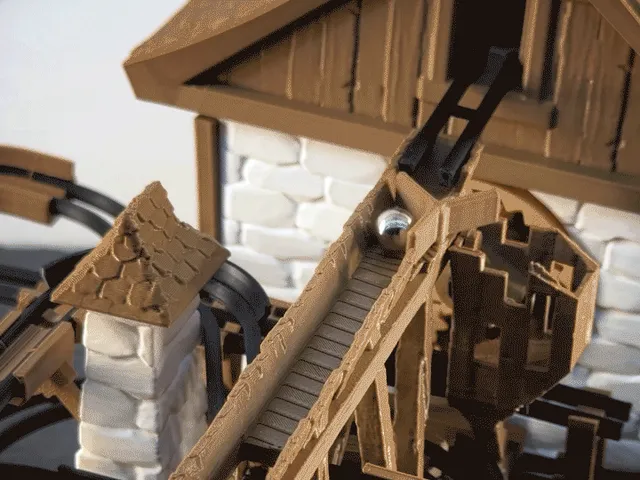
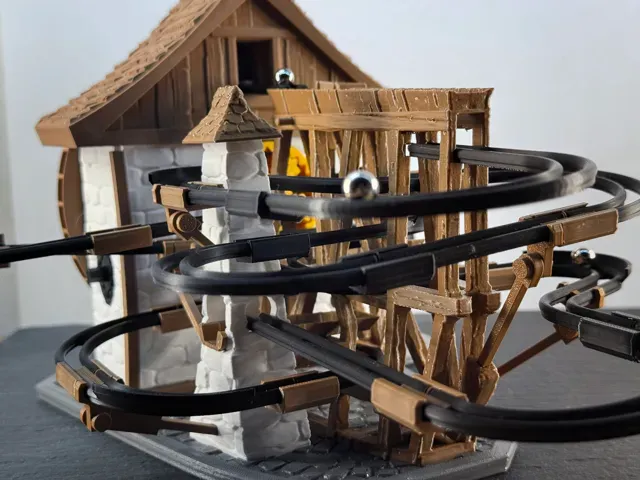
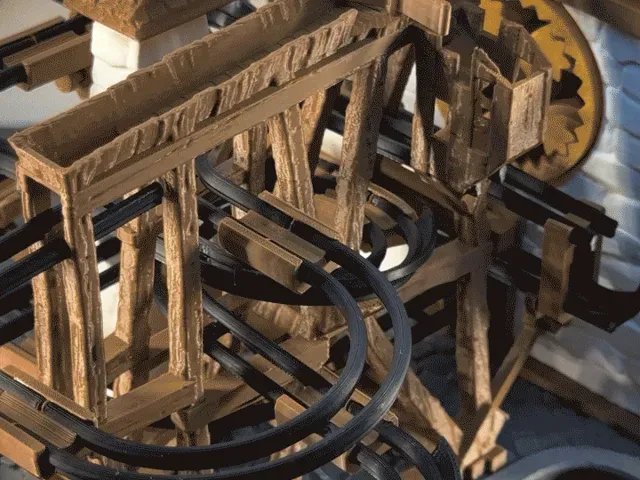
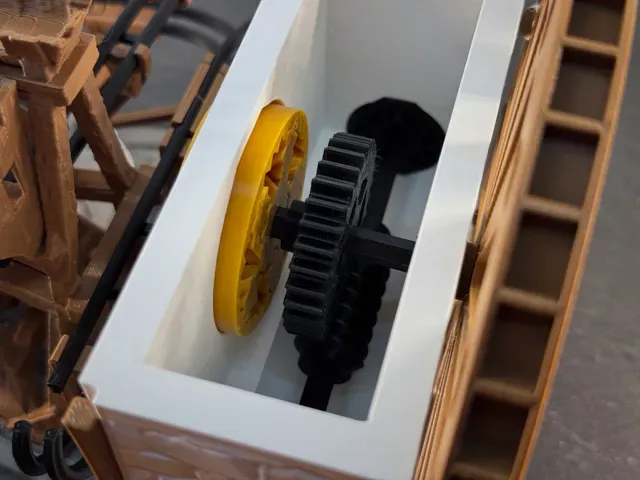
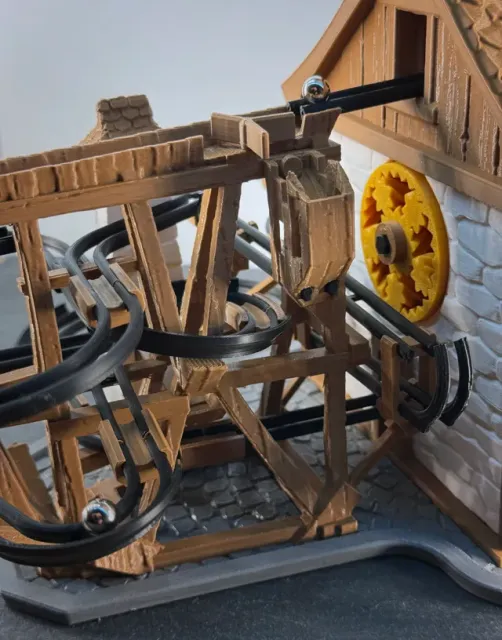
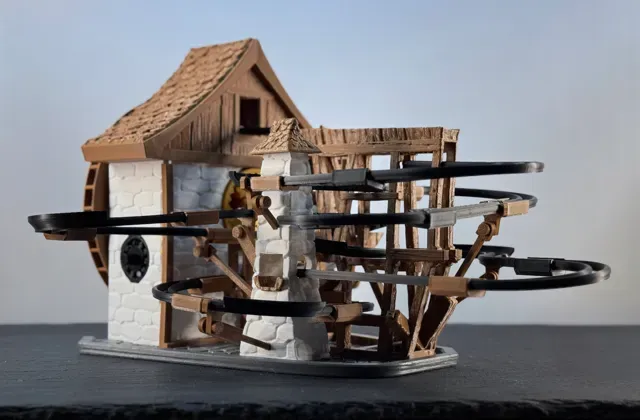
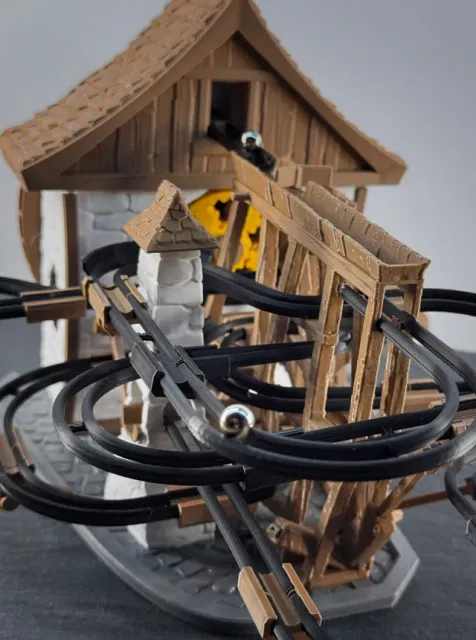
This 3D printable marble run brings the charm of a water mill to life, using 8mm steel marbles and a hand-operated crank to transport the marbles to the top of the track. Crafted with a combination of wood and steel textures, the design blends rustic elegance with industrial style.
Assembling the gears and tracks is an engaging hands-on experience, allowing you to bring the intricate mechanical system to life. Each piece sticks together, to get a smooth track. Whether you're a fan of engineering or just looking for a creative project, this marble run is a fun and rewarding build.
Hand Mode:
Motormode:
Check out the rough assembly guide video and the more detailed pdf.
- Every track has a small number printed on top in the middle, where the to rails connect. Check the end of the video to see it‘s positions. - Try to stick every track completely into the connectors. - You can turn the tracks inside the connecters some degrees, to adjust and tweak the tracks quite a bit if the marble doesn‘t run smoothly, falls out the track, stops or crashes other rails. - Glue: the bearings / the handle stopper / the buildings to the base (after assembly) - You need 8mm diameter Steelballs
And here as a link: https://youtube.com/shorts/zj-U_POdYJE
- There are 3d printed bearings included. Use 0.12mm and arachne walls for them. - The big wooden structure maybee needs a bit of postwork with unclean overhangs, but it should be easy and fast fix. - No Supports needed - No AMS needed - You need to have 8mm diameter steelballs
Boost Me Help me make more free models with your free boost
Motorized Version
Also attached is the PrintProfile with all the necessary parts for the motorized version. The Assembly Guide first walks you through building the manual version and then shows you how to easily convert it into the motorized version in just a few steps.
You’ll need a few additional maker’s supply parts for this:
- N20 Motor (150 RPM) - Power Distribution Board - Button Switch You need to glue the big wooden parts of the motorhouse to the motorholder, if you want it to be stable to transport the marble run.
Aside from these components and the 3D-printed parts, no other materials are required—no screws, extra cables, or soldering needed.
V2 A1 Mini profile, with the new parts. - No supports needed - Check for 0.12mm and arachne settings for the small parts
V2 print profile with easier handling, tweaked tolerances - No supports needed - Check for 0.12mm and arachne settings for the small parts - Additional Plate 6 is optional, if you encounter problems with tolerances
Motorized Addon for Watermill - 0.12mm layer - Prints without supports - You will need 3 components from the Maker's Supply: Check the Bill of Materials at the end of the post
A1 Mini compatible Rearranged to fit all printers
bearing parts replacements only
Push nut for the bolts (X10) This is a small push nut for the bolts that hold the track in place.
I found that some of the bolts that are used to fasten the marble tracks onto the sticks that hold it came loose very easily so I made theese push nuts to hold them more tightly. I found that assembly was way easier when I knew the track was not suddenly popping loose.
profil d'impression bille 10 mm 0.16mm layer hauteur de couche 0.16mm
vitesse réduite pour une meilleur qualité
sans support
Quality lagers for marble run 0.12mm Quality lagers for marble -A bearing that functions much better does not break and runs smoothly, no tearing or rolling/falling out of the balls inside the bearing.
-It is designed in 3 parts. No glue is needed for gluing the plastic parts, it can be done without it, but if you want it can be used to assemble, it works even without glue, it fits easily
-The settings are set, if it causes a problem, write in the comment. NOTE: the substrate should be very clean -0.12mm
0.08mm layer, 2 walls, 15% infill I made this so that I could use my yellow tt motor, and just used some double sided glue foam to stick it on, and it works great

Names are used only to indicate the source of a result. Polyzon is not affiliated with the listed sites.