
Panda Touch Support
Model details
- Platform
MakerWorld
- Price
- Free
- License
- PRIVATE-USE
- Personal use only: print for yourself, no selling or sharing.
- Formats
- STL
- 111 Likes
- 311 Downloads
- 218 Makes
- 241 Collected
- 58 Boosts
- 130 Comments
- 0 Views
Description
Boost Me If you find this project useful, consider leaving a Boost Me and a comment - it really helps support further development. Thank you!
🔄 UPDATE 06-01-2026
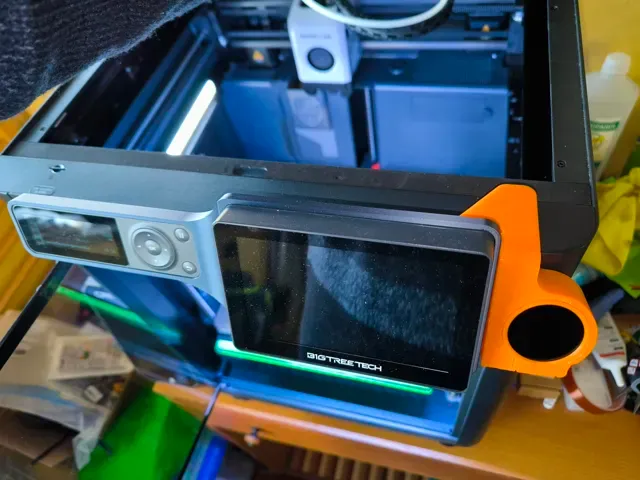
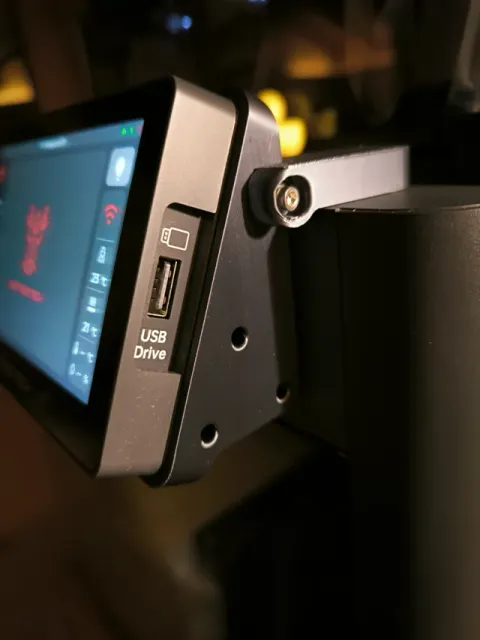
- Added a bracket to mount the Knomi display on the right side of the Panda display - If you have not printed the main support yet , you can directly print the updated versions (also available on the Knomi profile). - If you have already printed the support , you will need to: - Enlarge the two existing holes to allow the screws that secure the Knomi bracket to pass through. - (Optional) Add an additional hole for improved USB cable routing. - Removed version V1 , as it is completely overlapping with V2. - Created two separate print profiles: - Profile 1 – Panda Display + temperature/humidity sensors - 2 build plates: - one with all V2 parts - one with all V3 parts - Profile 2 – Panda Display + Knomi + sensors - 3 build plates: - one with the modified V2 support - one with the modified V3 support - one with the Knomi bracket - Standardized the diameter of all M3 insert holes - Inserts can now be installed from both sides . - This prevents PLA blockages or excess material during insertion. - Added a note about removing the original display - The original display must be removed by sliding it to the right . - Updated images in the DOCUMENTATION section - Improved documentation for display and sensor installation steps . 🔧 Knomi Display LED Light Issue (Visual Effect)
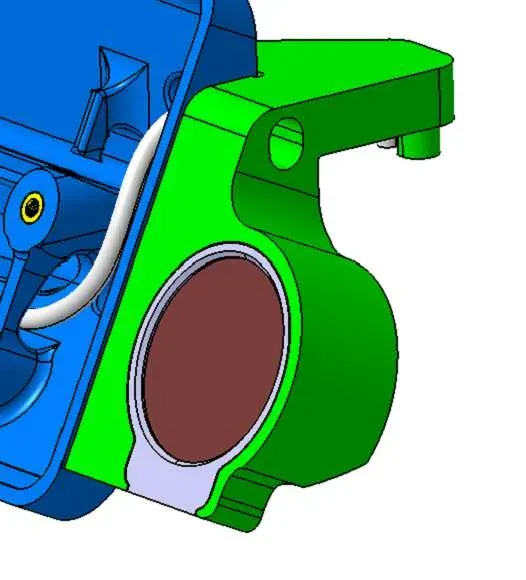
- When the Knomi display is powered on, two LEDs turn on : - a red LED on the rear side - a white LED on the bottom side - These LEDs shine through the Knomi bracket material , creating an unwanted light bleed effect , especially noticeable in low-light conditions. - This issue is purely aesthetic and does not affect functionality , but it can be visually distracting. - Solution: Place two small pieces of black electrical tape over the LEDs, as shown in the images in the DOCUMENTATION section. - This completely blocks the light bleed and resolves the issue. 🔄 UPDATE 05-10-2025
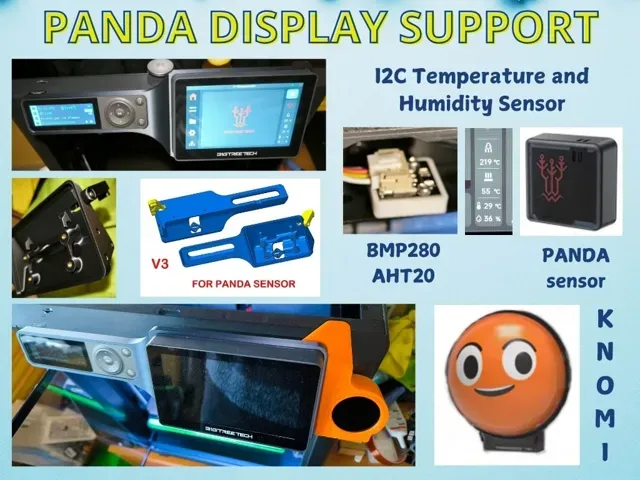
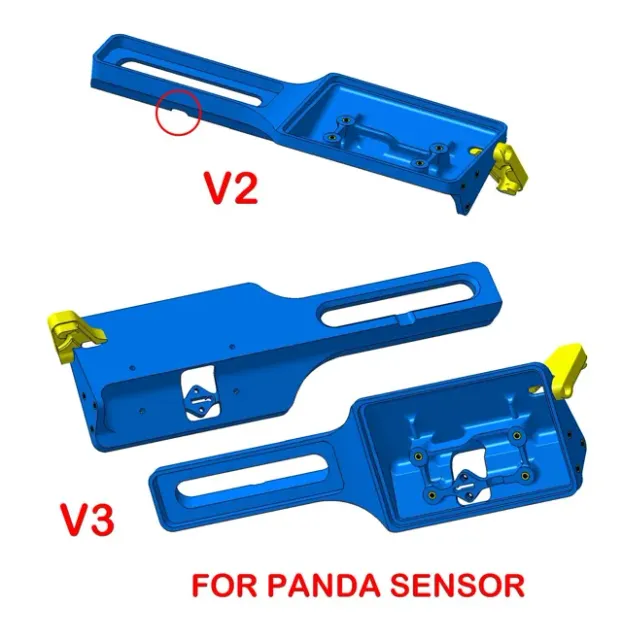
- Added BRACKET V2 - Includes a slotted hole under the Bambu Lab display to make display removal easier (useful for users with the release lever). - Added BRACKET V3 - Version designed for users with the Bigtreetech sensor . - Installation is similar to the BigT bracket . 🔄 UPDATE 15-02-2025
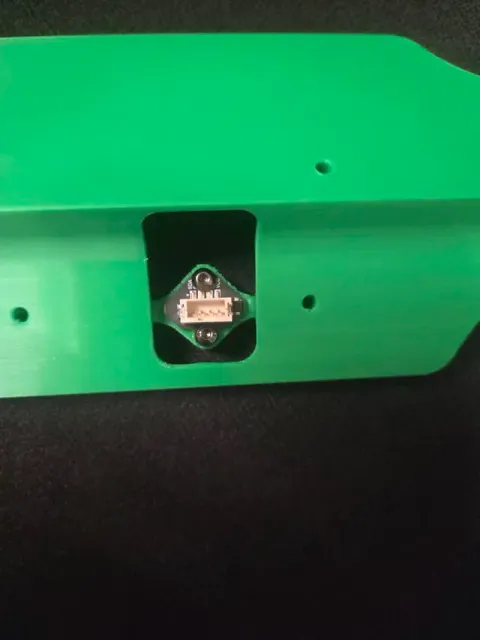
- Reduced hole diameters for users with smaller M3 inserts . - Thanks to @BaschDE for suggesting the installation of the I2P temperature/humidity sensor . - Added two cable pass-throughs : - one for the I2P sensor cable - one for a possible external camera (the thin wall must be removed to allow cable passage) - Created a base to house the I2P sensor PCB (build plate 2). - I2P sensor is supplied with a 4-wire cable and two connectors : - Pay close attention during connection: - remove only the center tab from the connector intended for the Panda display - the two outer tabs ensure a stable fit -----------------------------------------------------------------
🖥️ PANDA DISPLAY SUPPORT
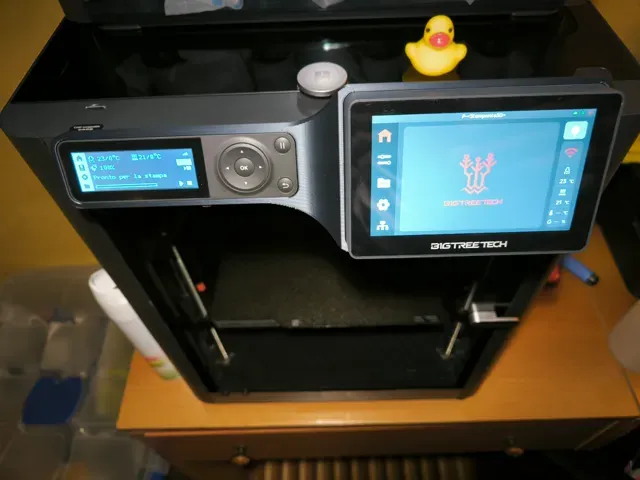
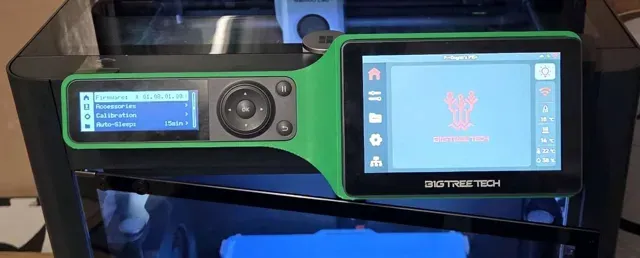
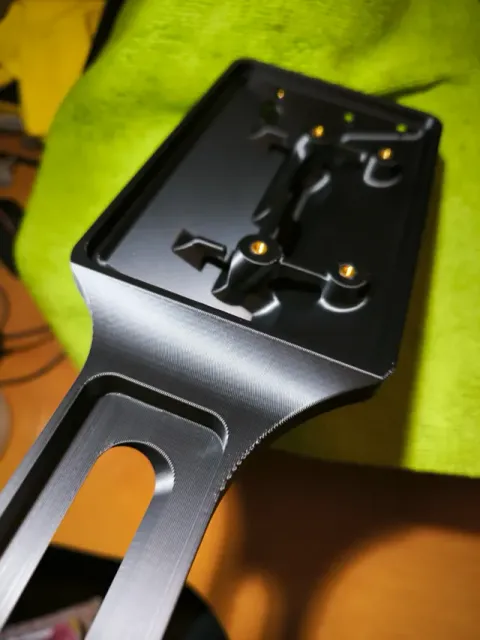
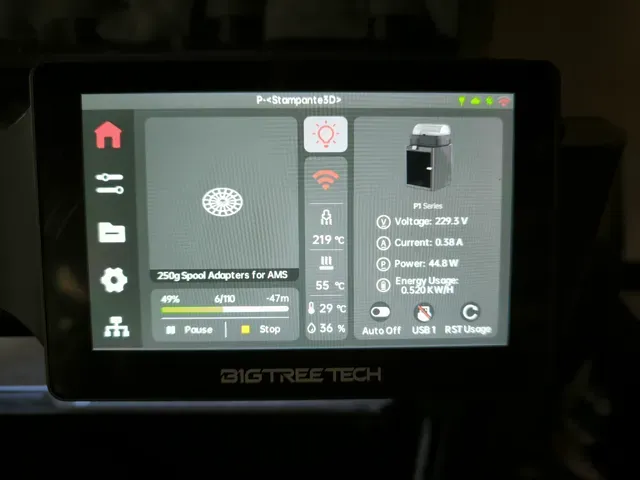
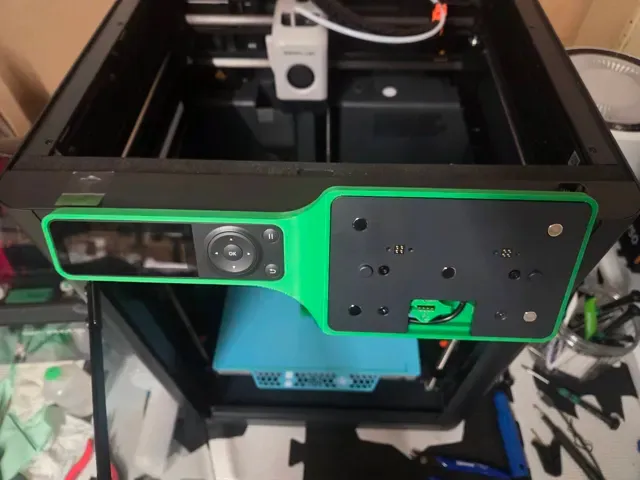
I made several changes to Patrick’s original model to improve functionality, stability, and usability .
📐 Display Positioning
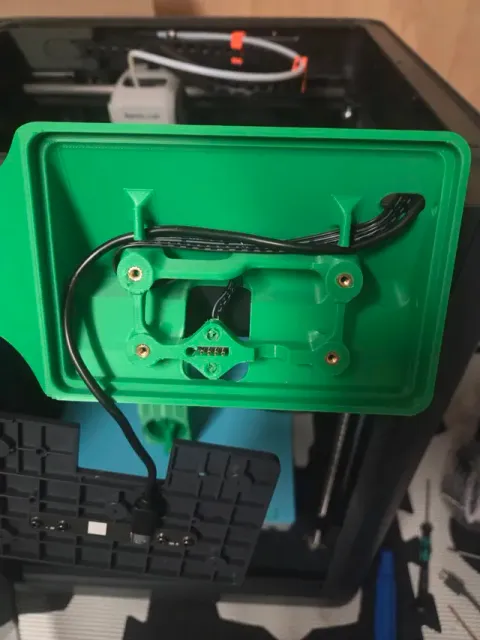
- The Panda display has been moved forward to avoid steps on the back. - This allows the support and the USB cable cover to be printed without supports . 🔌 USB Cable Cover
- Added a cover that: - protects the USB cable - closes the printer opening - secures the display support with a screw 📦 Compatibility
- Compatible with all AMS drawer types . 🧵 USB Cable Management
- Improved USB cable routing. - Easier and safer installation. - Avoids excessively tight bends. 📏 Base Angle
- Revised the base angle to eliminate excessive play of the Bambu Lab display. - Improved overall stability. 🧲 Mounting
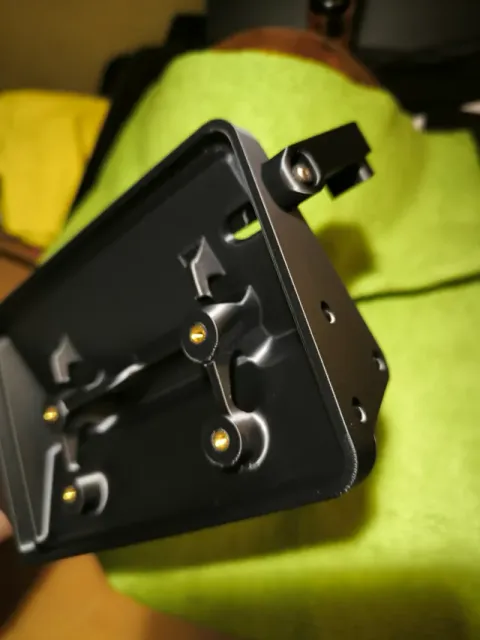
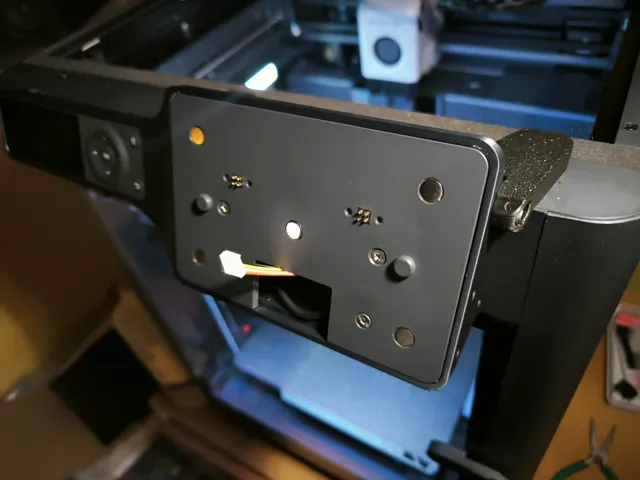
- The Panda display uses 5 sufficiently strong magnets . - Added M3 threaded inserts for more secure fixation. 📷 External Camera Mount Support
- On the right side of the support there are 3 M3 threaded inserts . - Intended for a possible external camera arm . - Dimensions are shown in the images. - The camera mount is not included and must be designed according to your needs. 🔩 Panda Display Screws
- The original Panda display screws can only be reused for the lower holes . - The center screws must be replaced , as shown in the images. 🛠️ INSTALLATION PROCEDURE
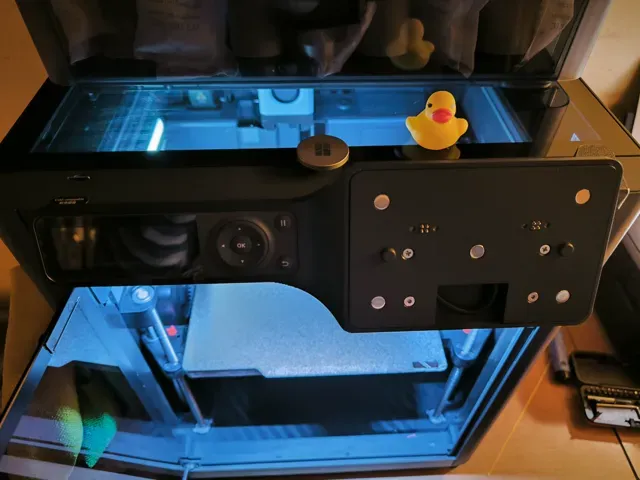
- Remove the Bambu Lab display by applying pressure and sliding it to the right . - Mount the Bambu Lab display onto the printed support and gently press it into the central hole (with very rigid materials, slightly heating the hole may help) . - Connect the Bambu Lab display connector. - Place the support onto the printer and slide it to the left until it locks. - Route all cables through the printer and support holes. - Secure the sensor base inside the printer using double-sided tape and connect the USB cable to the Panda display. - Secure the base with M3 screws. - Connect the I2P sensor cable to the Panda display. 👉 To remove the Panda display, disconnect the sensor connector first.
Guides and print profiles
Guide files
- PANDA_Sensor.jpg
- PCB BMP280_Sensor.jpg
- KNOMI_LED.jpg
- Inserts and Screws.jpg
- 01.jpg
- 02.jpg
- 04.jpg
- Fori.jpg
- iNSTAL V3 BRACKET.jpg
- 55b1a810-dbc2-11f0-ae73-f72efaa02b06.jpg
Print profiles and steps
Display+Sensor_Profile V2 - V3 UPDATE 06-01-2026
- Removed version V1 , as it is completely overlapping with V2. - Created two separate print profiles: - Profile 1 – Panda Display + temperature/humidity sensors - 2 build plates: - one with all V2 parts - one with all V3 parts - Profile 2 – Panda Display + Knomi + sensors - 3 build plates: - one with the modified V2 support - one with the modified V3 support - one with the Knomi bracket - Standardized the diameter of all M3 insert holes - Inserts can now be installed from both sides . - This prevents PLA blockages or excess material during insertion. Project Update (October 5, 2025)
- Plate 1, Version 1: Design without slotted hole , includes cable support . - Plate 2: Support for Sensor PCB (Printed Circuit Board). - Plate 3, Version 2: Design with slotted hole . - Plate 4, Version 3: Design for BIGTREETECH sensor . PRINT PROFILE
- Printing Profile : - Layer Thickness : 0.2 mm - Walls : 3 - Infill : 15% - These settings give the stand greater robustness. - Material Used : I used Black Silk PLA. This material requires approximately 1 hour more printing time than standard PLA.
Display+Sensor+KNOMI_Profile V2 - V3 UPDATE 06-01-2026
- Added a bracket to mount the Knomi display on the right side of the Panda display - If you have not printed the main support yet , you can directly print the updated versions (also available on the Knomi profile). - If you have already printed the support , you will need to: - Enlarge the two existing holes to allow the screws that secure the Knomi bracket to pass through. - (Optional) Add an additional hole for improved USB cable routing. - Created two separate print profiles: - Profile 1 – Panda Display + temperature/humidity sensors - 2 build plates: - one with all V2 parts - one with all V3 parts - Profile 2 – Panda Display + Knomi + sensors - 3 build plates: - one with the modified V2 support - one with the modified V3 support - one with the Knomi bracket - Standardized the diameter of all M3 insert holes - Inserts can now be installed from both sides . - This prevents PLA blockages or excess material during insertion. - Added a note about removing the original display - The original display must be removed by sliding it to the right . - Updated images in the DOCUMENTATION section - Improved documentation for display and sensor installation steps . 🔧 Knomi Display LED Light Issue (Visual Effect)
- When the Knomi display is powered on, two LEDs turn on : - a red LED on the rear side - a white LED on the bottom side - These LEDs shine through the Knomi bracket material , creating an unwanted light bleed effect , especially noticeable in low-light conditions. - This issue is purely aesthetic and does not affect functionality , but it can be visually distracting. - Solution: Place two small pieces of black electrical tape over the LEDs, as shown in the images in the DOCUMENTATION section. - This completely blocks the light bleed and resolves the issue. PRINT PROFILE
- Printing Profile : - Layer Thickness : 0.2 mm - Walls : 3 - Infill : 15% - These settings give the stand greater robustness. - Material Used : I used Black Silk PLA. This material requires approximately 1 hour more printing time than standard PLA.
Custom tool holder for use with this particular remix I was impressed with the remix of the Panda Touch Support by Fanilab_Design and was trying to find a use for the 3 additional threaded inserts (well, 2 of them anyway) besides an external camera for my P1S. This is my first attempt at a little bit of design work even though it really involved combining several different options from existing models to keep the tools I used the most very handy. There are 6 iterations available on 6 different plates but the model on plate 6 is the one that worked best for me based on my set up, although I did use the model on plate 1 for a little while.
I've had mixed results with printing and trying to remove the supports so ended up with the normal supports (non-tree) and the Snug type.
Good Luck and go easy on me with the comments but would welcome constructive criticism on how to improve the print, etc. I'm just an old computer guy trying to get started with this technology.
Names are used only to indicate the source of a result. Polyzon is not affiliated with the listed sites.
Comments 0
Loading comments…