
Free 
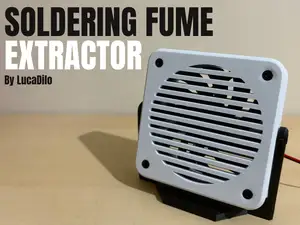
Solder Fume Extractor (60mm Fan - Soldering Fumes Filter)
Printables

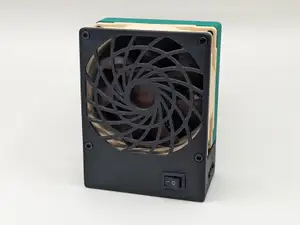
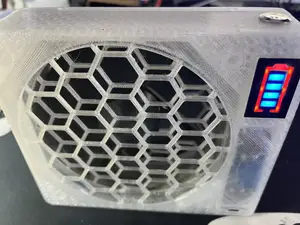
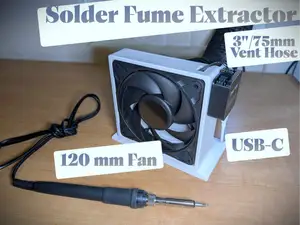
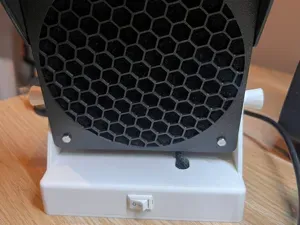
A fume extractor for soldering. I remixed the original part to fit a 60mm fan, a rocker switch and added a USB-C connector, like all new devices should have.
You will need the following parts (or remix it to use parts you have lying around):
- 12V 60x25mm fan → https://amzn.to/3qnkCV6 - 60x60 active carbon filter → https://amzn.to/3Jl87Sw - rocker switch 21x15mm → https://amzn.to/32yXJWu - USB-C Module (PDC005 - 9/12V version without USB-A Header) https://tinyurl.com/y5ltmyeu - M3 threaded inserts → https://amzn.to/3pteITk - M3 screws (M3x15 habe a nice fit here) → https://amzn.to/3yXxncQ - additionally printed 60mm fan grill → this one works if scaled to 70% https://www.thingiverse.com/thing:706812 - solder iron + solder + some wire
Printing:
I printed the part completely without support, which lead to bad bridging on the back side where the fan is supposed to sit, but saves a big amount of time and filament.
Print time is about 11 hours with 4 walls and 15% infill.
Assembly:
- insert the threaded insert into the 4 mounting holes - strip the wires from the fan - lead the positive (red) cable through the hole under the USB module mount point to the right and solder it to the rocker switch - solder a second cable to the other side of the switch and lead it back to the left side - now solder it to the positive (+) side of the USB module from below - push in the rocker switch - short the negative (black) wire from the fan to about 5-10cm and solder it to the negative of the module ( don´t make it too short so you have some play while pushing in the fan - push in the USB module into its mounting point - push the screws in the fan holes now - in order to prevent the fan from hitting the filter push the printed fan grill onto the fan now - push the filter onto the screws - now push in the fan and tighten the screws (watch out not to squish the cables too much)

Names are used only to indicate the source of a result. Polyzon is not affiliated with the listed sites.